Many Pantera owners are avid wrench turners and this appears to be part of the Pantera ownership experience. Not that Panteras need a lot of maintenance, it's just that you can't drive over to your local de Tomaso dealer and have work done. On the other hand some owners would like to do more hands on work on their Panteras so this page is dedicated to tools to be used with the Pantera.
General Maintenance

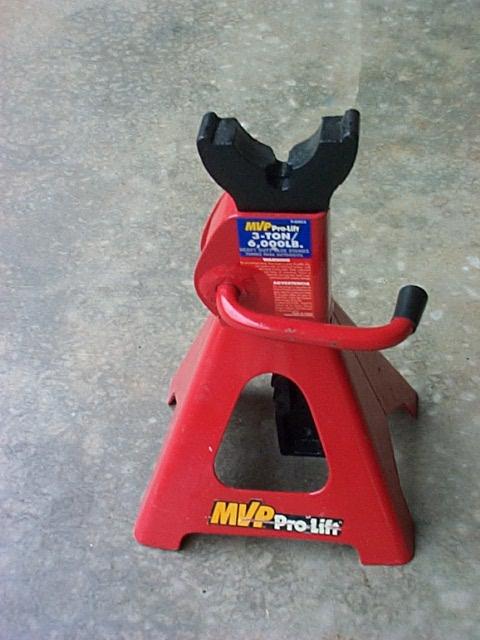
Hydraulic jack and jack stands. The one I use is very small and made by MVP. It is rated at 4,000 lb and will fit under my car that is at Euro height (stock springs with the spacers removed). I've removed the claw from the lifter end to gain more clearance. The MVP jack stand is rated at 6,000 lb. Both are available from most auto parts stores.
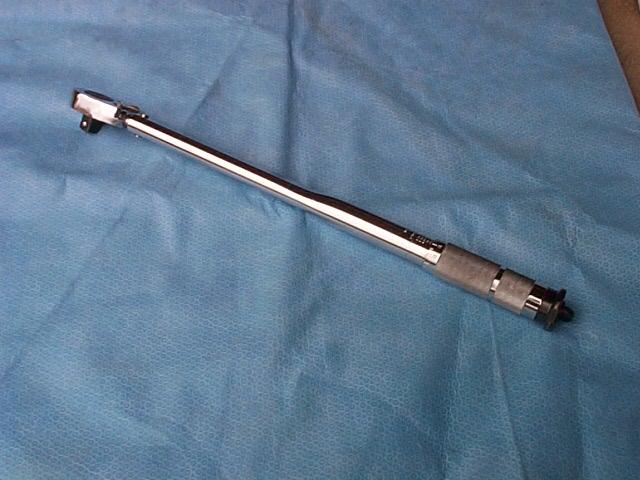
Toque wrench. A must for installing wheels on a Pantera. Available from most auto parts stores.
Cooling System
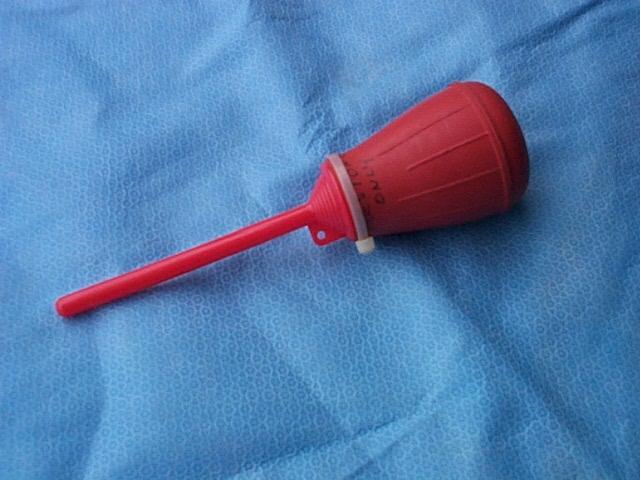
Fluid bulb. I keep one that is marked for use with the coolant and a separate one for removing brake fluid from the brake master or clutch master cylinder.
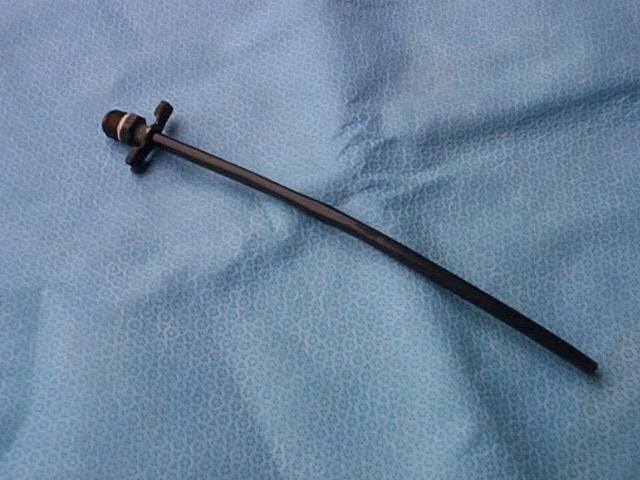
Heat shrink tubing to extend the radiator drain valve so coolant will not run into the lower valance and front cross member area when draining the coolant. Heat shrink tubing is available at electronics stores. For clarity, this view shows the tubing inserted in the valve end with the valve removed from the radiator.
Electrical
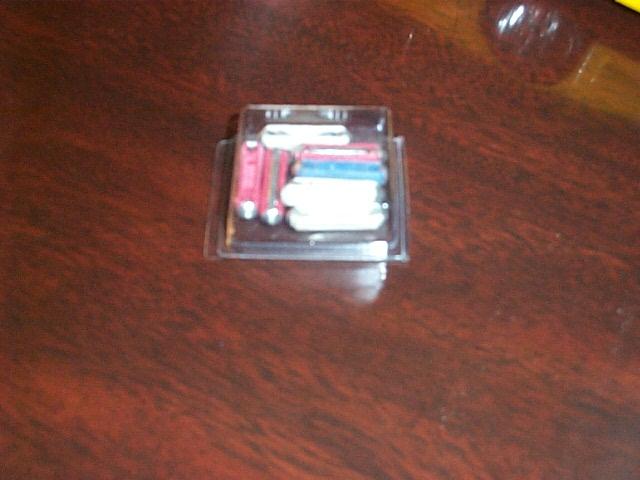
Ceramic Pantera fuses available from most auto parts stores. Not really a tool but a good thing to keep in the car for spares. Assorted packs are available from most auto parts stores.
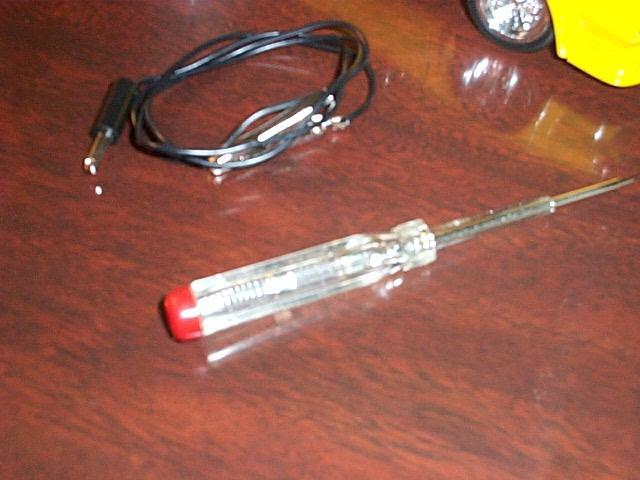
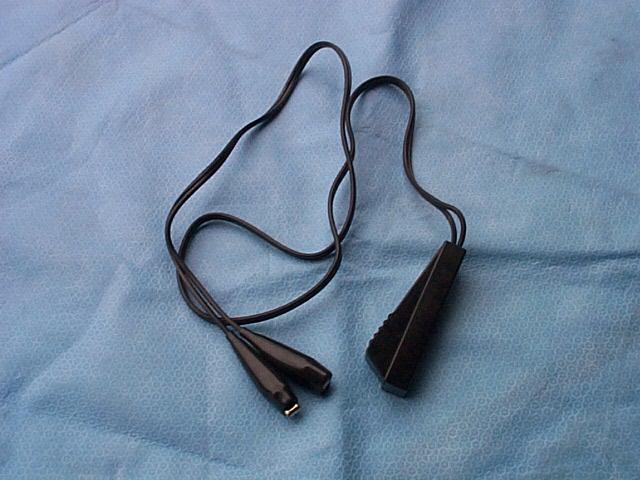
Test light. This is a great but cheap tool for trouble shooting electrical problems. It's small and can be easily stored in your car with other tools. The tool has a probe on one end with a light in the handle and a alligator equipped length of wire that plugs into the handle. Available from any auto parts store.

Digital volt ohm meter. A very good tool for checking out the battery and charging system on the Pantera. Available from electronics stores.
Engine
Compression gauge for checking the engine compression. This tool is seldom used but helpful for diagnosing engine problems. Available from most auto parts stores.

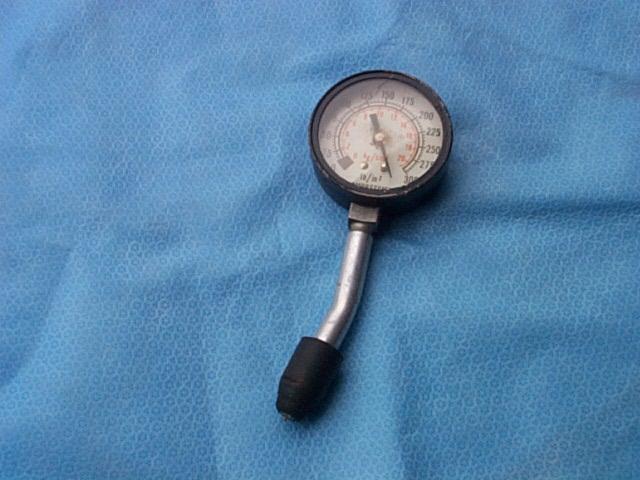
Vacuum gauge for checking engine vacuum, diagnosing engine problems and adjusting carburetor mixture. Available from some auto parts stores. This is getting to be a hard tool to find.
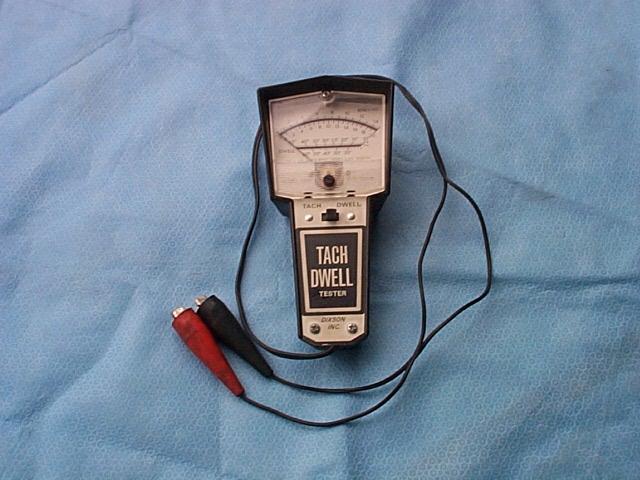
Dwell meter for checking the adjustment of ignition systems that use points. I'm a dual point guy. They never leave you stranded! Available from some auto parts stores. This is getting to be a hard tool to find.
Remote starter switch. Used to turn engine over when adjusting valve lash, etc.
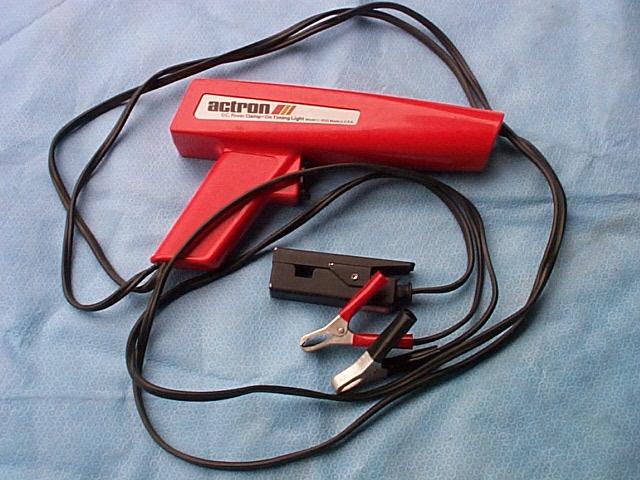
Ignition timing light. Used to set the initial ignition timing and checking the total advance.
Tool for adjusting the A/C compressor idler pulley. This tool was designed and made by Bill Taylor.

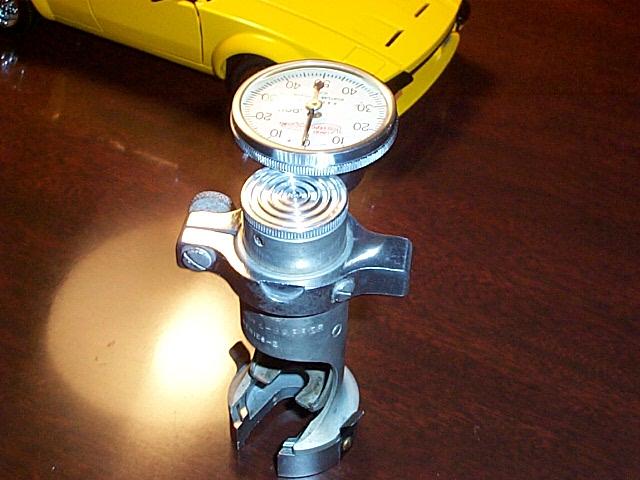

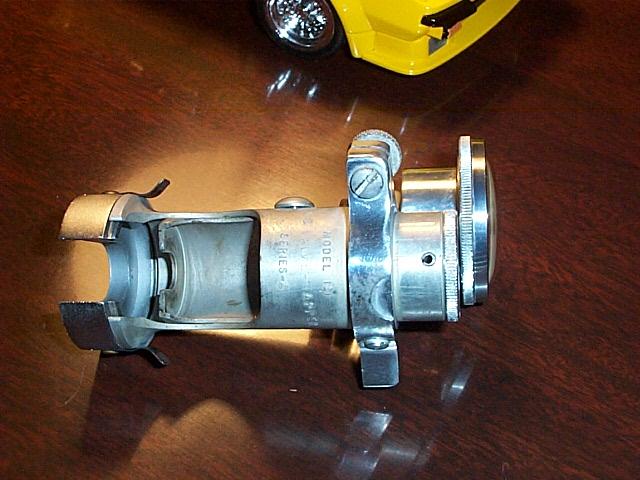
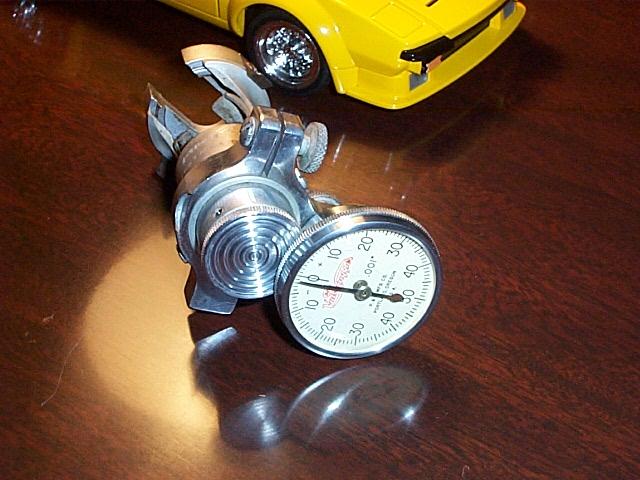
For those of you that have solid lifter cams, you know how difficult it is to set the valve lash with a feeler gauge. Sometimes it's hard to determine if the lifter is fully on the heel of the cam or the rocker arm can move around and developing the right feel to drag the feeler gauge is an art form. Back in the 1960s the P&G Manufacturing Company located in Portland, Oregon sold a really cool tool for adjusting the valve lash on solid lifter cams. The tool is called a P&G Valve Gapper. The tool is place on top of the valve spring and the sleeve part of the tool fits under the end of the rocker arm. When the engine is cranked over by the starter the dial gauge shows the exact valve lash. I found this one on eBay and they typically sell in the $70 to $100 range.
The gappers were sold with different adapters and sleeves to fit Ford, GM, etc. This one is a model 121, series 2 and has an adapter for GM engines. I haven't tried it yet, but I think that my roller rockers will be too wide to fit into the sleeve. If the rollers do fit I'm going to machine an adapter for the 351c valve train. I did use one of the tools back in 65 on my small block Corvette engine that had the 1965 375HP FI 30/30 cam and it did a fantastic job with the lash setting. Not that the gauge and precise lash setting gave the engine more horsepower is just made the valve lash sound and work perfectly. Solid lifter cams have a great sound and having every valve set the same is awesome.
Suspension and Brakes
A arm bushing removal tool. The tool pictured was designed by Fred Terry.
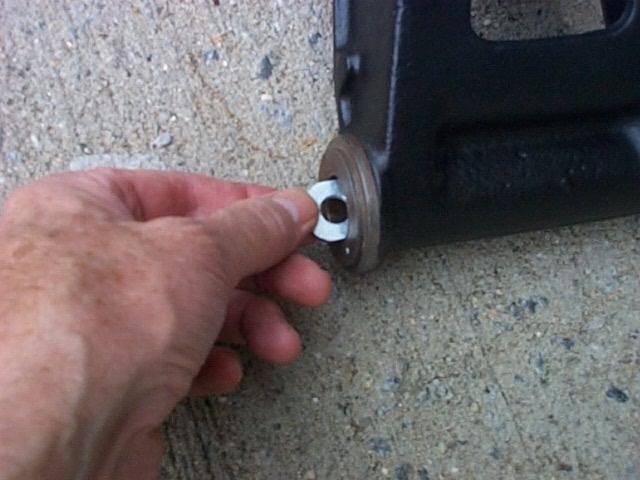
Bushing remove tool. To remove upright bushings a thick 1" washer was filed on both sides so that it would slide in the upright horizontally. After the washer was moved past the inside edge of the bushing it was flipped vertical and moved to the back edge of the bushing so the bushing could be pushed out.

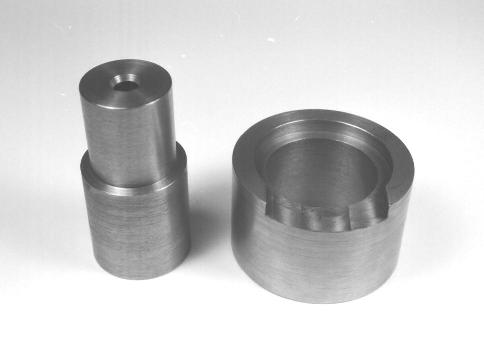
Upright bushing installation tool. I didn’t have a bushing installer so I used one of the old upright sleeves with one of the old upright bushings clamped to the very end of it with some vice grips. Before clamping the bushing to the sleeve I filed the end of the bushing that would contact the new bushing so that it had a nice flat contact area to push the new bushing into the upright. The old bushing was positioned and clamped on the sleeve so that a small area of the original sleeve bearing surface would slide inside of the new bushing but the remaining part of the new bushing would have the smaller diameter of the sleeve going through it.
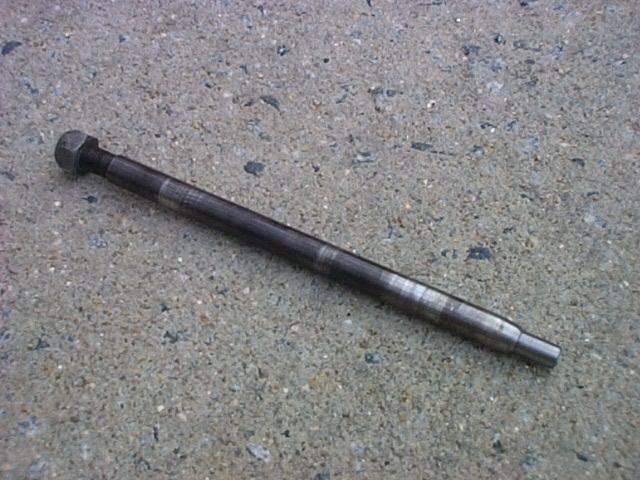
Upright aliment tool. An old lower shaft was ground to a taper on one end to use as a tool to align the uprights after they are positioned on the lower A arm.
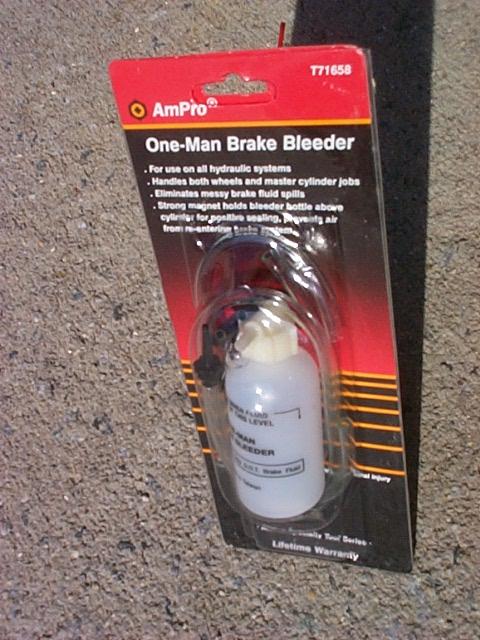
One person (man) brake bleeder. Used for bleeding brakes and hydraulic clutch system. The tool is available from most auto parts stores.
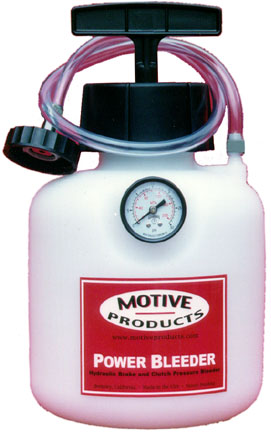
Power bleeder. Available from http://www.motiveproducts.com
Transaxle and Clutch

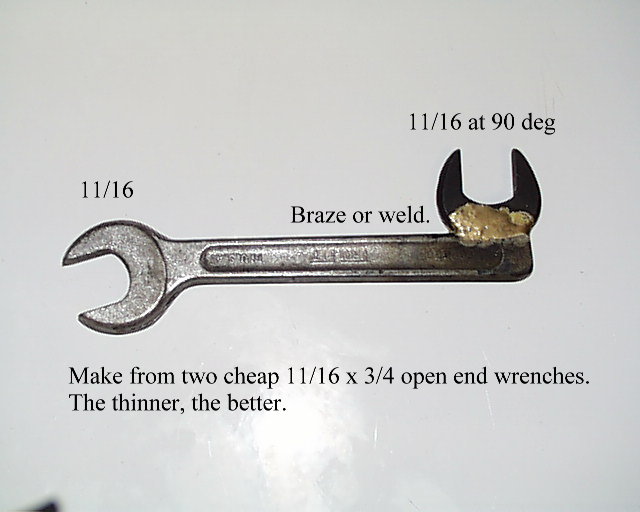
Special 17 millimeter socket for removing the ZF fill and drain plug. Available from Pantera venders. The one pictured is a Snap-on brand.
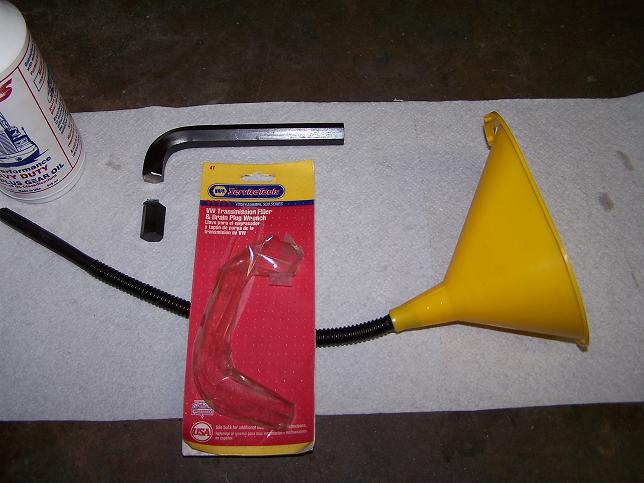
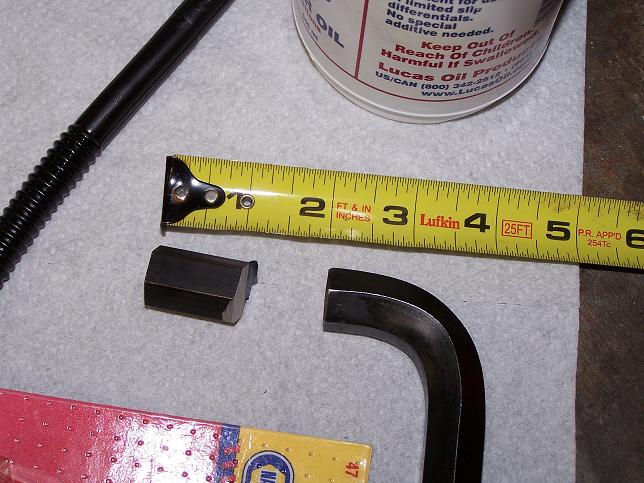
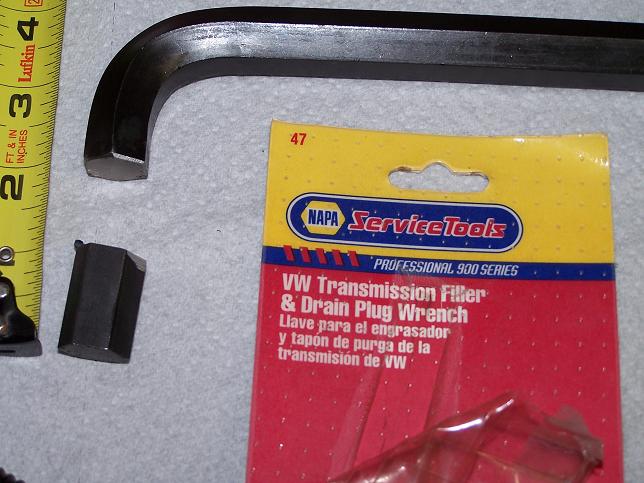
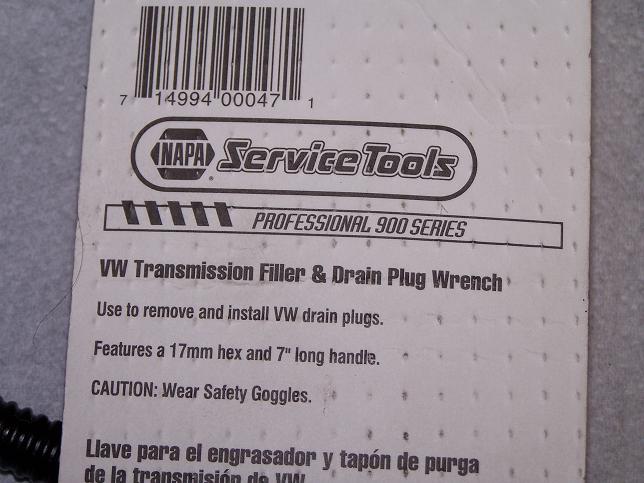
ZF drain plug tool idea sent in by Tom Borcich.
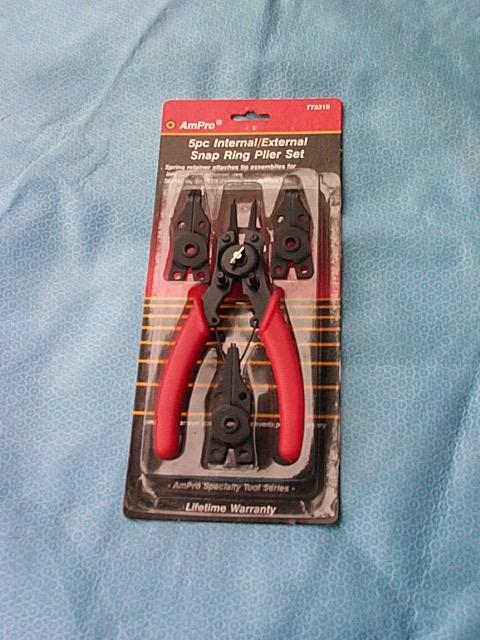
Snap ring pliers. The set pictured are made by AmPro and are available from most auto parts stores. There are a number of areas where these plies can be used on the Pantera.

Clutch disk alignment tool. Used when replacing the clutch. The tool is available from most auto parts stores and is for a Ford clutch.
Pantera Tools For The Road
After having my back trunk liner recovered, I couldn't put my metal tool kit and jack back on top of the beautiful new felt. I decided that there had to be some way to put all my tools for the road and jack in the front trunk. The front trunk has new felt too, but but it already had a lot of stuff on it so a little more would be fine. After spending hours looking around for a tool wrap or soft sided tool bag I settled for a Sears 12" tool bag number 937573 for $20.
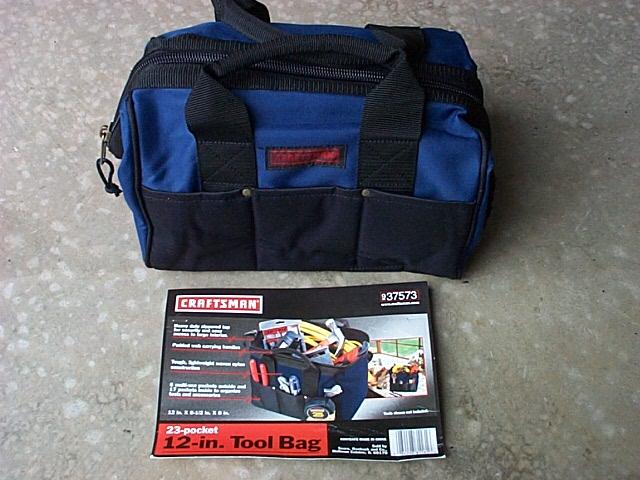
The Sears tool bag
The next job was selecting the tools that I would keep in the car.
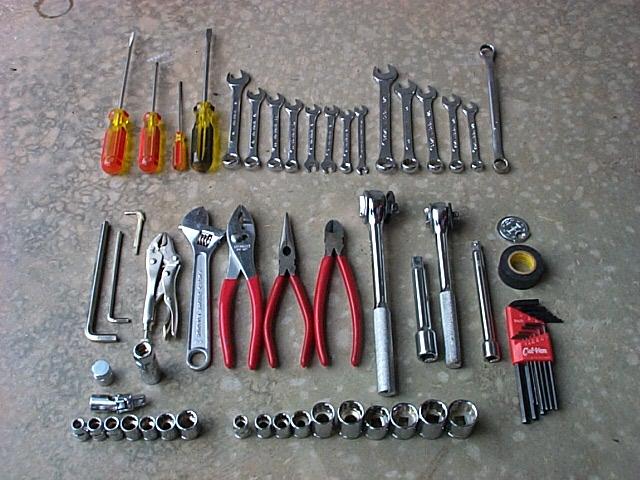
From the top left, to right: I selected three straight slot screw drivers and one Phillips head driver, a selection of metric and SAE wrenches, Allen wenches that fit the intake manifold on my car and one that fits the distributor point adjustment, a small Vice-Grip, Crescent, standard pliers, needle nose, cutters, 1/2" ratchet with drive, 3/8" ratchet with drive, spark plug gap tool, electrical tape, set of Allen wrenches, ZF fill plug socket, spark plug socket, 3/8" drive U joint, set of small metric sockets, set of SAE sockets including one that fits the 1/2" ratchet for the wheel lugs.

I do not have a stock Pantera jack for my car so I selected the smallest jack I could find. It's an 1 1/2 ton jack made by Larin and I found it at Autozone for about $19. It has a part on the top to fit around pinch welds but do not use it that way on a Pantera. Place the jack under the strong parts of the sub frame only. The other support items include shop rags, fuses, spare relays for my headlights and cooling fans, spare oil drain plug with extra washers, lugs for the spare tire, assorted screws, washers and nuts, a fix a flat, a MVP brand foot air pump, a length of baling wire and a test light. My distributor is a dual point unit and I've never had a sudden failure on the road with points but if you are using an electronic setup it would be a good idea to have a spare setup.

It all fits in the front trunk with the tool bag and foot pump in the center of the spare tire, the jack in front of the tire and the fix a flat in a felt bag and placed under the brake master cylinder.