(A condensed version of this article was published in the May 1999 POCA Newsletter)
Jack DeRyke published an article in the May, 1998, POCA monthly news letter on do-it-yourself leak-proofing of the ZF transaxle. Jack’s article inspired me to consider a do-it-yourself approach to my Pantera ZF transaxle.
I wondered if I had unknowingly contracted Pantera fever and whether the "fever" might be causing some kind of delusion of grandeur - but on the other hand, I wasn’t really planning to take the ZF transmission apart. Well, not completely apart. What follows is my experience with my ZF and some thoughts that might expand on Jack’s article.
Most of the leaking from my ZF was coming from the front seal. The folks at ZF engineered the front seal assemble pretty well, as the seal hosing has an oil drain hole on the outer side of the seal and an oil slinger on the main shaft that keeps leaking oil at the drain hole. Resulting in the oil running down the face of the front of the transaxle inside the bell housing and out the hole at the bottom of the bell housing. Although the front seal on my ZF had started leaking badly, there was no oil on the clutch.
Before starting the project, Jack and I exchanged some e-mail about his article and I spent some time talking to Pantera Performance in Colorado. In my case, the ZF leaking was my only issue, because the transaxle shifted just fine. Talking to Pantera Performance, helped me determine that they could reseal the transaxel at a reasonable cost. However, I decided that if I went to the trouble of removing the ZF and sending it to Pantera Performance, I might as well go completely through the rebuild process. Other major issues of consideration were the shipping cost of $300 and the down time of the car of no less than three weeks.
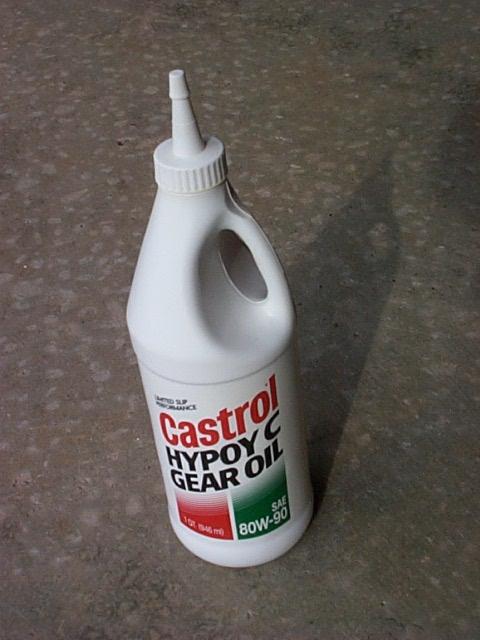
The other issue that I was pondering, was what level of rebuild on the ZF should I undertake? It’s really an all or nothing proposition, all of the synchros, etc. Pantera Performance listened to my description of the transaxle condition, the limited mileage I drive per year (about 1,000 miles) and to my surprise, they agreed that if I got started on the project and got in over my head, that I should just button it up and send it to them to finish the work. At this point, I had little to lose on the do-it-yourself plan because I needed to remove the ZF anyway. After I talked to Pantera Performance, I developed a great level of admiration for their honesty! So - of course, I ordered the front seal, the right and left axle seal, a new fill plug and the side cover gaskets from them.
Pantera Performance recommends RTV for the lower cover gasket and for the
front shaft gasket. My ZF did not have a gasket on the front shaft. While I had
the ZF out, I decided to replace all of the clutch stuff - roller pilot bearing,
clutch plate, pressure plate and throw-out bearing. I used stock clutch parts
from Pantera performance.
Before starting, I recommend that anyone undertaking this project, clean the
outside of the transaxle and then drive the car to induce leaks and make sure
that you can identify all of the leaking areas on the transaxle. In my case, the
transaxle was clean because I’d been cleaning off gear oil for months and I
certainly knew where the leaks were.
The first near disaster on the project was caused by the information provided in the Ford Pantera Technical Information manual. The manual instructs that a "protected floor jack," be placed under the engine as far back on the oil pan as possible to raise the back of the engine removing the load on the back transaxle mounts. DO NOT JACK ON THE OIL PAN! The oil pan is soft metal and can be crushed into the crank shaft of the engine. I was very lucky and used a very large piece of wood to protect the pan which made a very small depression in the pan with no negative result. I understand that it does not take a very big depression to have the pan hit the crank. Wow, lucky me! A better solution would be to jack on the sides of the engine block as descried later in this article.
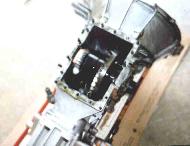
By using the Ford Pantera Technical Information manual, I was able to remove the ZF by myself. I spent one evening getting everything ready for the hoist and then rented the hoist and removed the ZF. My car has an aluminum adjustable wheel house brace so I made a small jig out of cardboard that fit between the two arms allowing me to adjust it back to the same position.
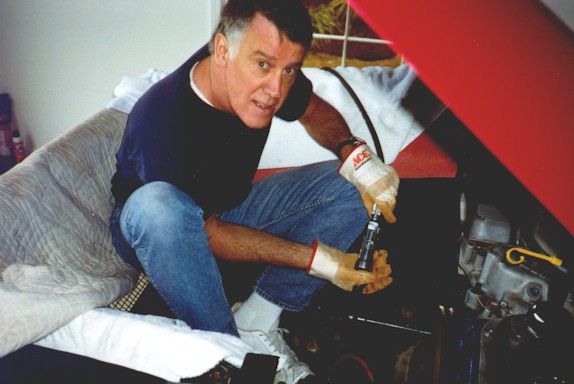
Getting the old clutch plate out
My transaxle was very clean so I did not need to do much cleaning before I started the disassembly. There are some areas behind the side plates where dirt collects that cannot be easily cleaned out before removing the bottom cover and side cover. Care must be taken to clean this area with the side plate removed. Keep everything clean and do not allow any foreign objects or dirt to get inside the ZF case.
I cleaned the inside of the bell housing with engine degreaser and carb cleaner. I found that carb cleaner and paper towels did a great job of super cleaning all of the outside areas of the bell housing and transaxle.
I found that the only way to get the front seal out of the housing is to fold the edges of the seal over and using the dikes, cut and pull the seal apart. Be careful cutting the seal with dikes as part of the front casting looks like it is part of the seal, and it isn’t. Make sure that the front main shaft bearing is fully in place in the front of the case. The front bearing can work its way out of the case and slide back on the main shaft making for a very leaky front seal. This can be seen with the front housing off and from the back side with the lower cover removed. In my case, the bearing was fine.
I used the slide hammer puller to remove the throw-out bearing from the carrier while the carrier was out of the transaxle. I cleaned the carrier inside and out and installed the new throw-out bearing. I packed the inside grove of the carrier with grease and put grease on the tabs where it contacts the release arms. Make sure that the ends of the throw-out bearing retaining spring does not hit the mounting flange for the front housing. Check the tightness of the bolt and nut holding the clutch shaft arm on the outside of the case. The nut on my arm was finger tight. Also check that the arm and nut does not bind on the side of the bell housing when the arm is moved through its full movement.
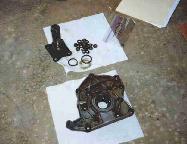
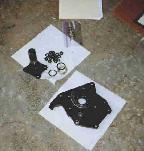
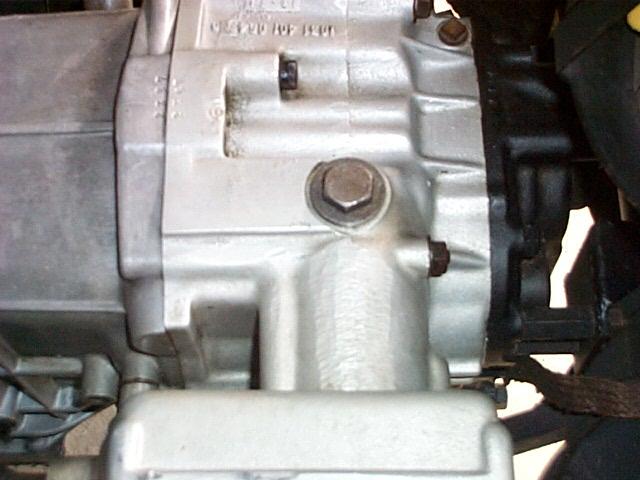
![]()
ZF front view with throw-out-bearing removed (this view is before cleaning and the ZF is upside down)
The side covers must be removed to install the axle seals because the axles are held into the side covers with circlips. I removed one side at a time, completed that side, reinstalled, torqued and then removed the other side. Keep in mind that you are messing with the side covers that support the ring gear and control the ring and pinion gear lash adjustment. You will need circlip pliers that are long enough to reach down into the back side of the side cover to remove the circlip that is around the axle. You might want to hold off purchasing the circlip pliers until the side cover is off so you can see how long they need to be, and the size of the plier ends.
I found it hard to get hold of the clip on the first axle, move it out of the axle groove and start moving it up the axle. The second axle went a lot easier. There is a spacer washer behind the clip that must be removed. If not removed, the spacer will catch in the circlip groove and get bent when removing the axle. This was almost disaster number two for me. At this point the axle is ready to be removed. I held the side plate with the splined axle end down and lightly tapped the whole assembly down with the splined end of the axle hitting on about six layers of a towel covering the clean concrete garage floor. It sounds crude but I did not have a press. In my case the axles were a snug fit but came out pretty easily.
It appeared that the only way that the seals were going to come out of the
side plates was by using a slide hammer seal puller. I bought the puller for the
seals but you will need it and some strong arms to get the clutch pilot bushing
out of the crankshaft anyhow.