The Pantera Place
"Your de Tomaso
Connection"
Pantera Tune-up Ideas
My Pantera engine started missing slightly last week. After checking the
dwell (the distributor has real working dual points), timing, etc. I decided
to pull the spark plugs and look for a bad plug, I really didn't think it
would be a plug problem because the plugs were installed about 7,000 miles ago
when the engine was built. As I gave it some thought, I realized that it was
over NINE years ago!!! As it turns out, the last plug I pulled was from
cylinder number four and it was carbon fouled and was the cause of the miss.
I had forgotten about my built 1965 375 HP Corvette engine with the big
30/30 cam that I had 35 years ago. I was always changing the plugs in that
monster!!! Over time and the experience of owning new cars with plugs that go
30,000 plus miles I’ve tended to forget how important plugs are in high
performance engines with radical duration cams.
When I first got the Pantera in 1998, I completely went through the
ignition with new parts but didn't change the plugs. The new plugs fixed the
miss and made the engine run really, really super!!! So if you haven't changed
plugs in your Pantera engine lately, the plugs are cheap, easy to change and
make a big difference. The Pantera maintenance schedule calls for checking the
plugs every 12,000 miles and to replace them if necessary. I guess that would
be with a stock engine!
The moral of the story is keep your Pantera in tune because it isn’t a
new Nissan Maxama!! The following are some ideas about tuning-up your Pantera.
I found that when you are looking for the Pantera tune-up parts at your
auto parts store tell them that you have a 1971 Mustang Boss 351, they won't
have a clue what parts are used for a Pantera. This applies other engine
support items too, e.g. generator, starter solenoid.
Changing The Plugs
Changing the plugs in the Pantera isn’t a difficult project. I found that
a short extension on the ratchet attached to a U joint and then to the plug
socket made it easier to get the plugs out. This especially helped on the
right side plugs.
The Autolite plug chart shows that a 1971 mustang 351 Cleveland 4V should
use a number 24 plug. I decided to try the 24s but some owners use the next
hotter number 25. My engine has the 11:1 compression heads and an aggressive
cam so I though it would be safer to try the colder plug first. We will see
how that works or if they will foul from being too cold! (note, I went to 25s
a few months later as the 24s were too cold) You can use a small
amount of spark plug anti-seize on the plug threads to make getting them
out easier next time. On page 53 of the blue Pantera owner’s manual, you
will find a description of how to read the plug color. Though with today’s
fuel you will most likely never see the brown color that they describe.
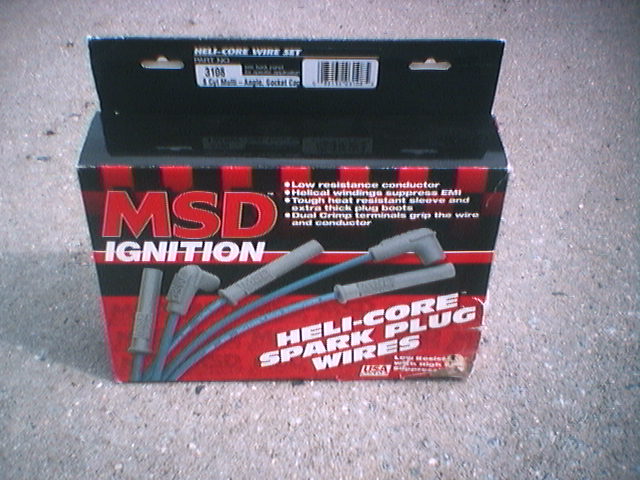
Plug Wires
For plug wires, I used the MSD Heli-Core wire kit part number
3108 8 cylinder Multi-angle, socket cap. With this kit you cut the wires to
length and MSD provides a tool for crimping the distributor end connector. I
didn’t use the MSD custom 351 Ford kit because I wanted to have the wires
run exactly by my route and be exactly the correct length. I found them in the
Jeg’s catalog. On page 53 of the blue Pantera owner’s manual, there is a
drawing and description of the 351 Cleveland firing order.
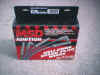

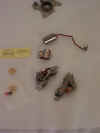
MSD spark plug wire kit with
cutoff and crimping tool
MSD spark plug wires
installed
Distributor Cap and Rotor
Changing the distributor cap and rotor is pretty straightforward. I like to
pull off the old cap and rotor then install the new rotor and cap. Then I move
one wire at a time from the old cap to the new cap and then double check the
wires for the firing order. My car has an Accel dual point distributor, so it
takes a special non Ford cap and rotor that I found at Jeg’s.
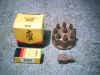
Accel cap and rotor kit
Distributor Points
Because my car uses an Accel dual point distributor, it has special Accel
dual points that are designed with heavy spring tension to prevent point
bounce at high RPM. I found the points at Jeg’s. It is a good idea to
check the timing and dwell before starting the project and make a note of the
original settings as a reference point.
Accel dual point distributor model 30202 like is used in my
Pantera. Note that the distributor cam is supported above and below by
roller bearings.
On page 55 of the blue
Pantera owner’s manual there is a description of how to adjust the stock
points. The best way to adjust the points is to use a dwell meter (that
connects to the distributor lead on the coil and ground) that shows the dwell
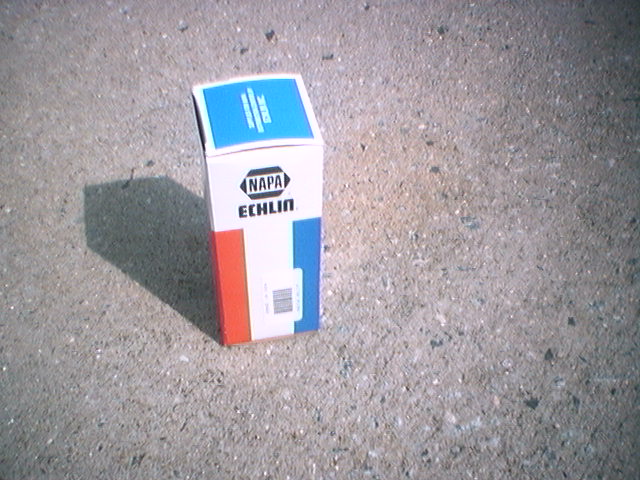
angle. Be sure to use the correct distributor cam lube on the distributor cam because
many point kits do not come with lube. The only place I could find the
cam lube was at NAMPA Auto parts, ECHLIN ML-1. See my dual point section for
information on dual points.
One nice thing about point type distributors compared to electronic units,
is the point units tend to just go out of adjustment slowly over time while
the electronic units can just fail completely without warning. Dual points
provide about 20% hotter spark than a single point distributor.
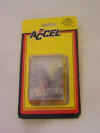
Accel dual point kit (includes
lube) and NAMPA cam lube
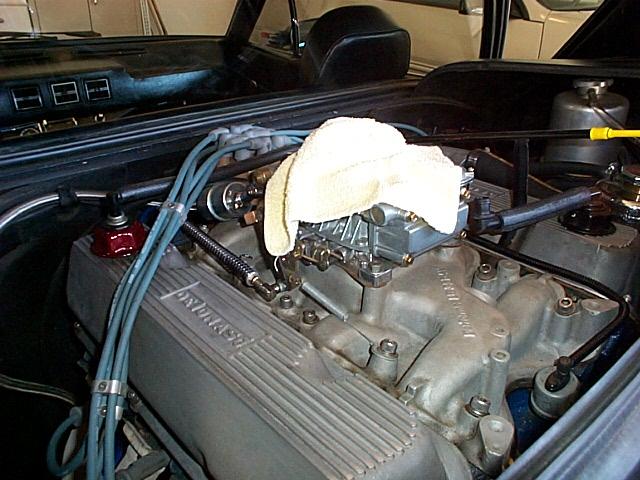
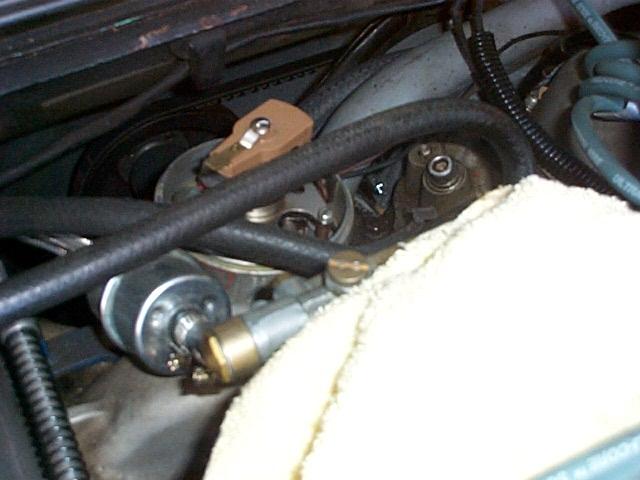
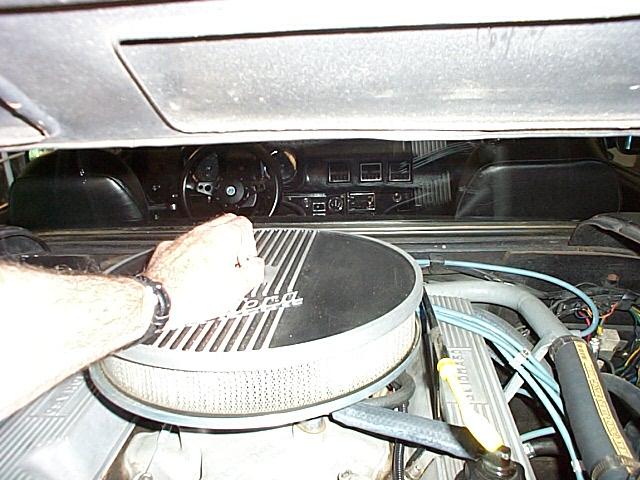
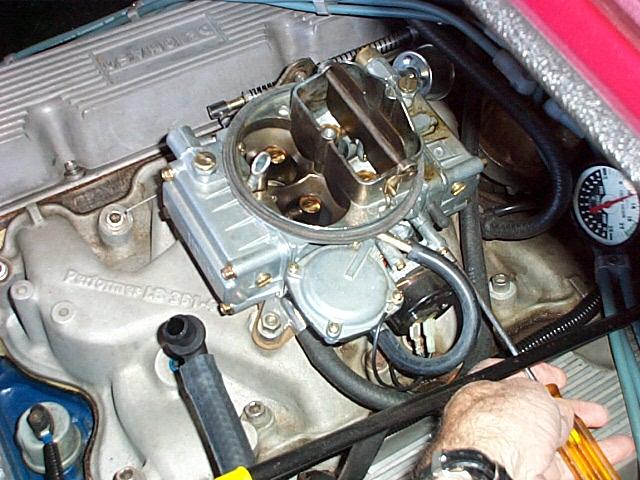
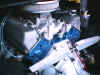
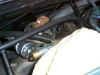
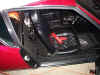
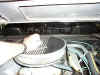
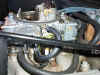
View of the engine with the air
cleaner removed. I like to put a rag over the carburetor to keep stuff
from falling in.
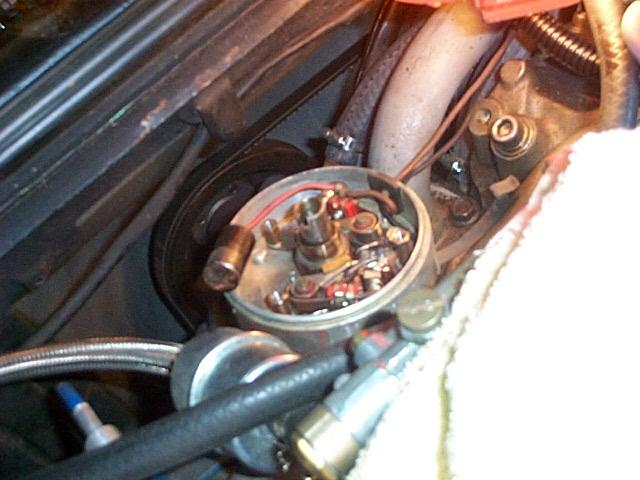
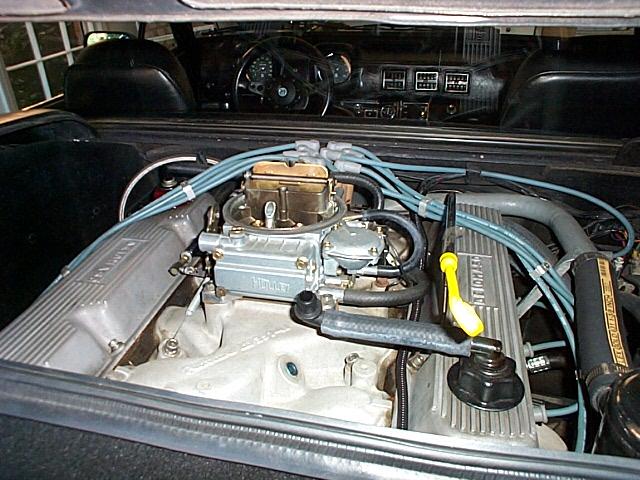
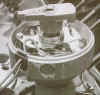
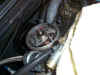
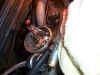
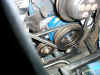
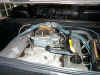
View of the distributor with
cap and wires pulled back over the carburetor.
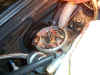
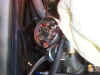
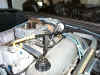
View of the distributor with
the rotor removed. My Accel distributor has a bearing plate that fits over
the top of the shaft to keep the cam stable. The plate is held on with
three screws. Be careful not to drop any of the screws because they
could fall down inside to the lower level of the distributor.
View of the old points being
removed.
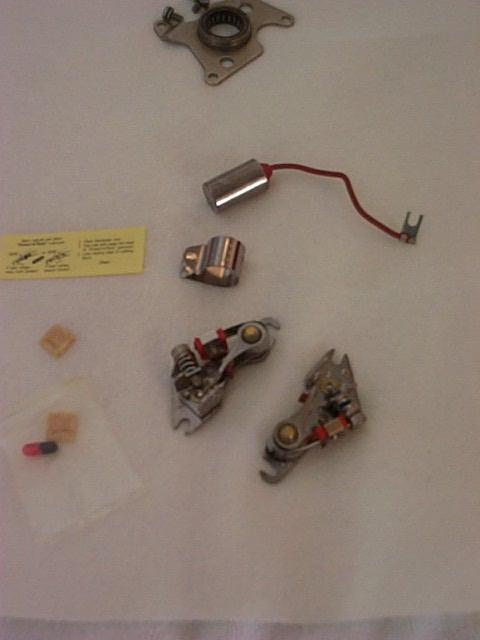
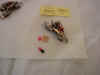
View of the points package and
the contents. The Accel dual point part number kit is #8329.
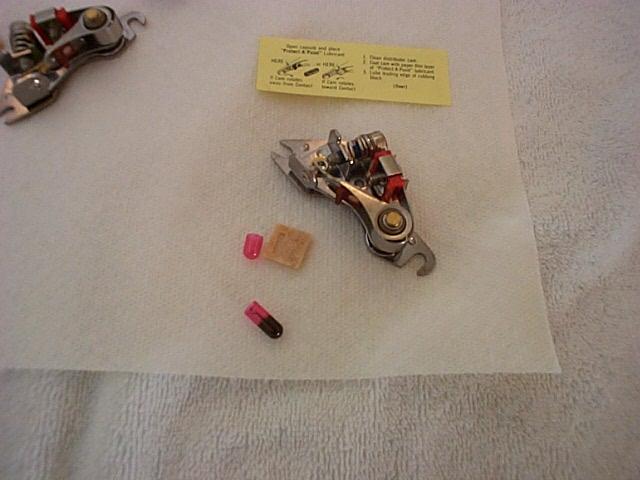
View of the cam lube and the
pad that fits on the point arm. Follow the instruction on applying the
cam lube carefully.
The old points and condenser
were removed and the new points installed. View of the back points
installed and the front points being installed.
In this view the front points
are installed on the condenser is ready to me mounted with the single screw.
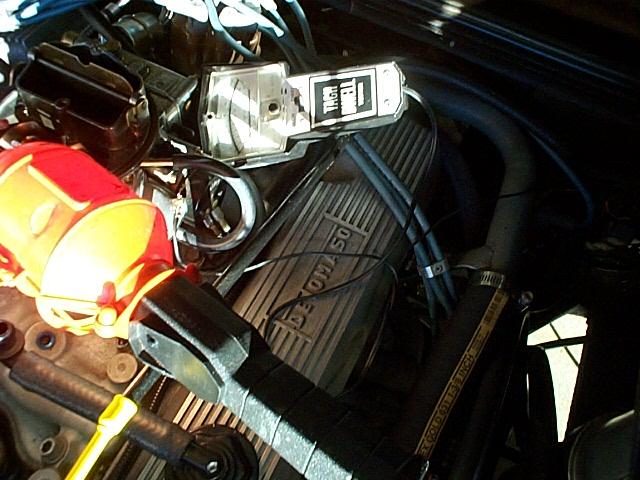
The next step is hooking up the
dwell meter. It is connected to the distributor side of the coil and
ground (not the high voltage lead).

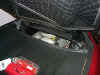
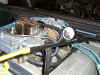
I find that I can adjust the
primary points best from inside the car with the fire wall removed. To
adjust the primary points the wire connector to the secondary points is disconnected.
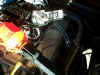
In the image on the right you can see the connecter just in front of the
number one spark plug wire. With the secondary points disconnected
the engine is started and the primary points dwell is adjusted. The
Accel distributor has rubber covered ports that give access to adjusting the
points with a small Allen wrench while the engine running. After the primary points dwell is
adjusted the engine is shut down and the secondary points connecter is
reconnected and then the engine is restarted and the total dwell is set by
adjusting the secondary points. See more info on the dual
point distributor page.
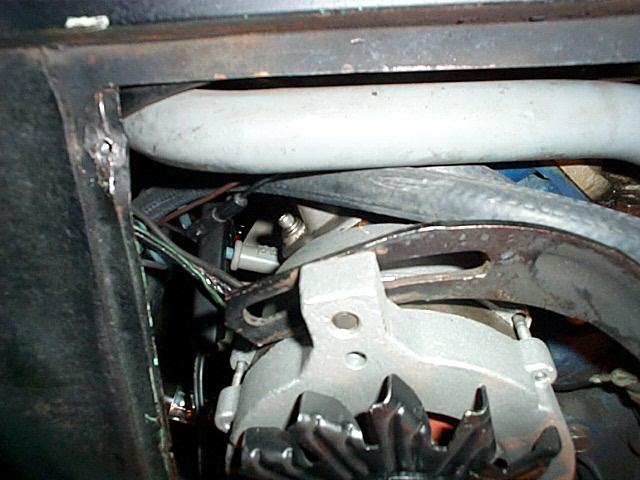
Use
extreme caution when running the engine with the engine cover off. The
belts and pulleys are very exposed and lethal. The seat backs can
come in contact with the belts and pulleys as well as body parts.
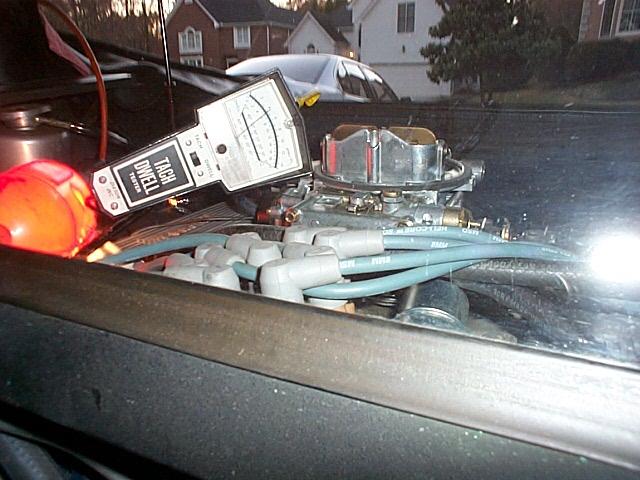
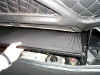
After the dwell is set the engine
timing needs to be checked. Change in dwell impacts the engine
timing. I connect the timing light to the battery and reach though the engine
hatch and connect the timing light to the number one spark plug wire that is
on the passenger side. The image on the left shows the timing light and
the image on the right shows the timing pointer on the front engine cover and
the timing marks on the engine damper. It is not easy reaching the distributor
to install the point and some people might want to remove the distributor to
work with it on the bench. Do not remove your distributor unless
you are absolutely sure that the oil pump drive shaft is installed right side
up in your engine. If the oil pump drive shaft is not installed correctly
it can stick to the bottom of the distributor shaft and then fall off when you
get the distributor about half way out. When the shaft falls there is a
very, very good chance that it will fall all the way down into the oil
pan. And you know what that
means!!
Distributor Ignition Timing
The process for setting the timing on the Pantera is a little unusual
because you need to take the firewall cover out to see the timing mark. Then
you hook your timing light power to the battery in the front trunk and connect
to plug wire number one. Then you start the engine and stay away from the
drive belts while you set the timing. On page 57 of the blue Pantera owner’s
manual, there is a description of how to set the timing. The blue manual
indicates 6 degrees BTDC but most people go 9 degrees or more depending on the
engine.
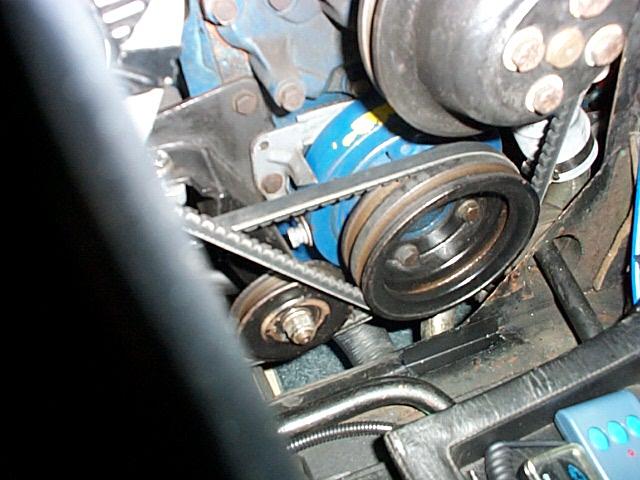
Use extreme caution when
running the engine with the engine cover off. The belts and pulleys are
very exposed and lethal. The seat backs can come in contact with
the belts and pulleys as well as body parts.
Carburetor Fuel Filter
While you are going through the tune-up it would be a good time to change
the fuel filter. The filter should be in the line leading from the fuel pump
to the carburetor.
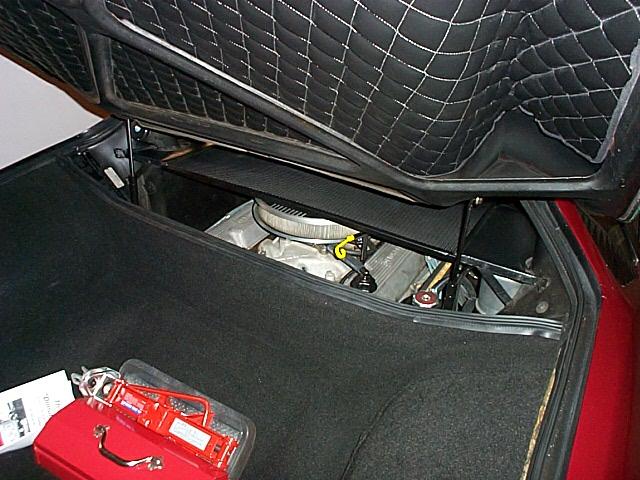
Carburetor Air Cleaner
Most Panteras seldom use the stock air cleaner so this would be a good time
to replace the air filter. Most of the after market air cleaners expose the
air cleaner element to whatever is blowing around in the engine compartment so
it should be changed regularly.
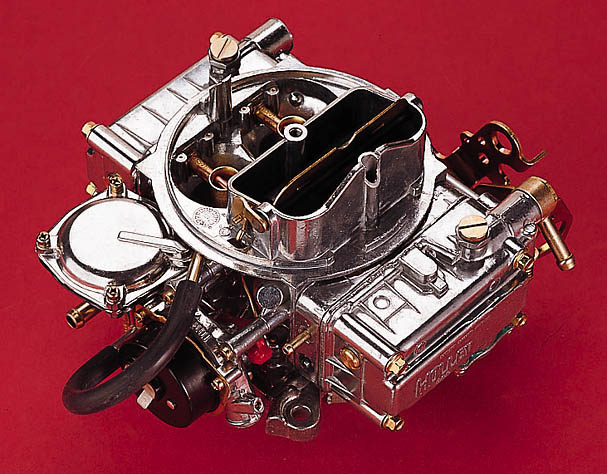
Carburetor
Most Panteras have had the stock carburetor replaced so your car will most
likely have a Holley 600 CFM or 750 CFM carburetor. My car had a Holley 600
CFM carburetor when I got the car. The carburetor was missing the choke
butterfly so I found it easier to buy a new carburetor than to mess with the
old one. In my case Advance Auto had the Holley 600 CFM #0-804547S with
electric choke on sale for $199.
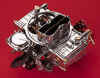
Holley 600 CFM carburetor
#0-804547S with electric choke
On page 57 of the blue Pantera owner’s manual, there is a description of
how to set the carburetor mixture. Make sure the engine is up to
operating temp before starting this adjustment.
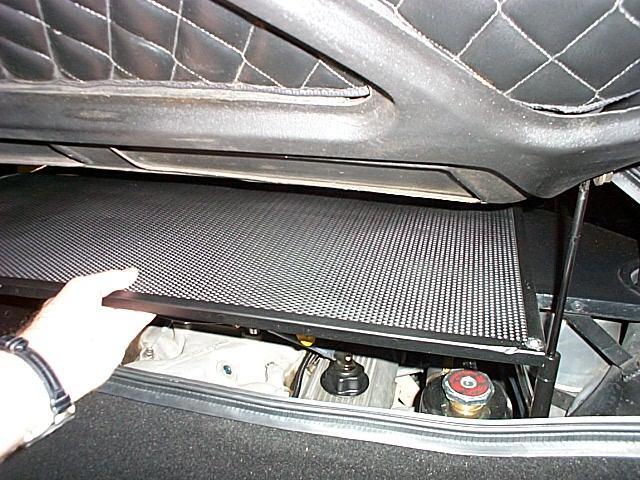
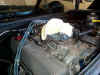
First you need to take the engine screen cover off and remove the air
cleaner. My car has a Hall Pantera air cleaner.
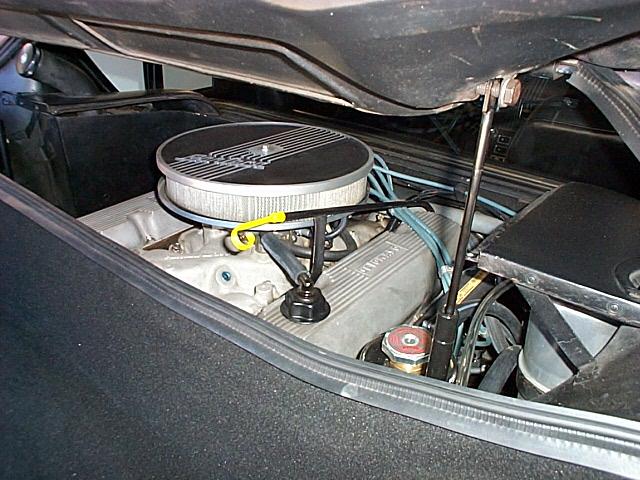
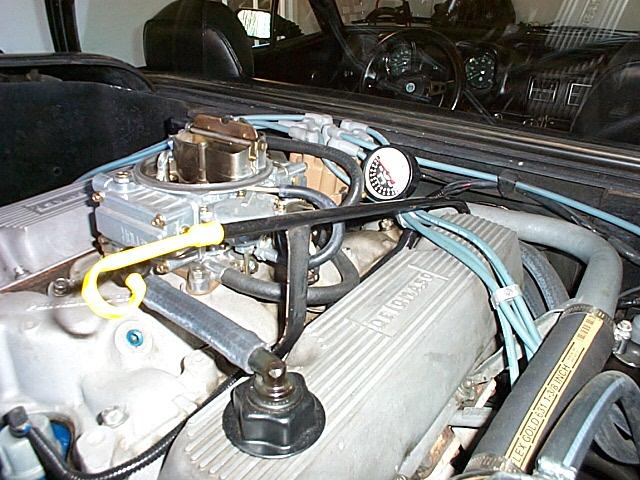
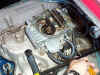
View of the carburetor with the air cleaner removed. I disconnect
the valve cover breather tube from the bottom of the air cleaner. Caution!
Do not let anything fall into the carburetor opening, e.g. air cleaner parts,
washers, wing nuts. If you do drop something in the carburetor DO
NOT start the engine until is is found and removed. Just a small
washer will cause supper bad damage to the engine.
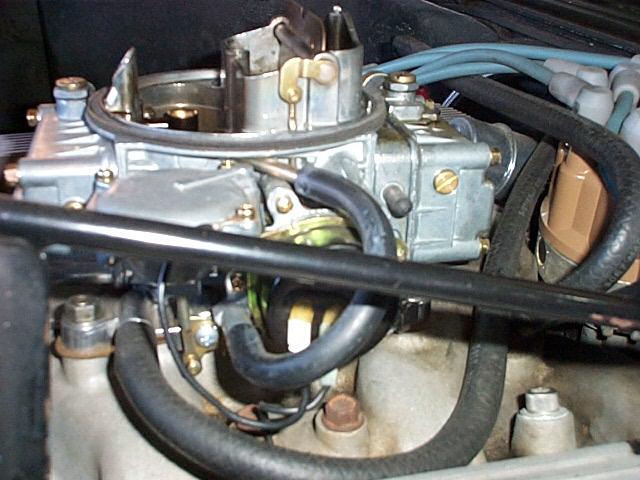
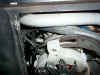
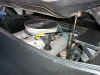
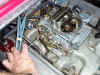
Next a vacuum gauge is connected to an intake manifold vacuum source.
My car has a small port next to the vacuum brake hose in front of the carburetor.
The gauge can be seen in the above image, just in front of the carburetor.
Next start the engine and note the vacuum. When I started the vacuum
was at 10 inches.
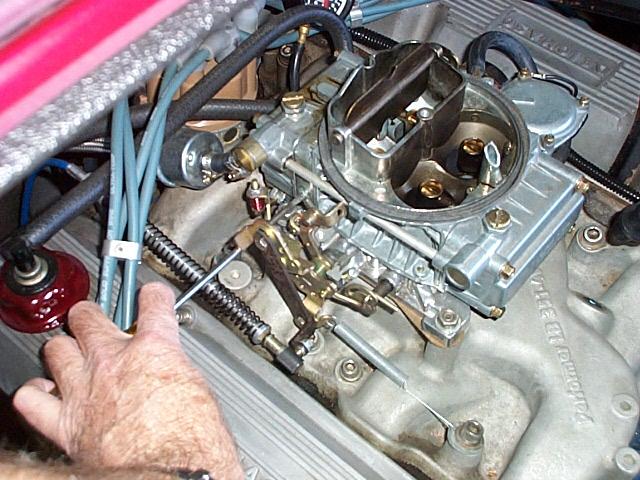
Next find the the two Holley 600 idle mixture screws are on the
side of the carburetor behind the front float bowl. In the above image
the adjustment screw is visible just below the capped off vacuum
fitting.
To set the mixture you turn the mixture screw in slowly clockwise (lean) until the engine RPM slows then back it out
slowly to the fastest idle speed with the highest vacuum reading. In the
images above I started on the passenger side and them moved to the driver
side. You will need to reset each side a
couple of times to get it right. The setting needs to be set so
that you have the most vacuum and with the adjustment to the lean
direction. If you car has a aggressive cam trimming it takes a number of
times on both sides of the carburetor to get the setting just right. My engine
with an aggressive cam will pull 11 to 12 inches of vacuum
at 700 RPM. When you think you are done listen to each side of the
exhaust and make sure each cylinder sounds like it is firing strongly.
The engine must be at full operating temp
before setting the mixture and idle speed. Check the Holley manual for setting
the float levels before setting the mixture. For more information
on using a vacuum gauge try this link http://www.centuryperformance.com/vacuum.asp
I hadn't noticed the fuel stain on the top of the front Holly float bowel
until I was reviewing the images for this page. I found that the
metering block has some small brass plugs on the top of the block and they
were weeping very small amounts of fuel. My solution was to take the 2
1/2 year old Holley back to advance Auto were I bought it and they sold me a
new one for the original $199 on-sale price that I paid in
1999.