|
All of the technical information and product information posted on this website is offered as general information and is not recommended, endorsed, guaranteed or presented as professional technical information. It is recommended that you seek professional help for the repair or maintenance of your car. Improper self-maintenance or repair of your car can result in serious injury and or death. Use of this information is done at your own risk. |
August 1998
When I bought my Pantera in 1998, the original window switches had been replaced with German Bosch units and the driver's side was starting to fail. No relays are used with the switches so the full load of the window motors go directly through the switch contacts. To make things worse, the switch contacts are not self-cleaning, meaning the switch contacts have little or no wiping action as they close. This causes a build up on the contacts from spark arcing and contact burning.
The simplest solution is just to replace the switch, and I did. In 1998 the switches cost about $27.00, each through Pantera parts supply companies. The after market Bosch switch is shaped differently than the original, so you will want to purchase two new switches that match.
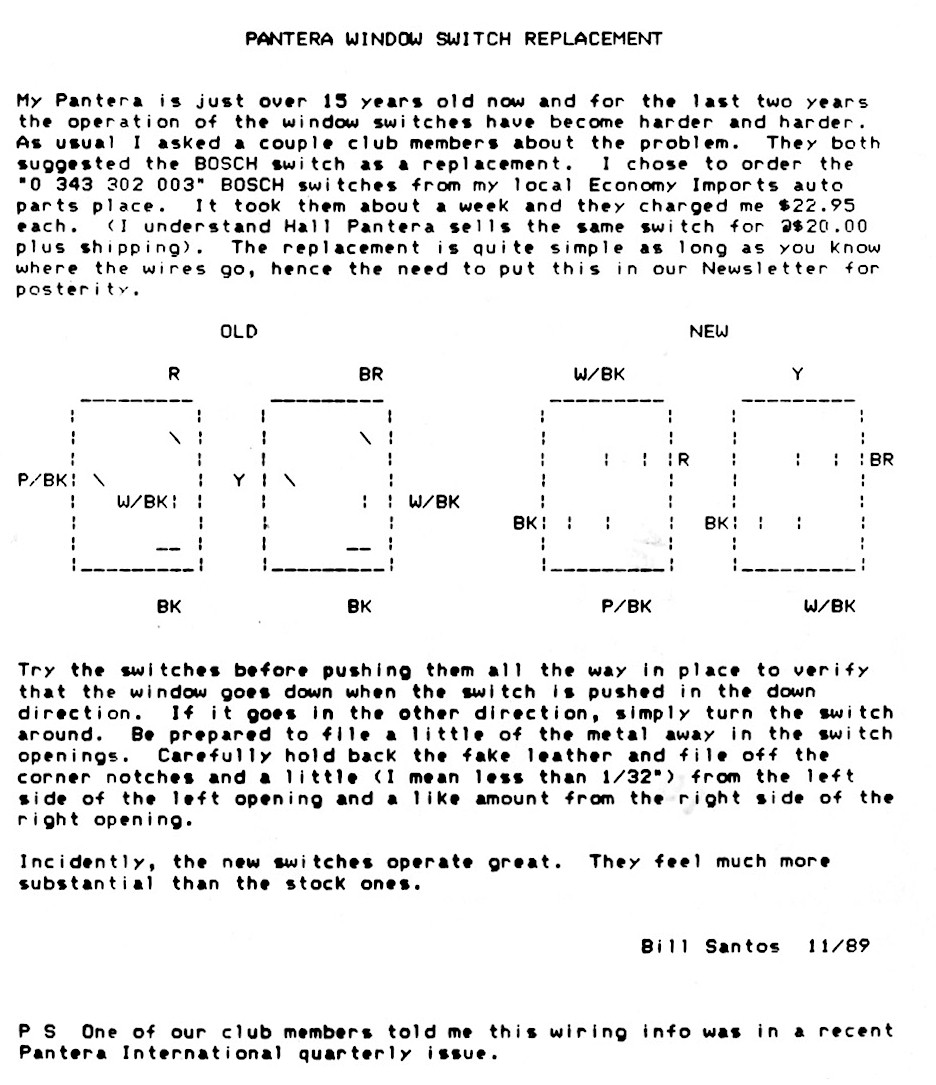
Mike Drew sent in this window switch information image and wiring diagram created by Bill Santos.
Update October 2012
Fourteen years later, one of the switches started to fail again so I ordered two new switches. Having extra old switches, I decided to disassemble a switch and try cleaning the contacts.
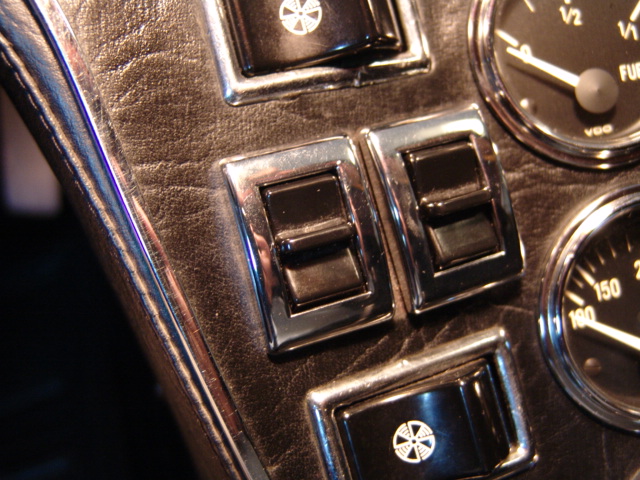
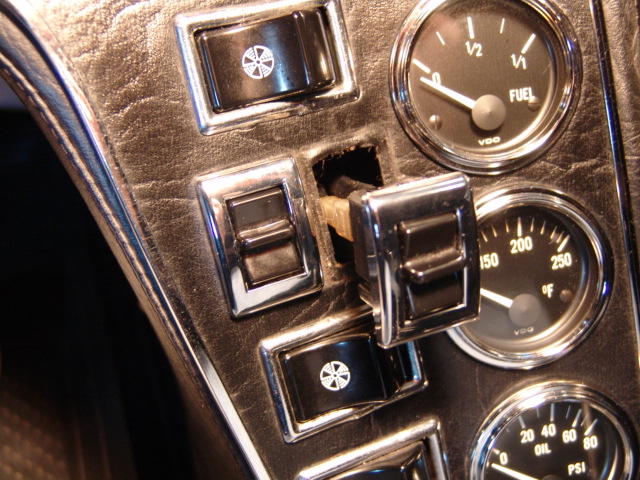
The switch can be pulled out of the console and replaced easily. Be sure to disconnect the battery before doing any electrical work on your car.

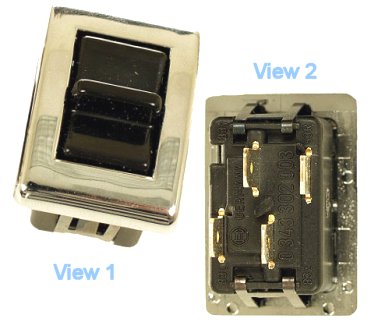
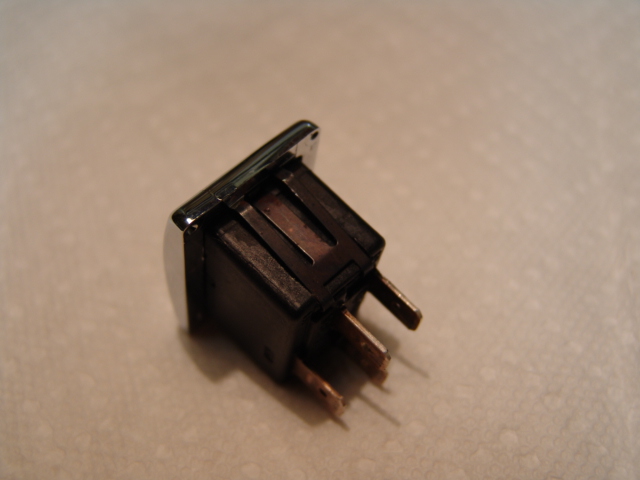
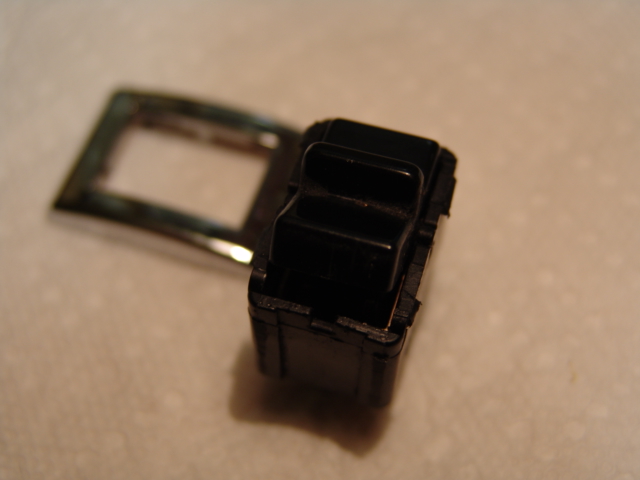
View of the switch removed from the console.
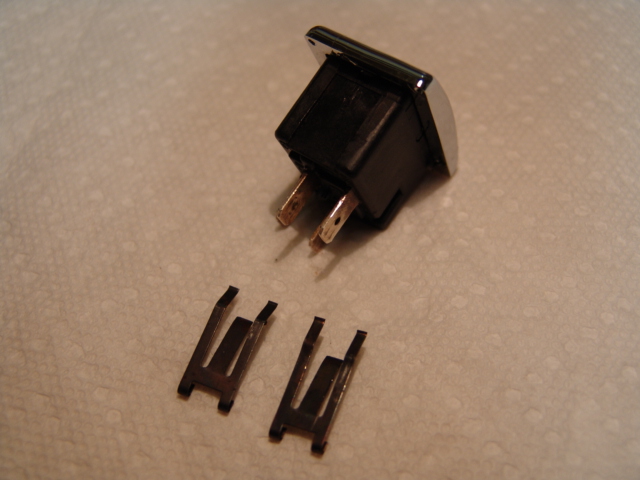
There are two springs that hold the switch in the console opening. Remove them by lifting the upper center part of the spring and sliding them off the switch case.
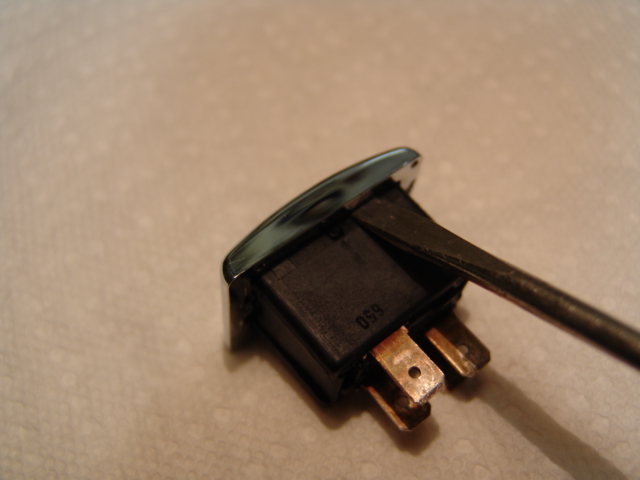
The front cover is held on the case by two small snap-over tabs molded into each side of the switch case. Starting with one side of the case, I found that it worked best to apply pressure to the upper side edge of the case near the tab to move the tabbed parts of the case away from the front cover notches and then with my fingers and a bit of twisting action with the screw driver work the cover off. The cover will crack easily so if you pry on it be very gentle and be careful of the little plastic pivot points that are on the rocker switch lever.
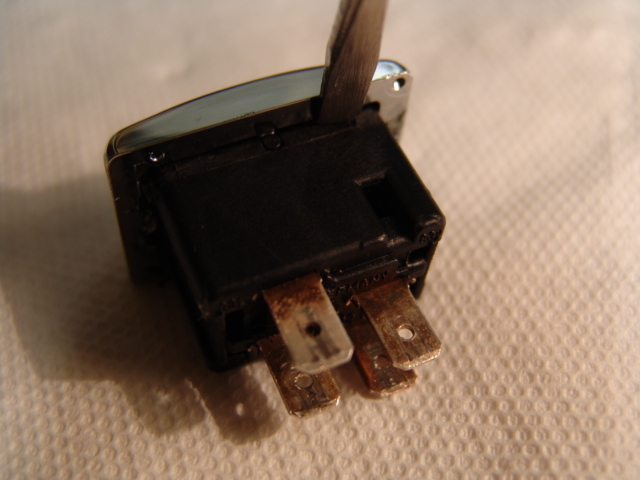
View of the cover removed. Note that there is one short and one long retaining tab on each side of the case.

The switch with the switch lever and the rocker contacts removed. From this image you can see the spring in the switch lever that pushes on a plastic link that connects between both switch contact rockers. When the switch lever is moved the contact rockers pivots in the slotted connectors in the switch bottom with an over centering action created by the cam shape in the contact rockers and the action of the spring pushing on the plastic connector. Interesting that the contact rockers are held against their related contacts by the spring and not directly by the switch lever. This explains why when the contacts get dirty, pushing harder on the switch lever has little impact unless you release the lever and push again. If there is any wiping or cleaning action of the contacts as they work together, it is very very little.
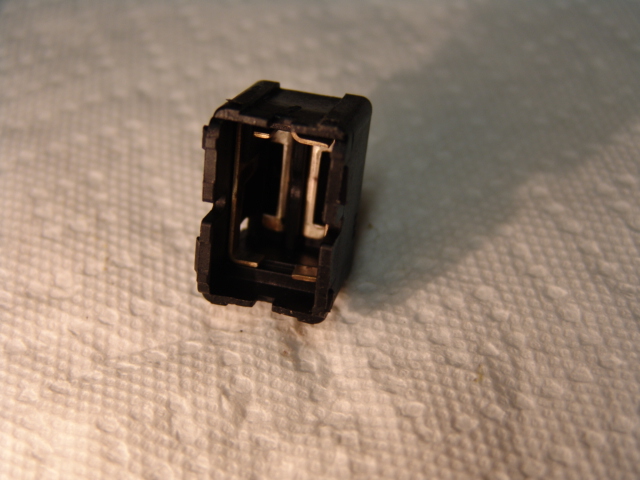
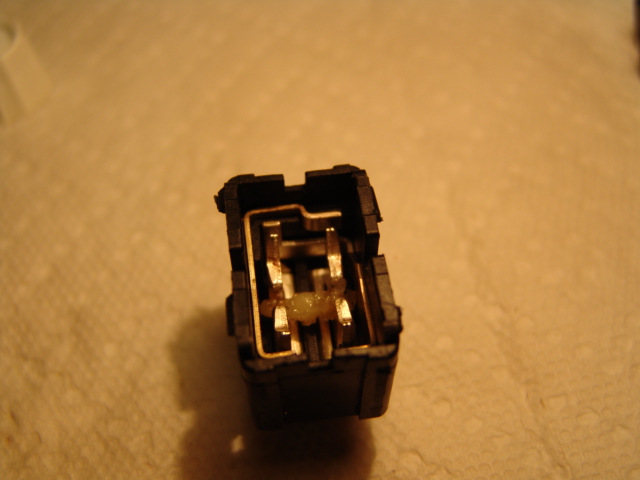
The contacts inside the case. Two on each end and the two slots in the bottom where the rocker contacts rest.
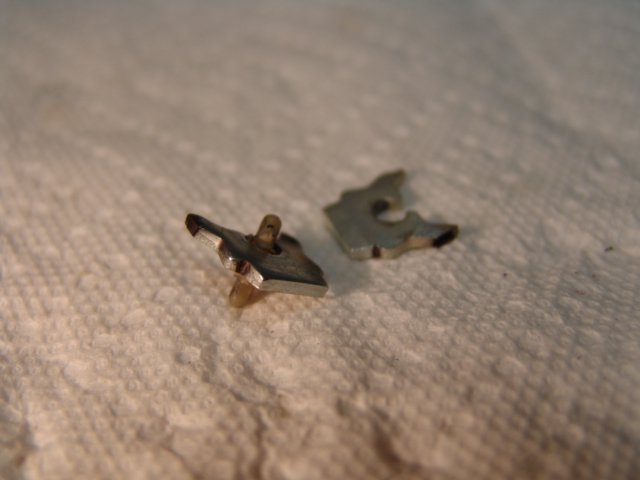
The rocker contact before wiping off the black carbon that was on the contact points and some on the bottom edges where it fits into the contact slots.

The rocker contact after wiping off the black carbon that was on the contact point. Notice that there is still a burned dark spot on the contact point.
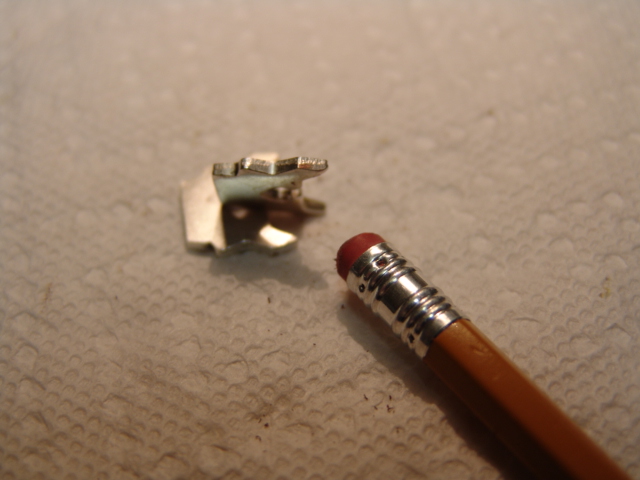
The contact after polishing with a pencil eraser. All the contacts in the case were polished and eraser residue cleaned out.

The rocker switch cleaned ready for some grease.
The contacts back in the case and the plastic part between the contacts lubed. I used high temp silicone brake grease to lube the parts, being very careful not to get any grease near the contact areas. The rocker switch with the spring drops in and then snap the cover back on making sure the tabs match. The end springs slide on and snap into the ends of the case.
The cleaned and refurbished switch was tested in the car and it works like brand new. Once you do one switch the second one will just take a few minutes and save you $24.00 for the cost of a new switch.
The Bosch part number for the switch is 0343302003.