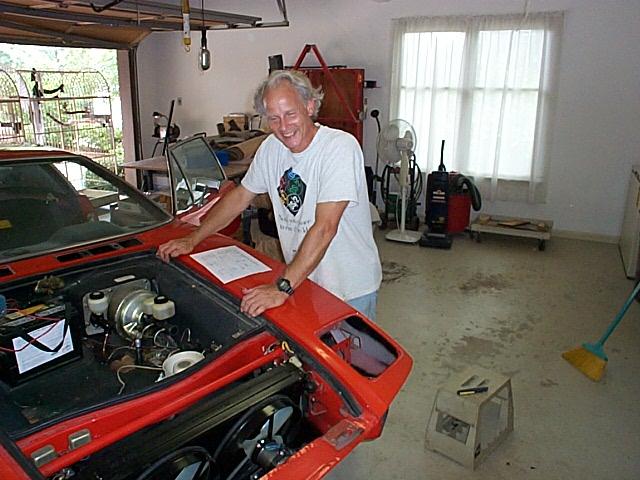
Dick Koch is in the process of reassembling his 74 Pantera. Dick bought the car new in 1974 and got a great deal as the fuel crunch was on and Panteras as well as other performance cars were not selling! Dick' drove the car a lot for the first fifteen years but for the last ten years the car has been hold-up in Dick's garage when his first twin turbo engine went bad. Dick completely disassembled the car few years ago to start rebuilding and upgrading the car.
All of us in Atlanta have been giving Dick rides in our Panteras to keep him inspired to get his car back on the road! Completely disassembling you car and then rebuilding every part better than new can be a daunting task. Dick is super inspired to get the car on the road and has done a fantastic job. Dick's car is going to be awesome!!! Dick has be assisted on the restoration by a local mechanic, who is a master craftsmen when it comes work on high end cars. This mechanic did the valance replacement on my car.
Click image to view
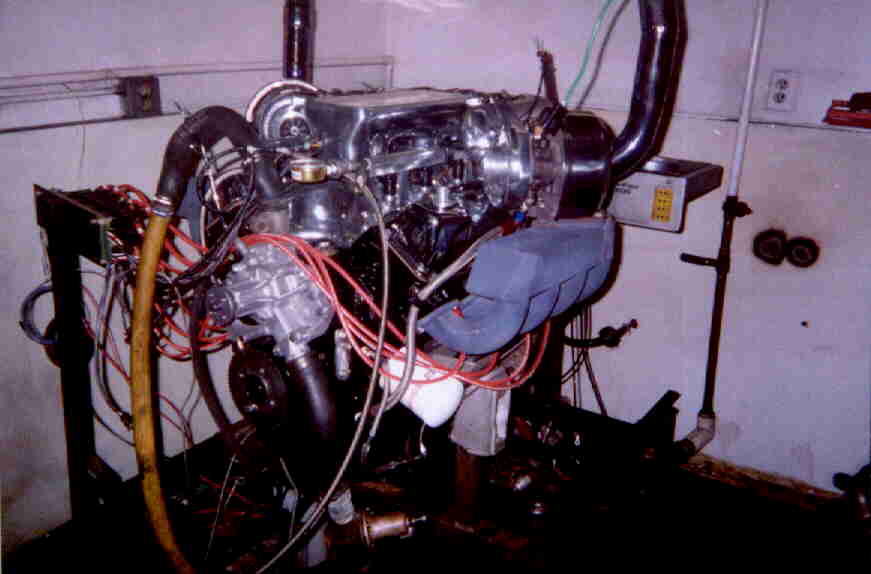
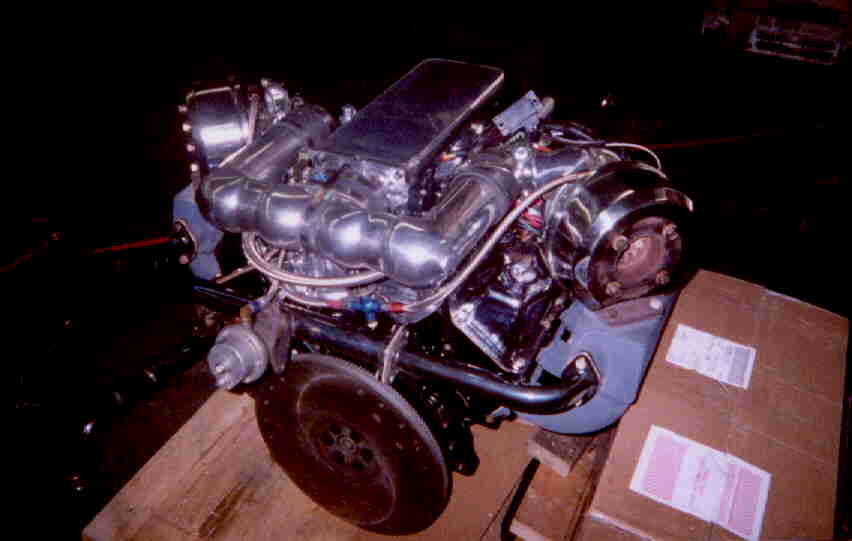
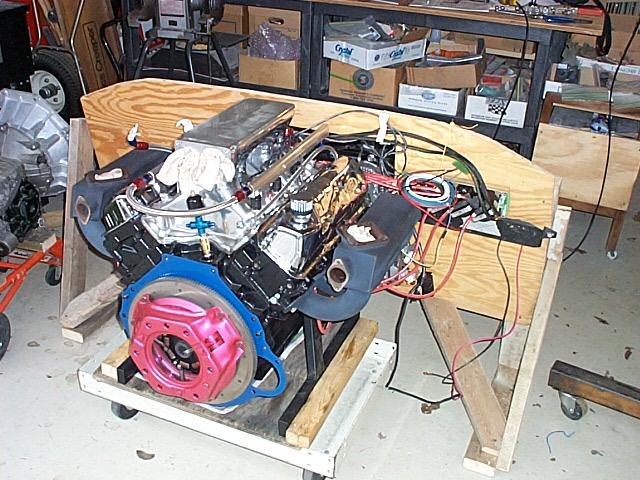
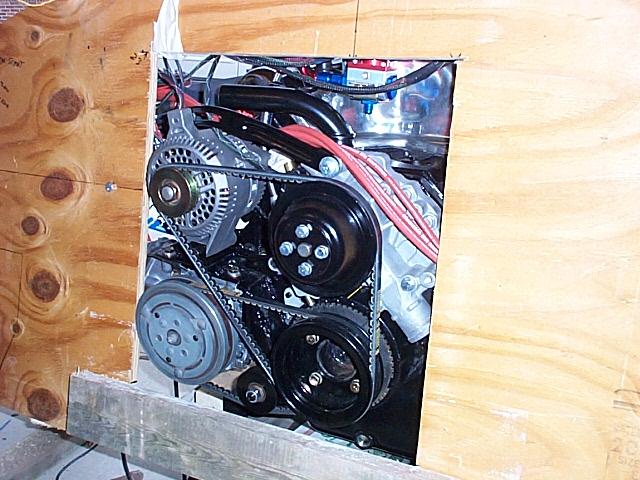
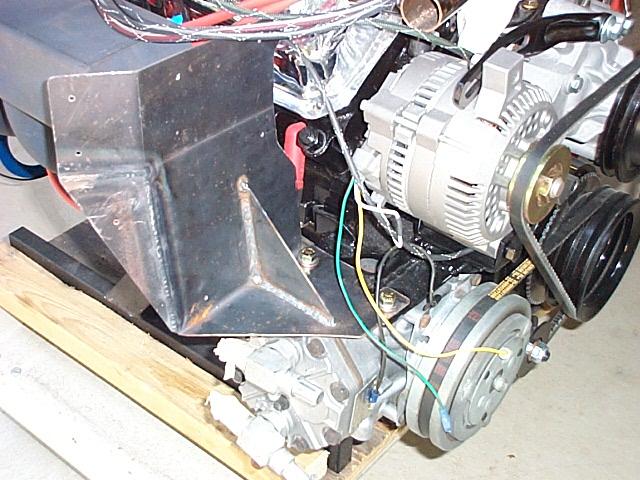
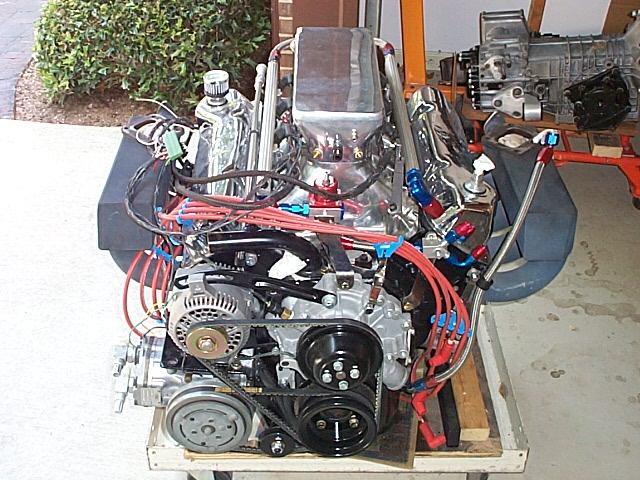
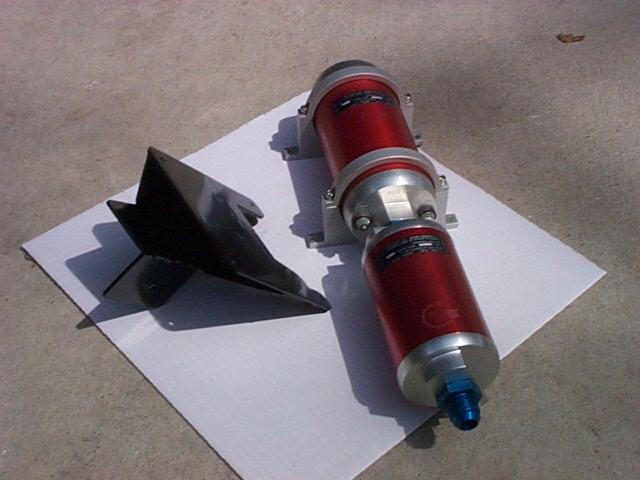
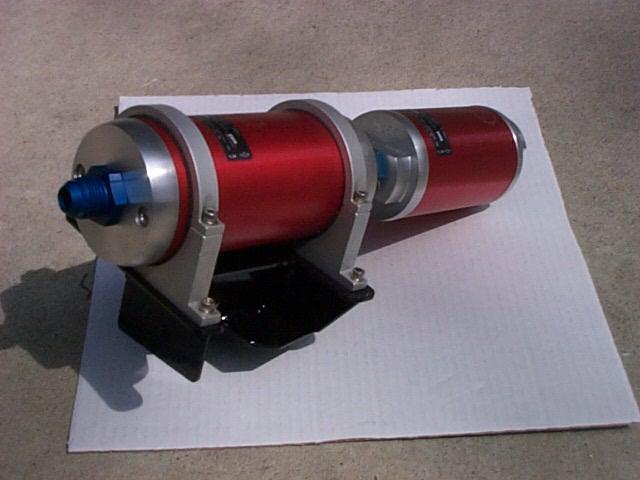
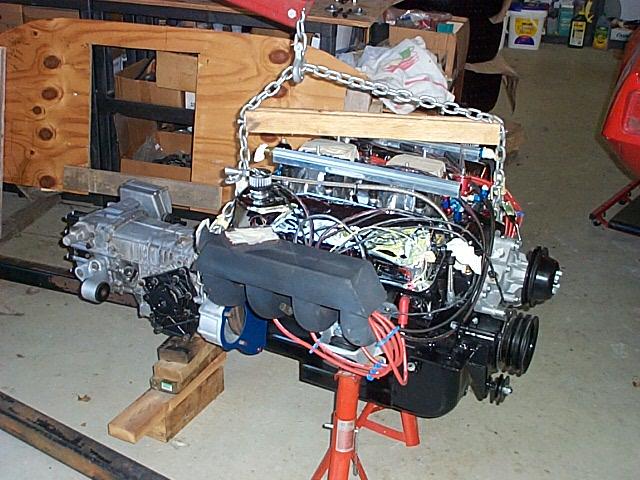
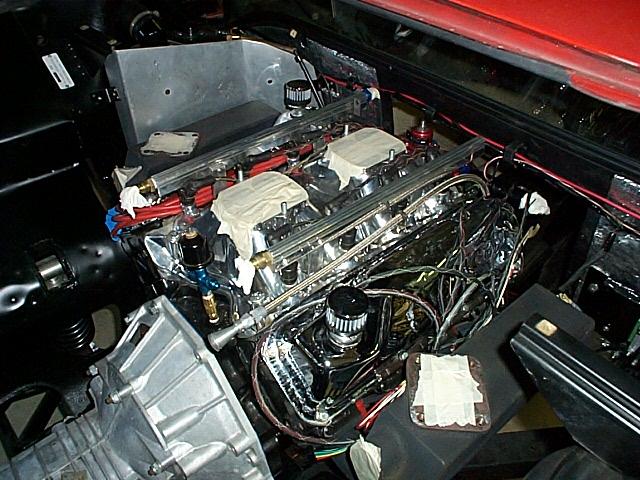
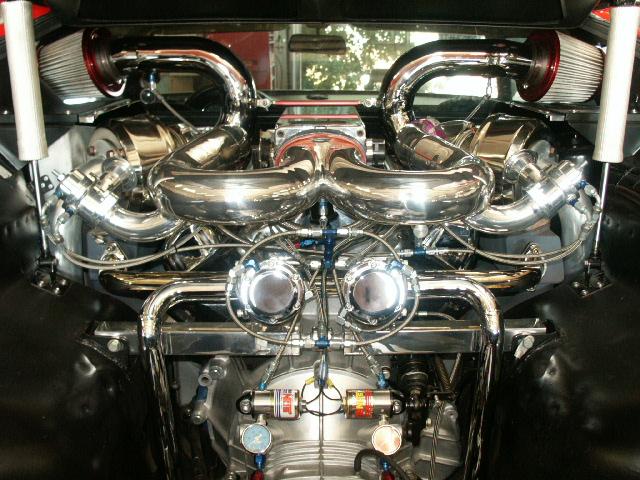
The mighty Cleveland Twin Turbo charged engine for his 74 Pantera. The Cleveland under test pulls on the left and the EFI and ignition system on the right.
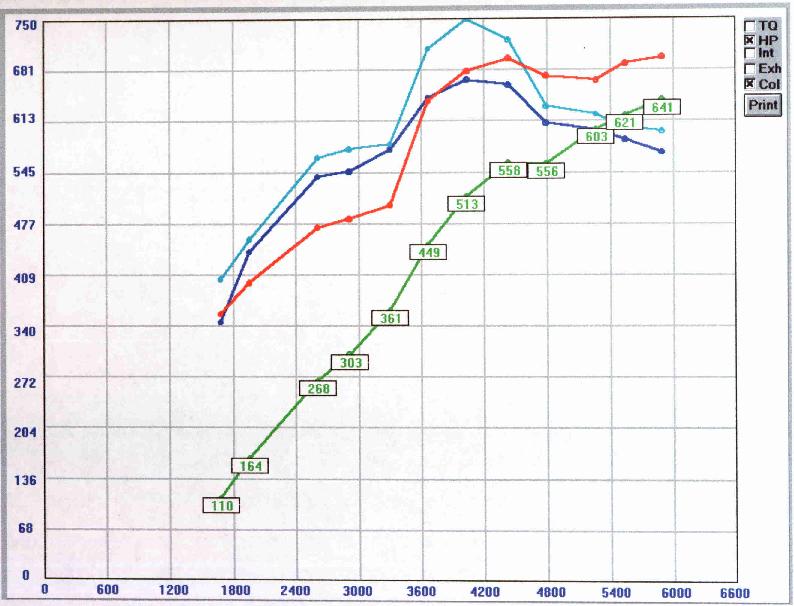
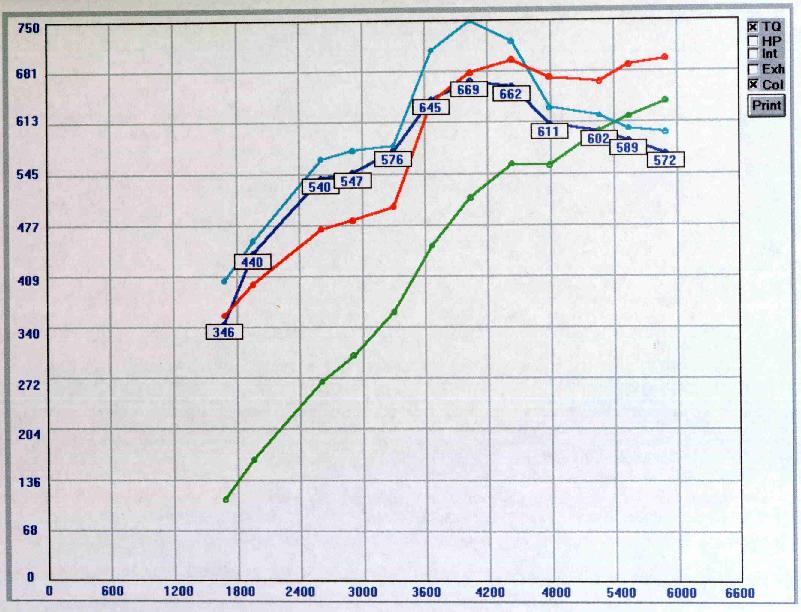
Take a look at that POWER chart!!
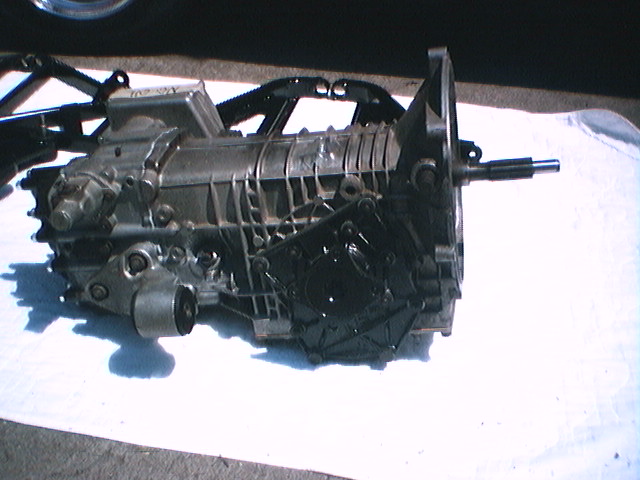
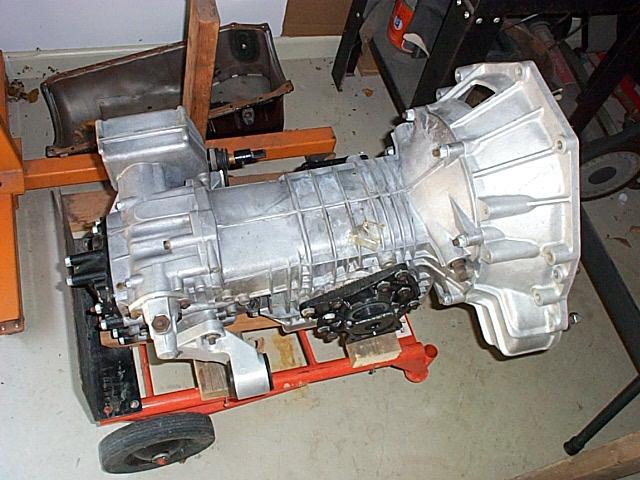
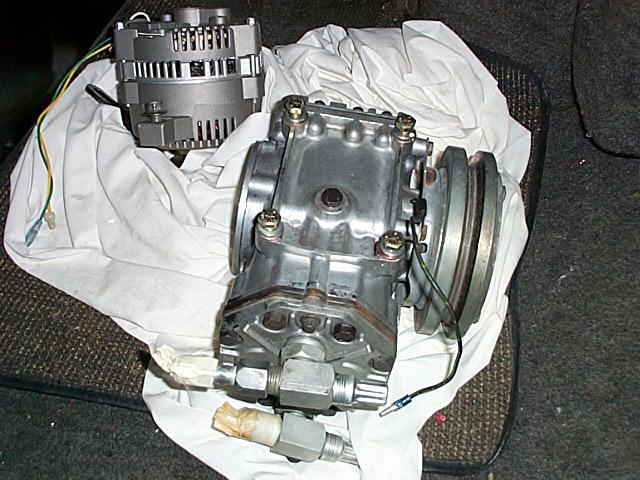
Picture of Dick's ZF at Roy Butfoy's shop undergoing rebuild. The ZF was upgraded with BMW components for improved performance.


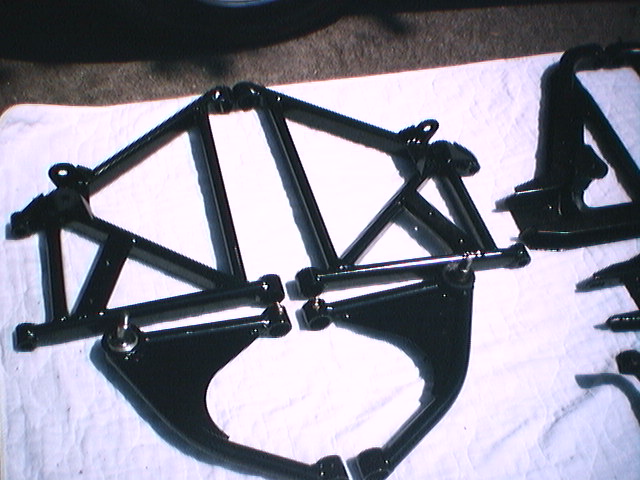
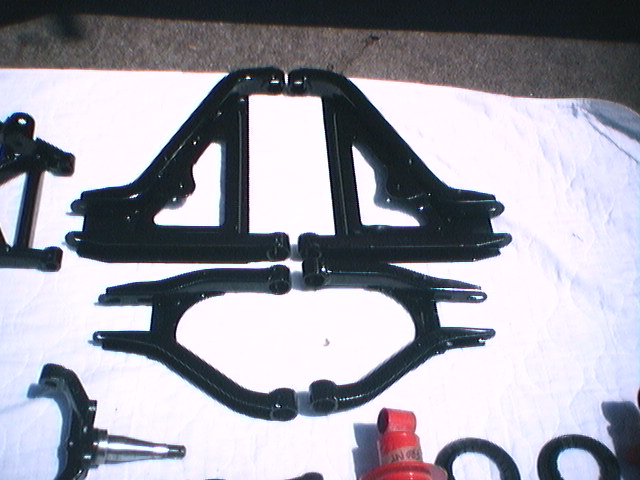

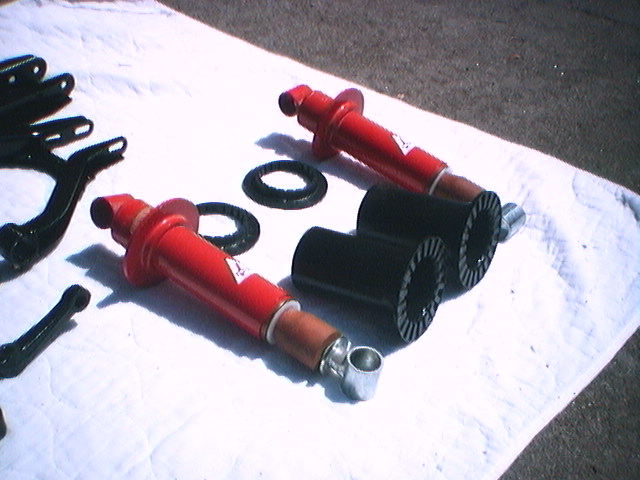
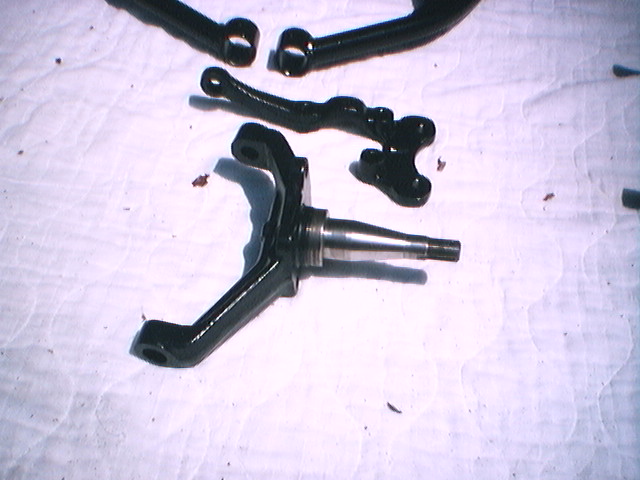
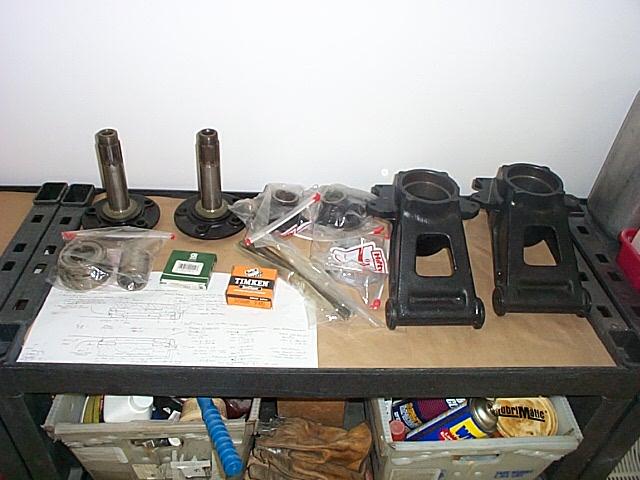
Dick's Pantera A arms, Koni shocks and spindles ready for installation.
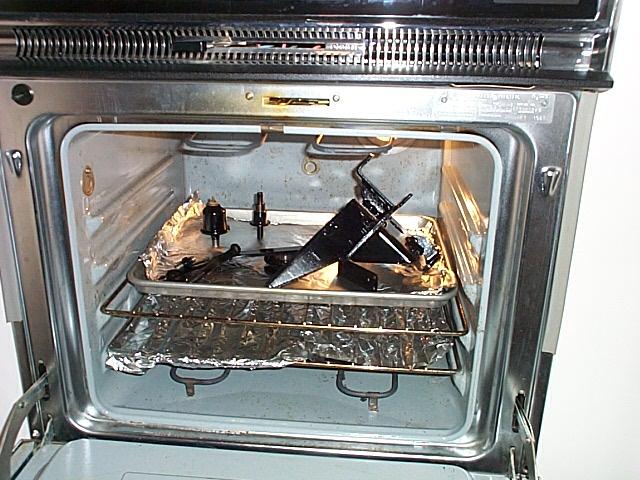
The suspension parts are painted with black enamel appliance paint, air cured for a couple of days and then baked in an oven (excluding the Koni shocks). The pant looks great and is very hard.
August 26, 2000
Dick has been busy getting the car ready for assembly. As of this date everything is ready to be re-assembled on the car.
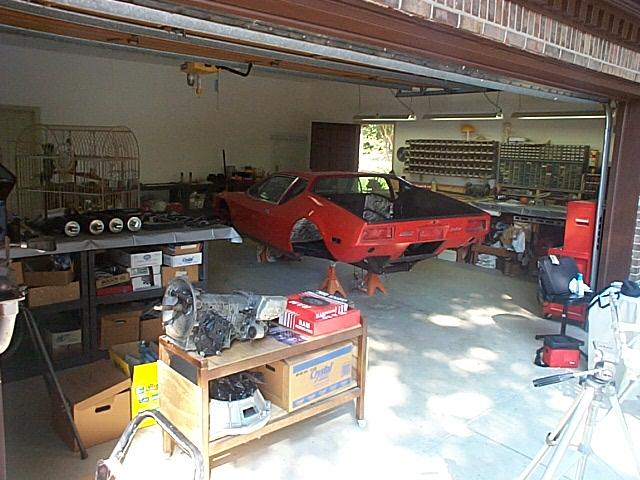
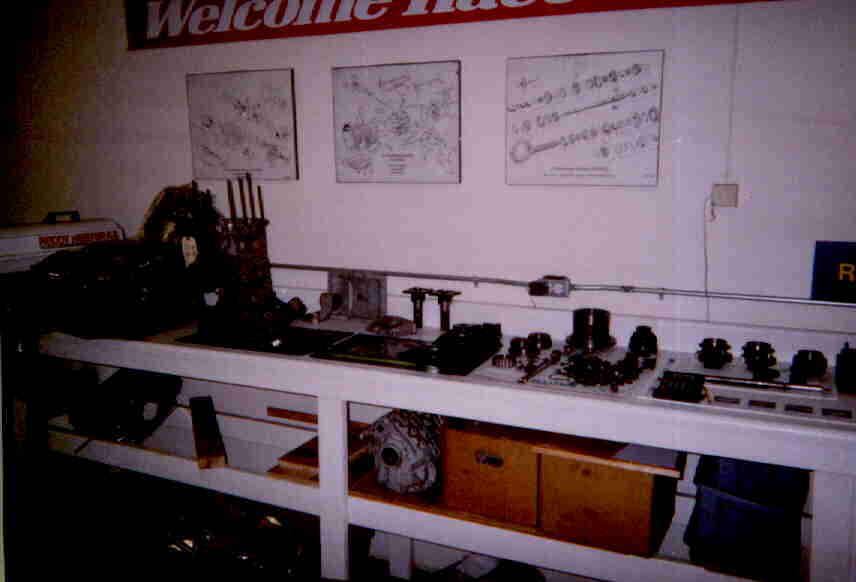
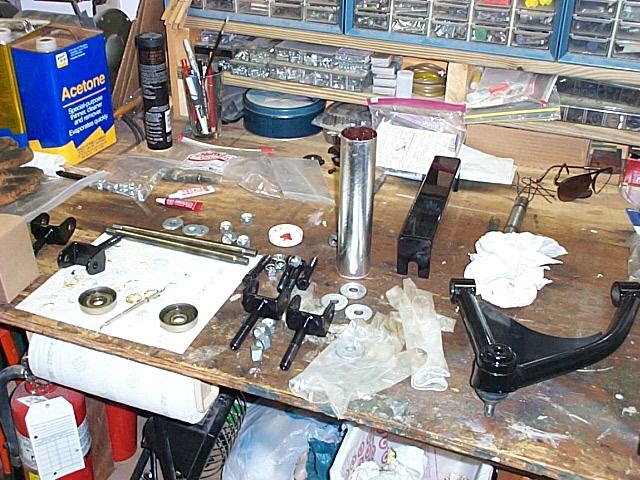
View of Dick's work area.
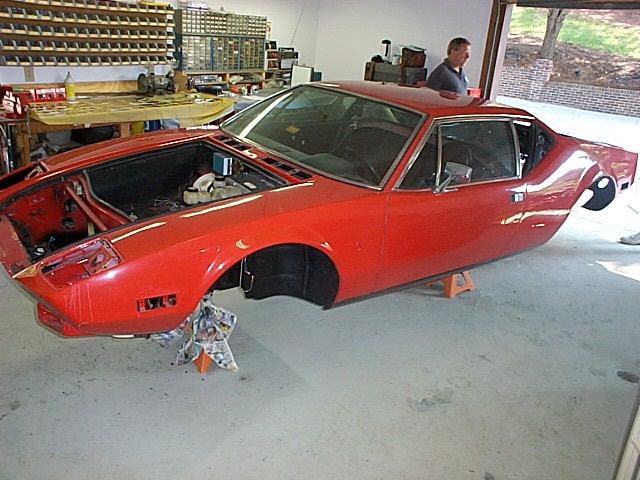
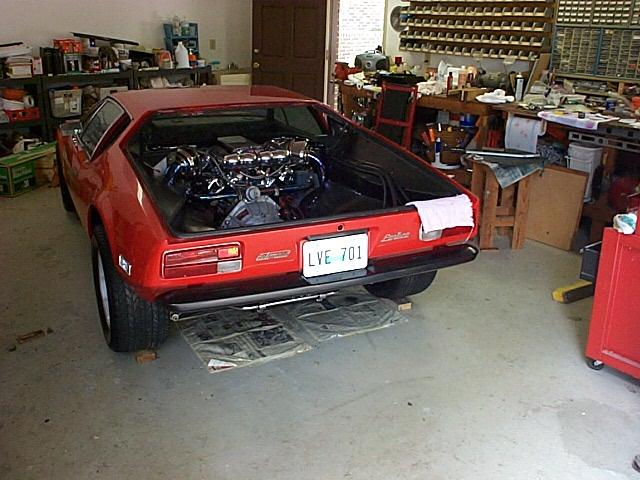
View of Dick's Pantera. Everything on the car body, engine bay and underside has been cleaned and prepped.


Image of the ZF and suspension parts.


View of the refurbished fuel tank and half shafts.
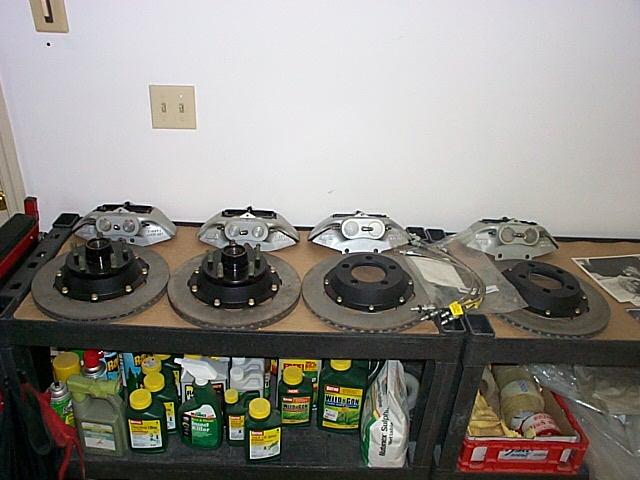
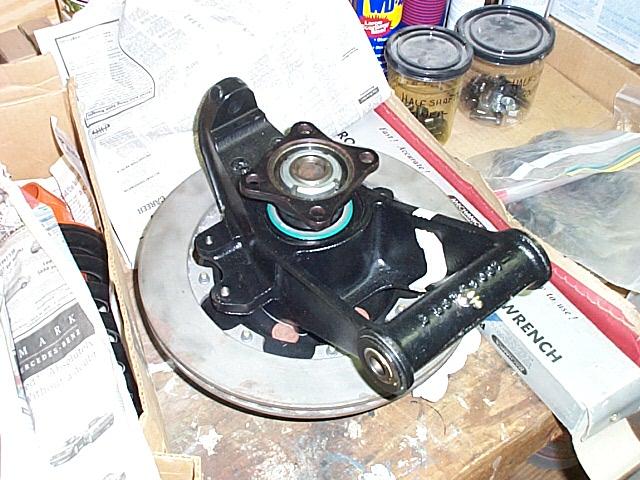
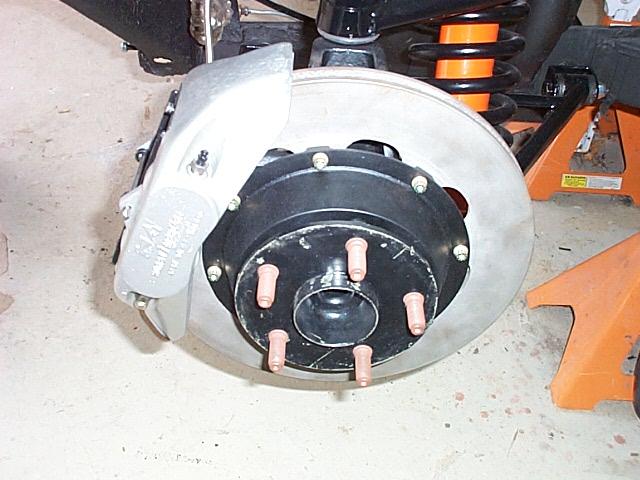
The awesome brake system.
This image shows the new upright roller bearing system that Dick has developed. The system requires no milling of the uprights. Dicks bearing system is installed on my car and is working great. The system has full seals to cover the outer and inter bearings.
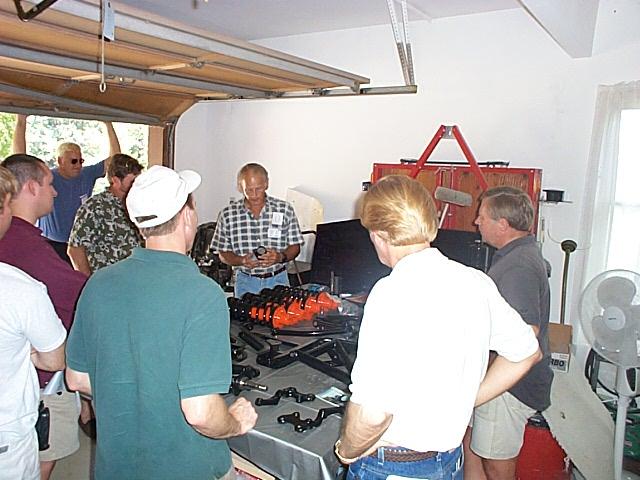
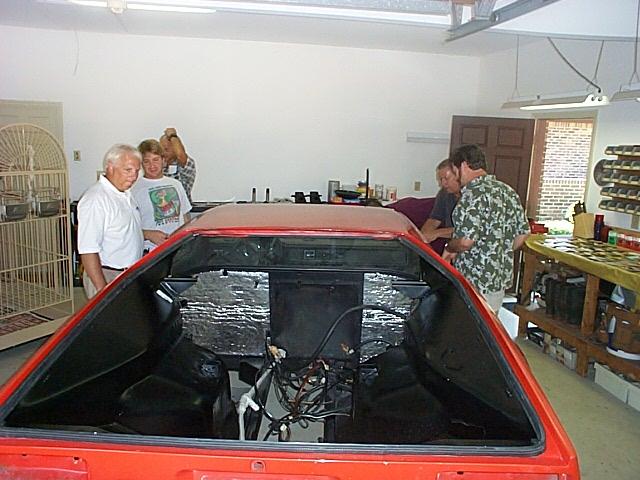
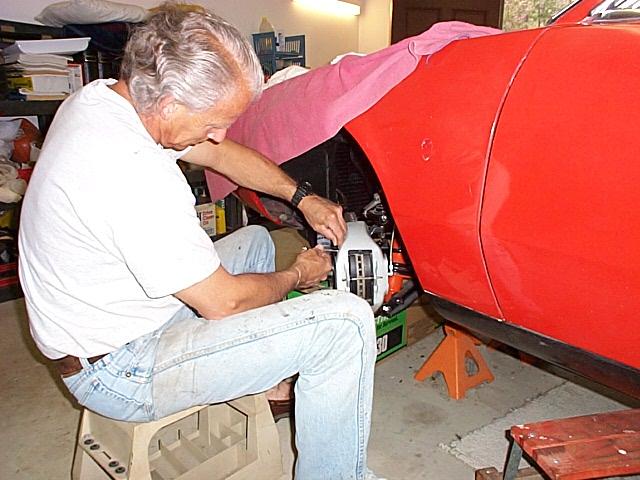
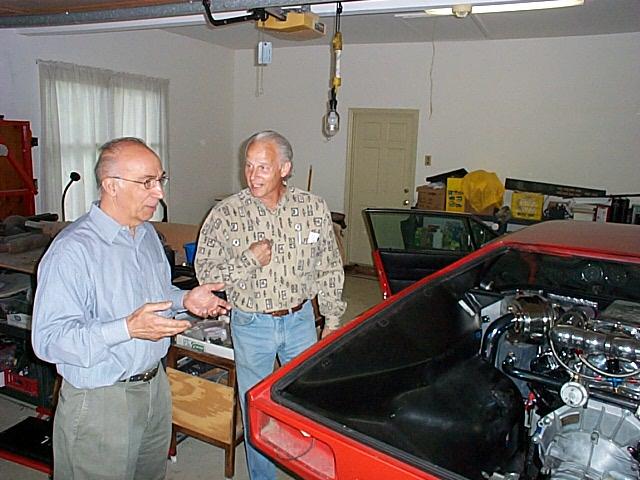
Dick recently held an open garage session and did a great job of explaining all of the things that have been done to get the car rebuilt.
December 2, 2000
Dick and I spent some time working his car to install the back suspension. Dick had installed the front suspension while he was waiting for the back axle roller bearing system to be completed.

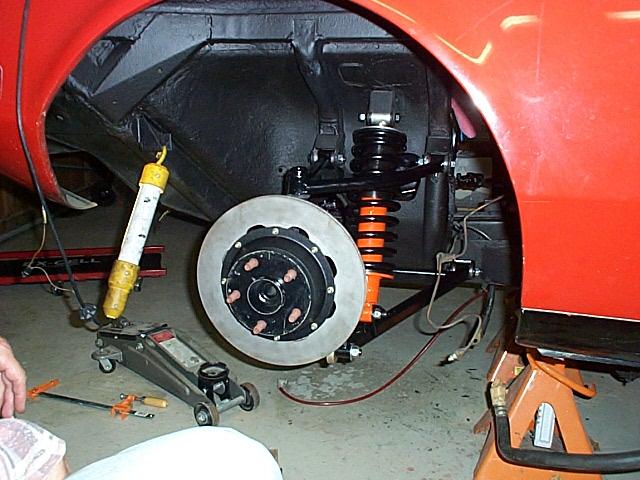
View of the front suspension.
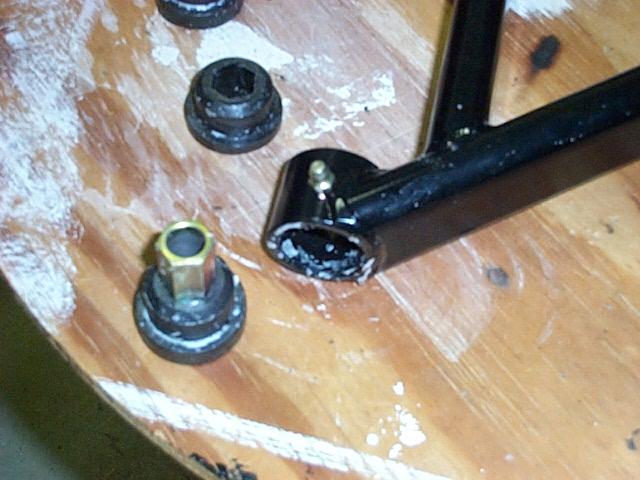
The back suspension parts. We pre assembled the upright end caps to check the end play. Dick's end cap O rings were a little smaller than the O rings on my end caps so it was a little easer to check and make sure that the end cap washers would lock the upright sleeve to the A arm.
The back of the upright with the new roller bearings installed.
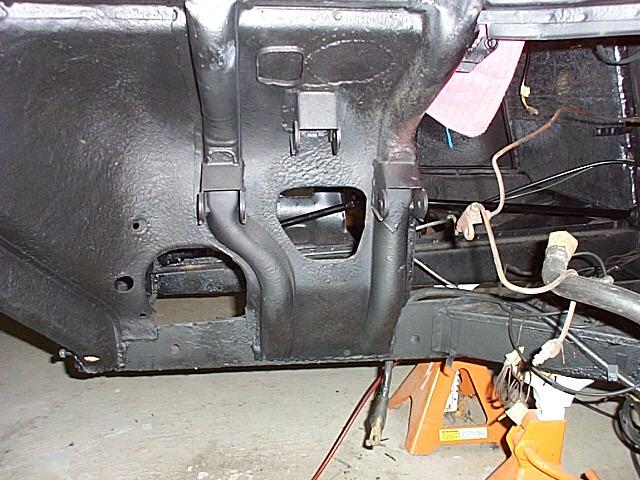
View of the nice clean wheel well.
The first step was installing the A arm bushings.

Next we installed the lower A arm.
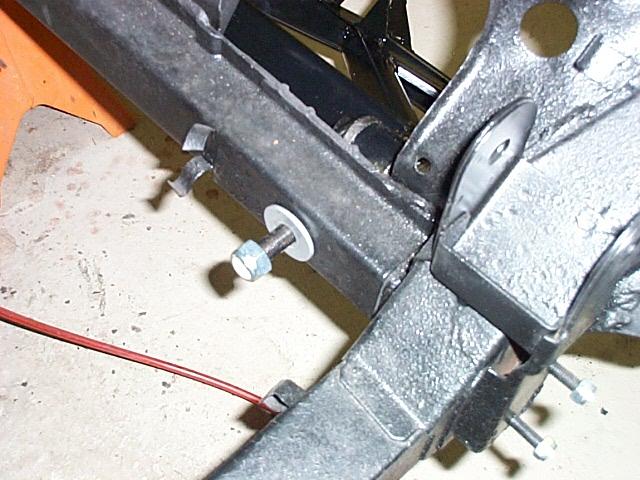
View of the A arm mount on the inside of the frame.
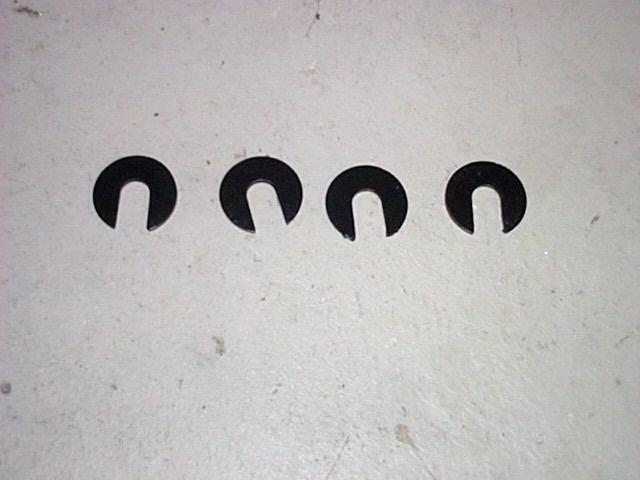
Alignment shims used on the lower A arm.
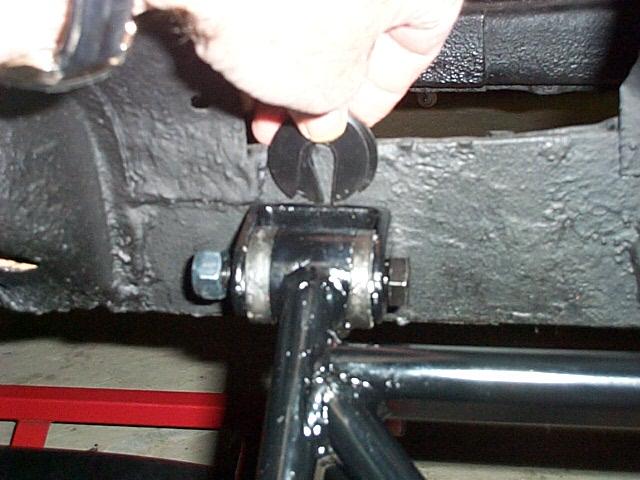
We reinstalled the original shims until the aliment is redone.
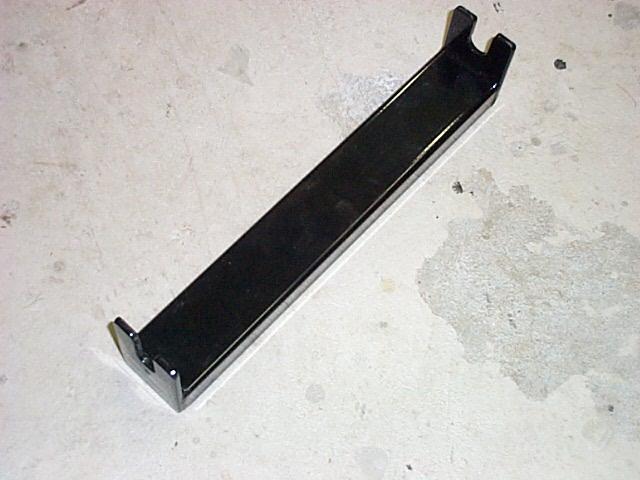
Dick is using the Pantera Performance removable cross member.
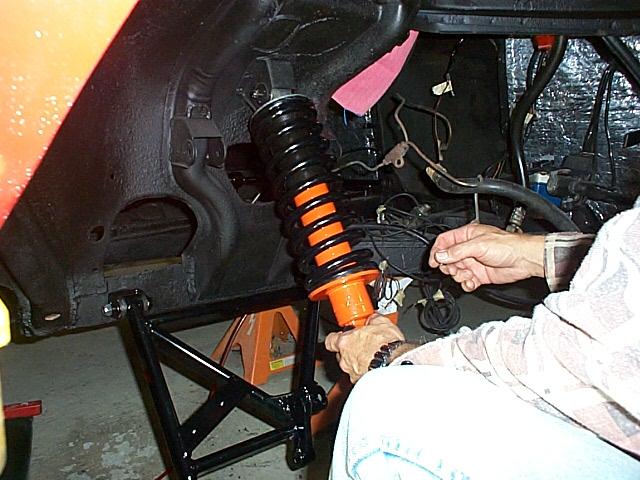
The Koni shock is installed in the upper mount.

The lower end of the shock is attached to the lower A arm.

The upper A arm is installed.

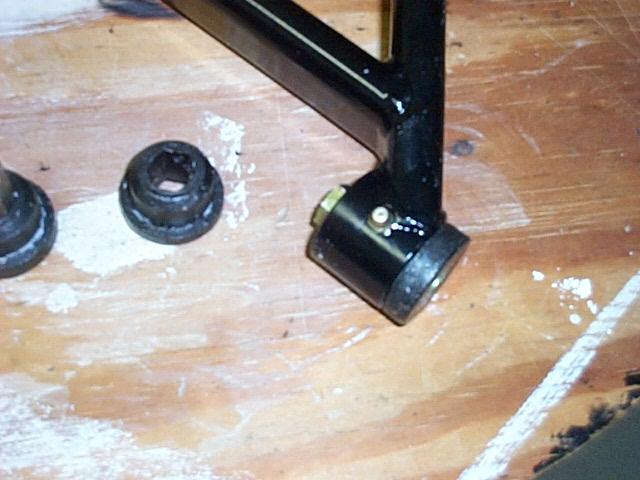
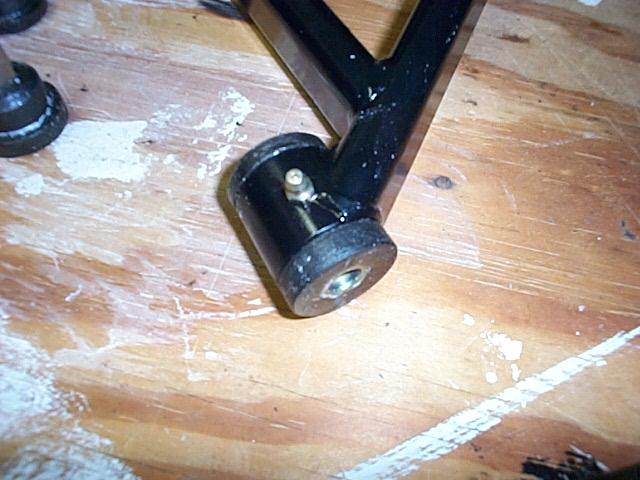
The upright is positioned on some wood blocks so that it will line up with the A arm. The end caps are installed and double checked for the thrust washers engaging the upright pins. A clamp was positioned to hold the caps and the upright was pushed into the A arm. Dicks' upright did not fit as tight as my uprights but it was tight. Working together we could move the upright in the A arm.
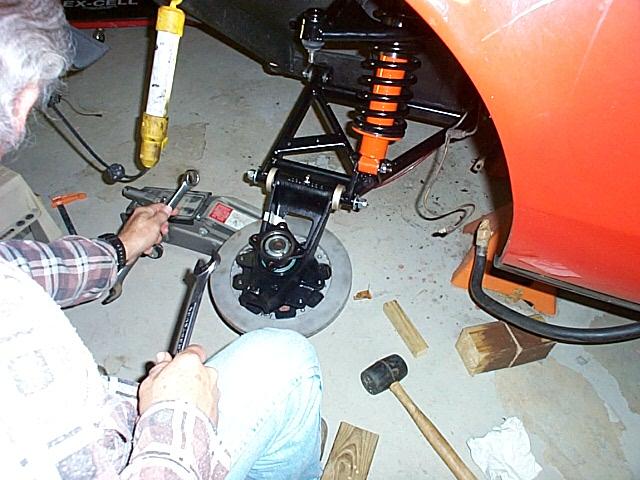
We used my tapered lower shaft tool to line up the upright in the A arm. The lower shaft was installed after the tapered shaft was used.
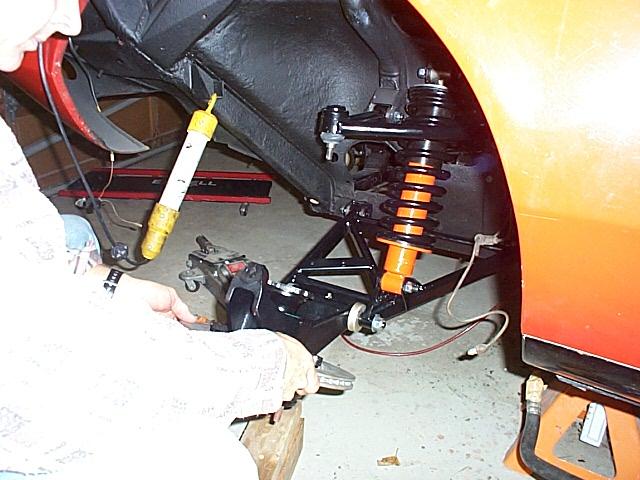
The upright is checked for smooth rotation and the moved up so that the top A arm can be attached.
Job complete!
January 14, 2001
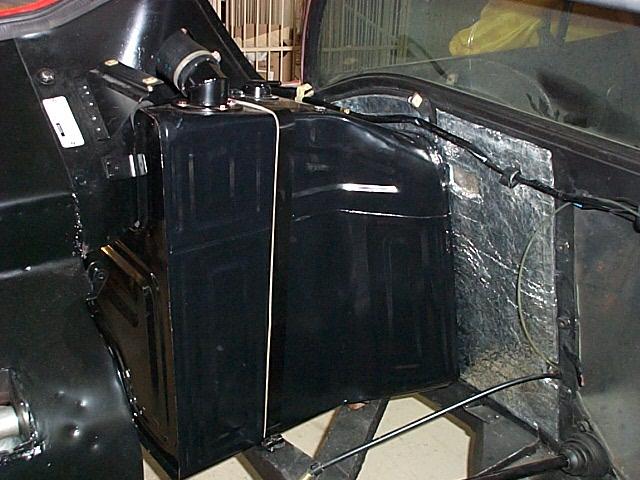
The fuel tank has be refurbished and installed.

The next step will be to install the new clutch assembly, mate the ZF to the engine and install the assembly. The engine should be installed in the next few weeks.
February 20, 2001
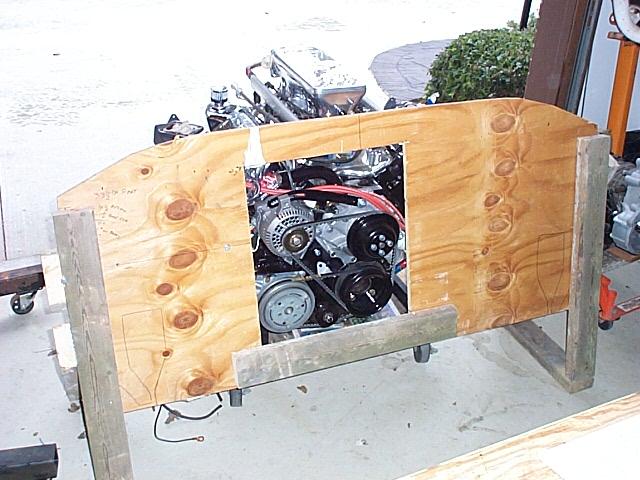
Dick is working on the engine installation and the wiring for the EFI system. Dick built a plywood mockup of the Pantera firewall so he could test fit the wiring and fuel system components without installing the engine.

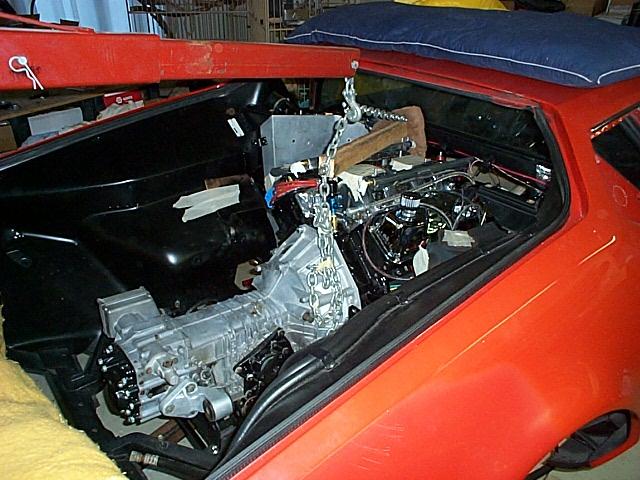
The engine bay is ready for the engine.
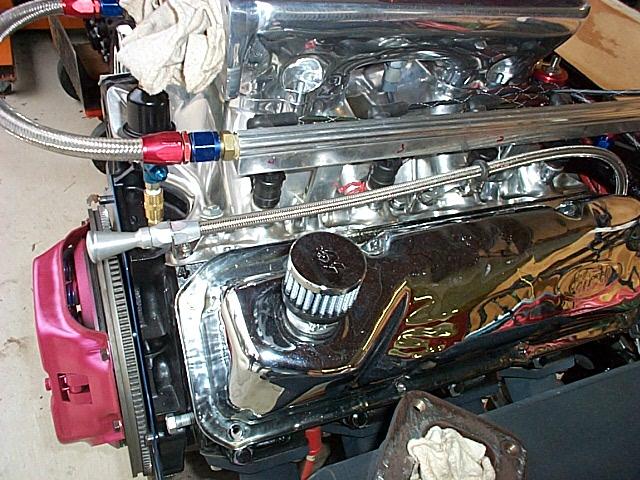
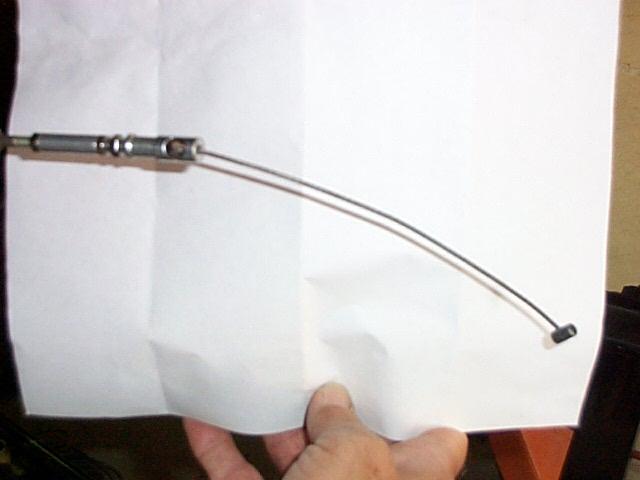
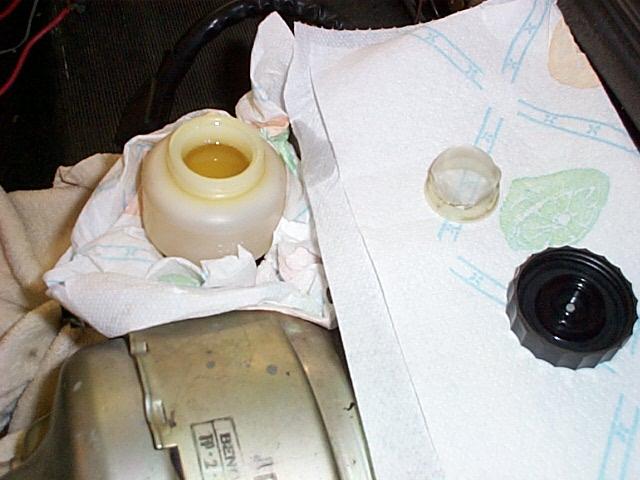
Take a close look at the oil level dipstick Dick is using.
July 12, 2001
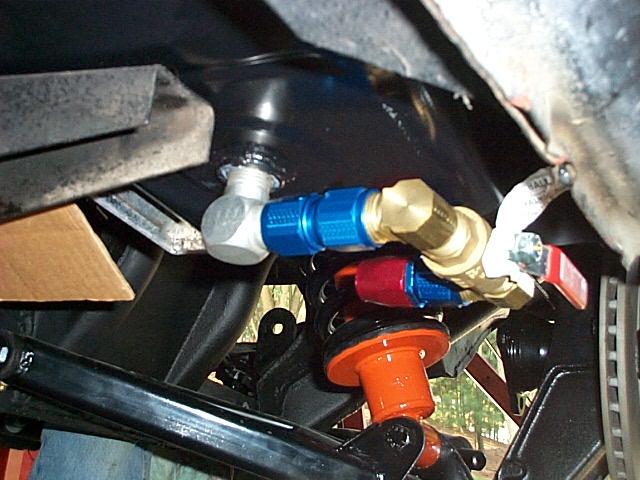
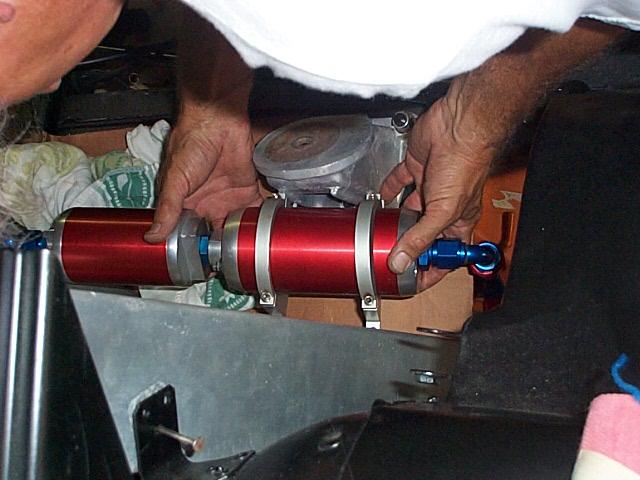
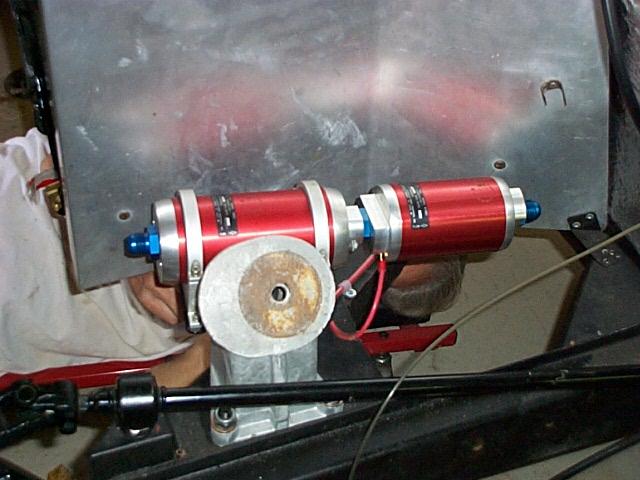
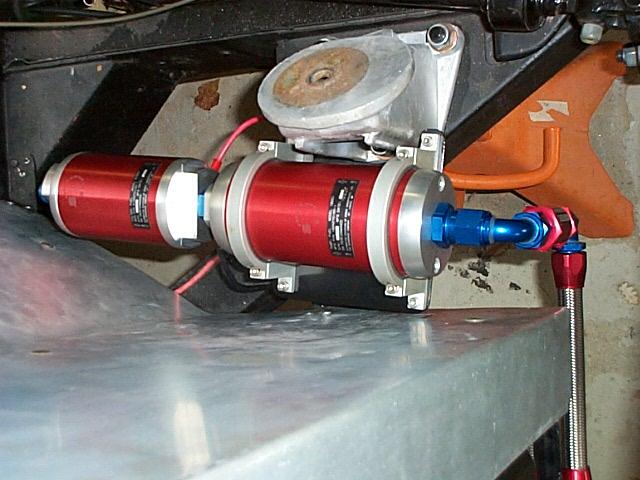
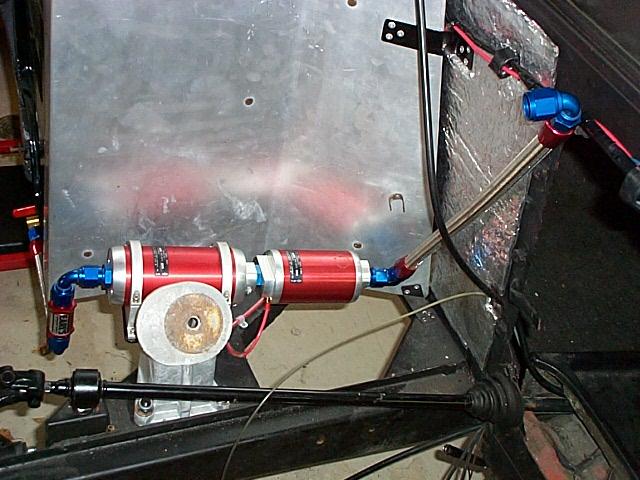
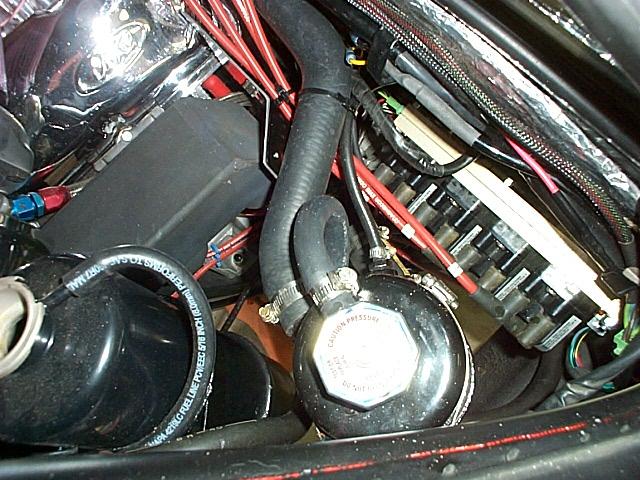
Dick has been working the fuel line system and the pump and fuel filter. The view above shows the fuel pickup at the bottom of the fuel tank (with the shut off) and the position of the fuel pump and filter just to the inside of the fuel tank.

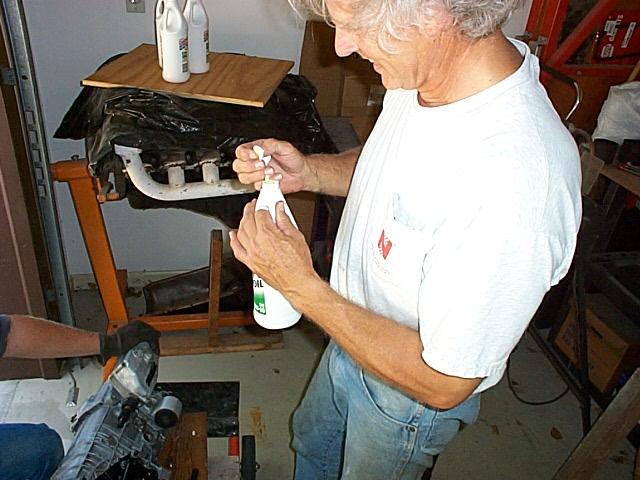
Designing and making the heat shields has been time consuming but have turned out well.
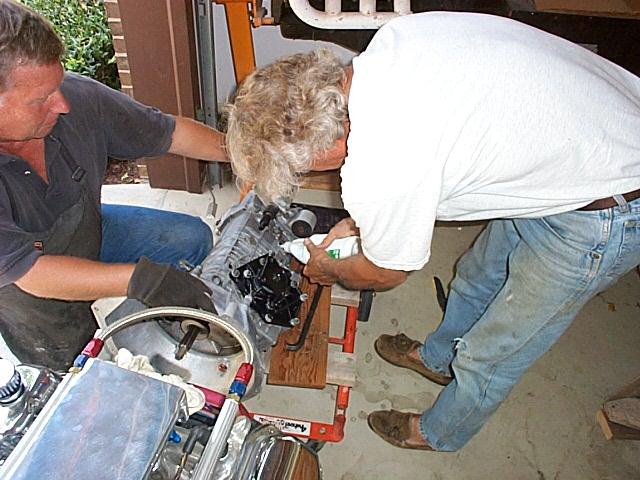
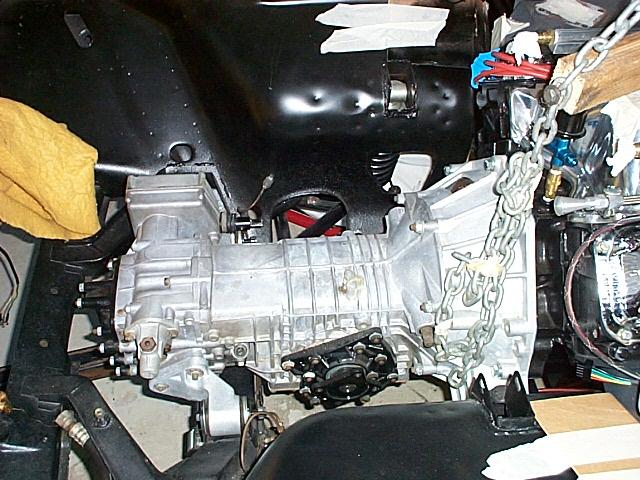
Getting the ZF ready and adding gear lube.


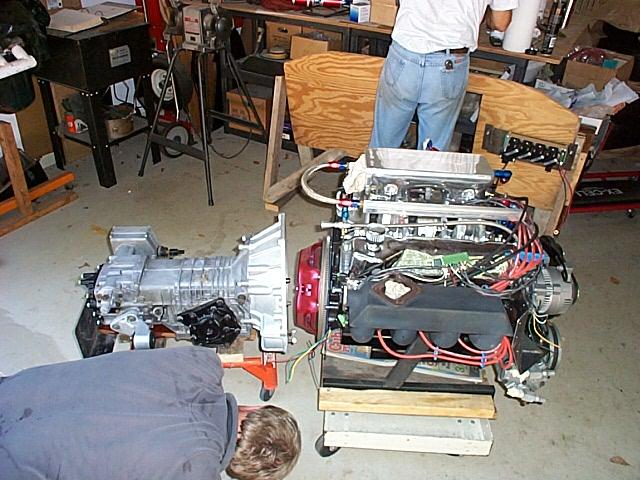

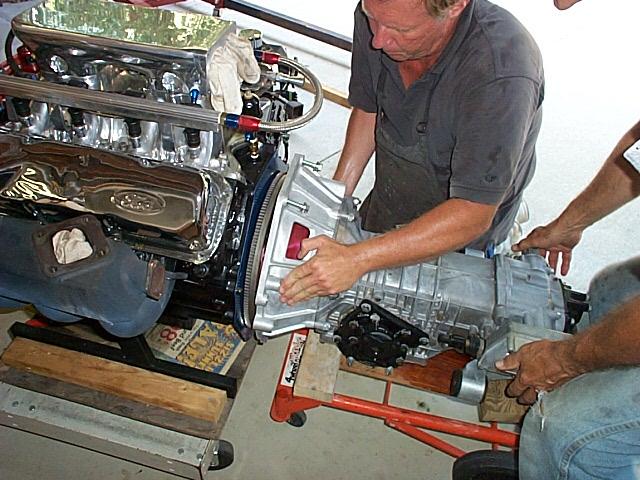
Mating the ZF to the engine. When everything is aligned correctly the ZF should slide right on without any forcing. Be careful not to let the ZF hang on the clutch plate. The weight of the ZF can bend the center of the clutch plate.

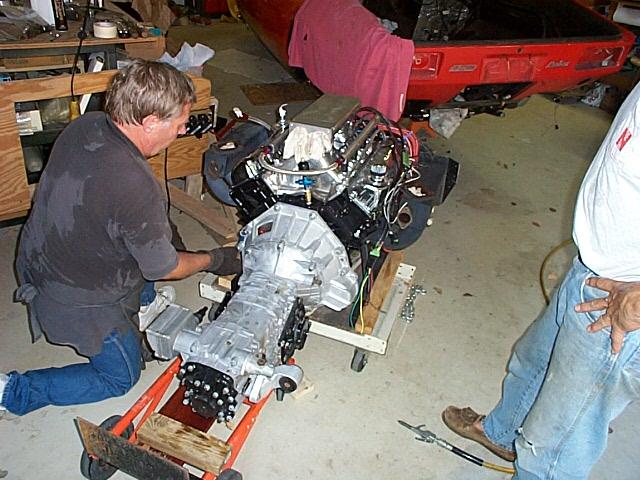
View of the ZF mated to the engine.

Dick Koch, one happy man!

Test fitting the clutch slave.
September 16, 2001
Dick did a test install of the engine and found that the shift linkage hit the turbo oil return line fitting so the engine was removed and the return moved on the oil pan.
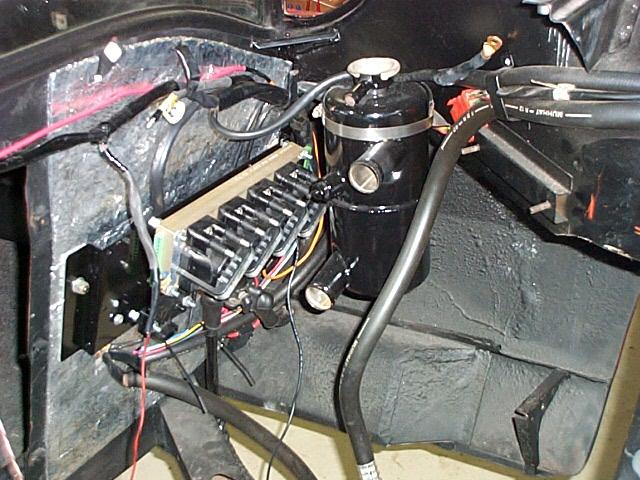
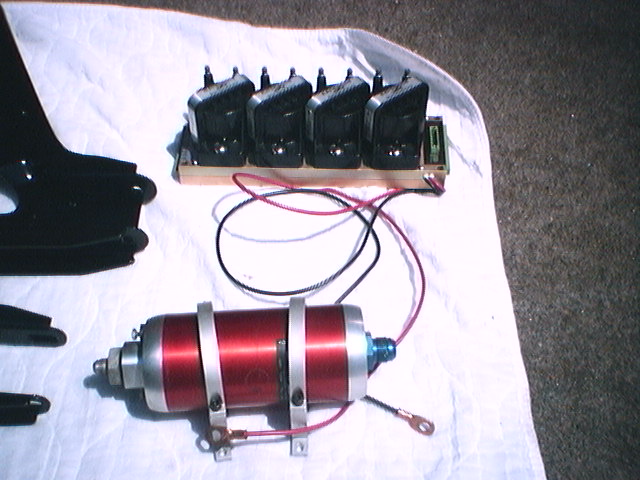
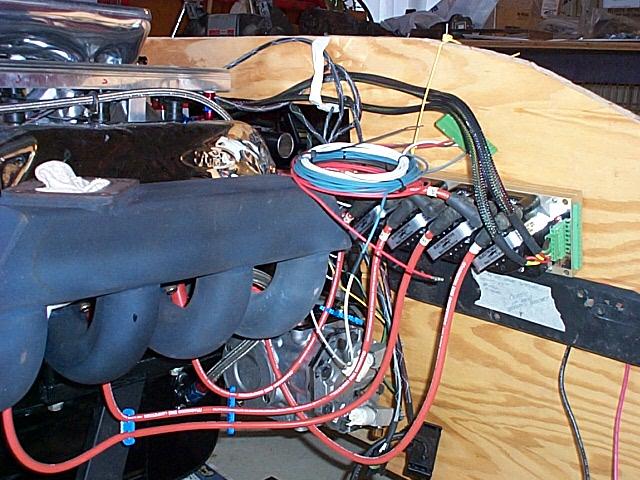
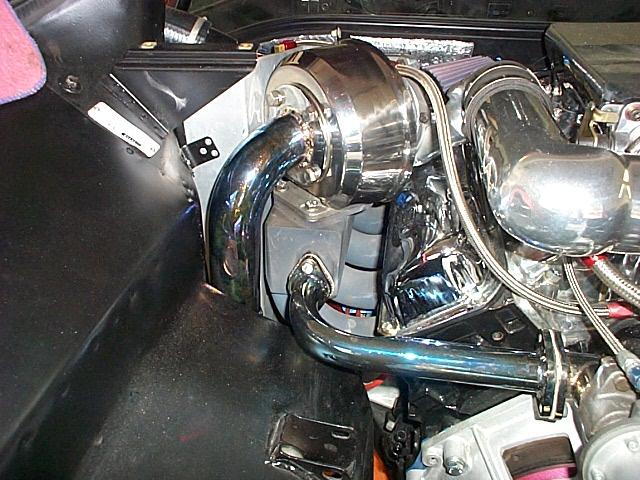
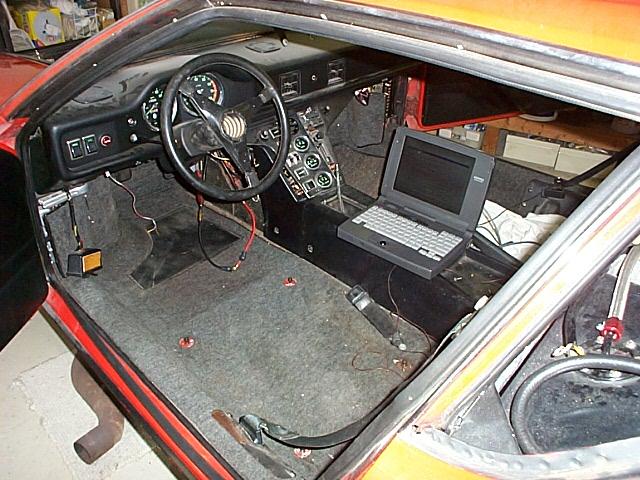
View of the electronics installation in the engine bay
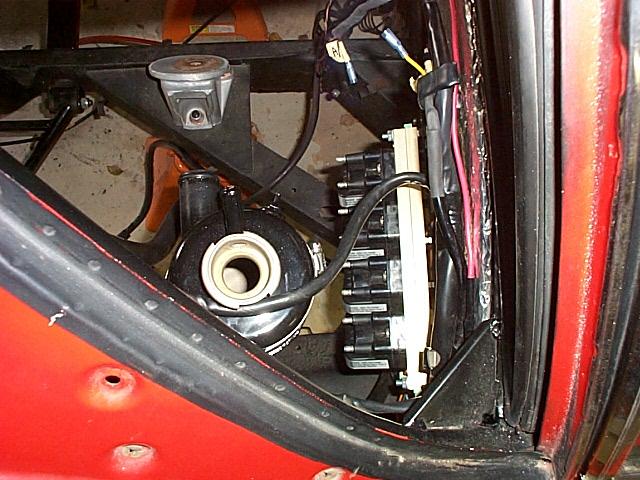
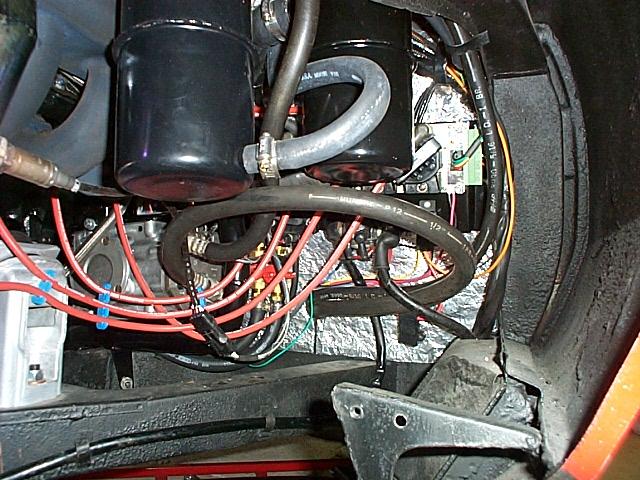
View of the electronics installation behind the passenger seat

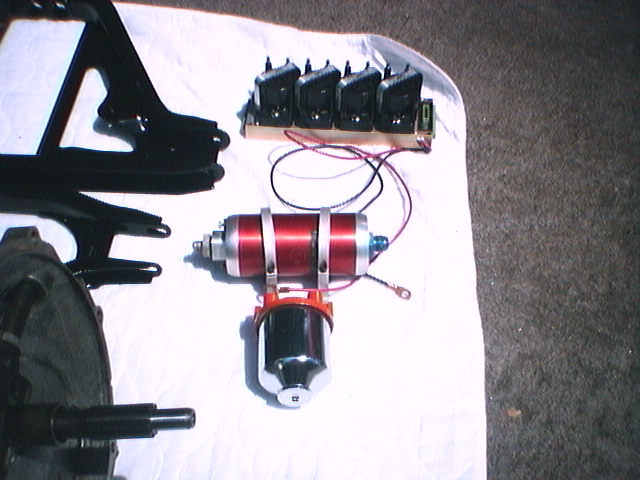
Fuel pump and mounting bracket
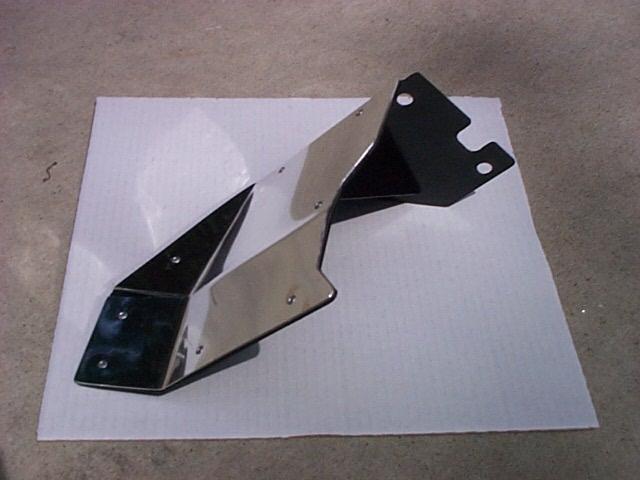

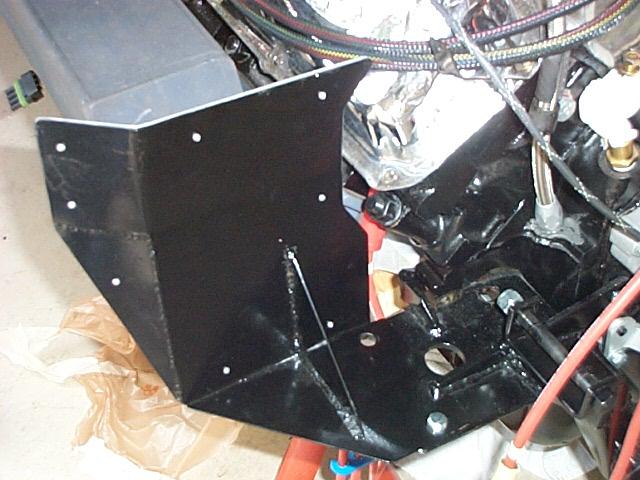
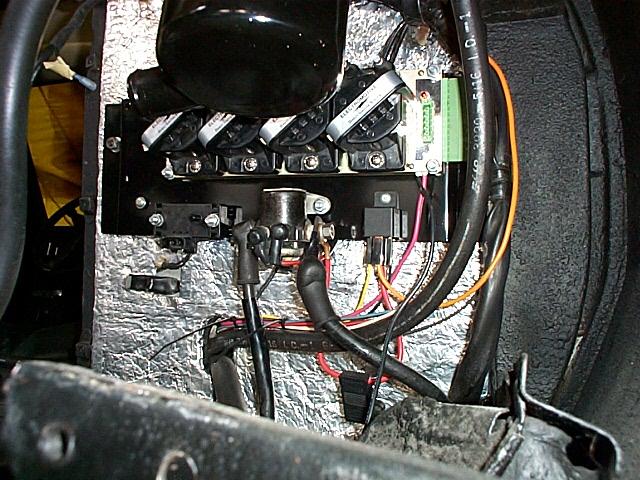
The heat shield for the electronics.
Spark plug wiring
The extension needed on the throttle linkage
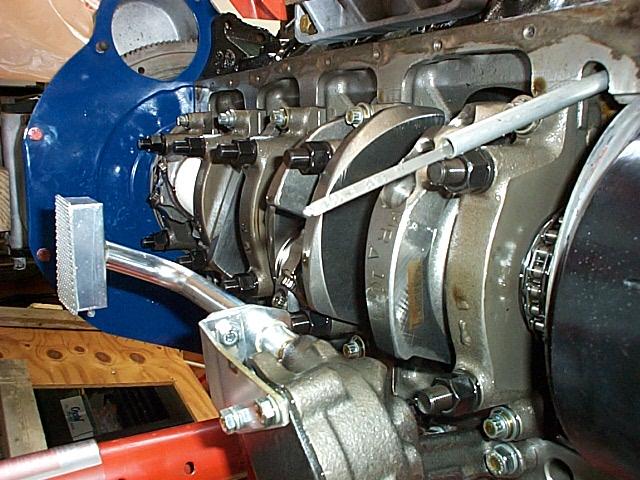
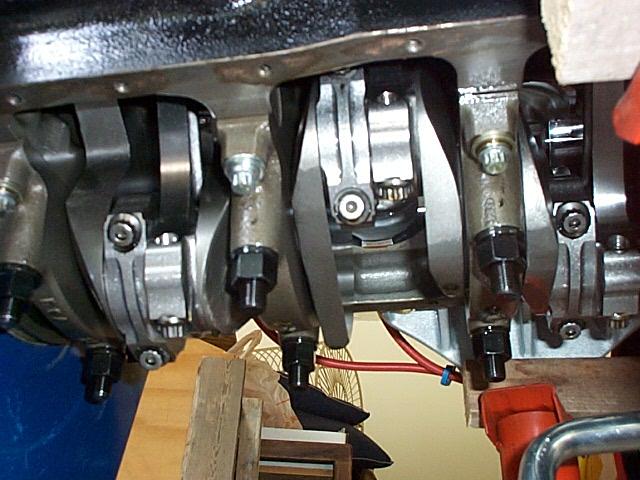
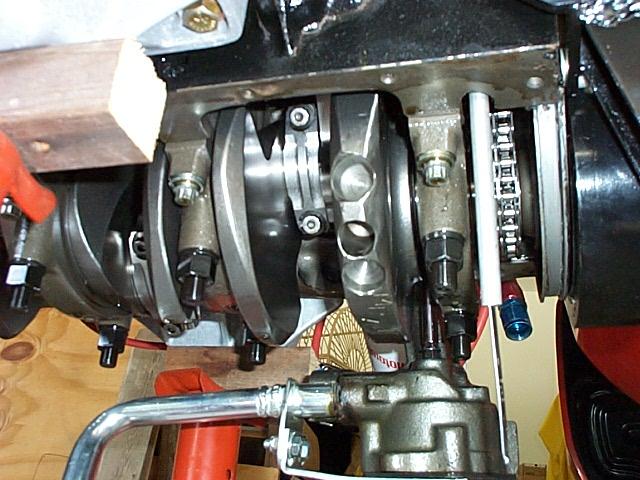
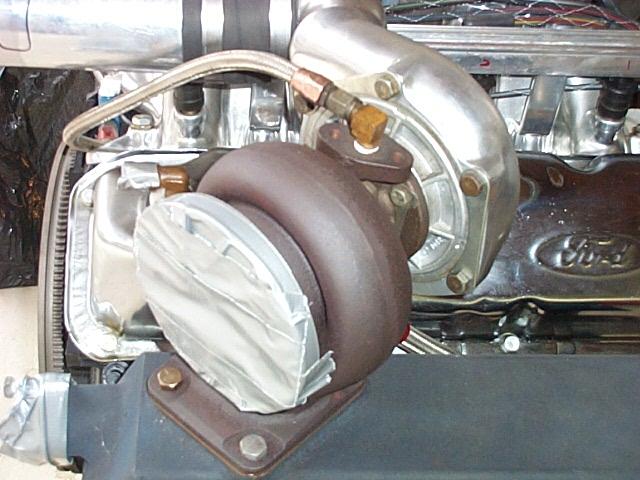
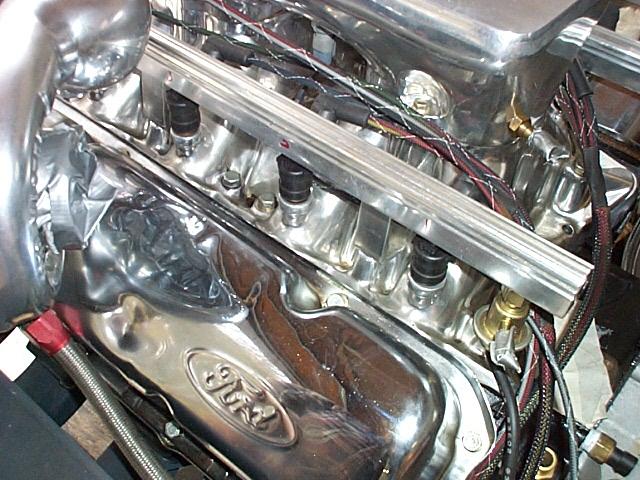
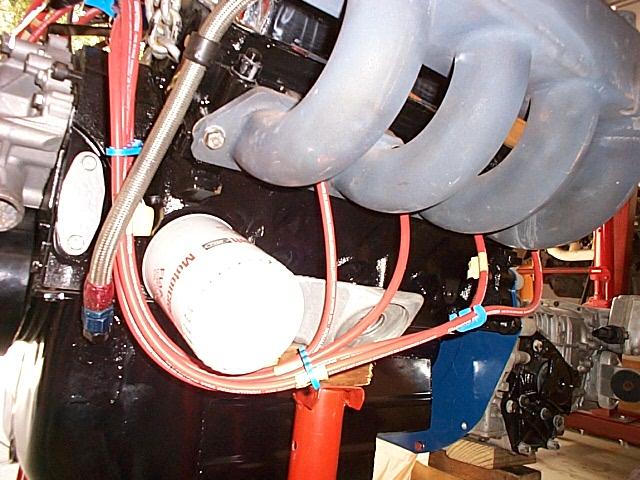
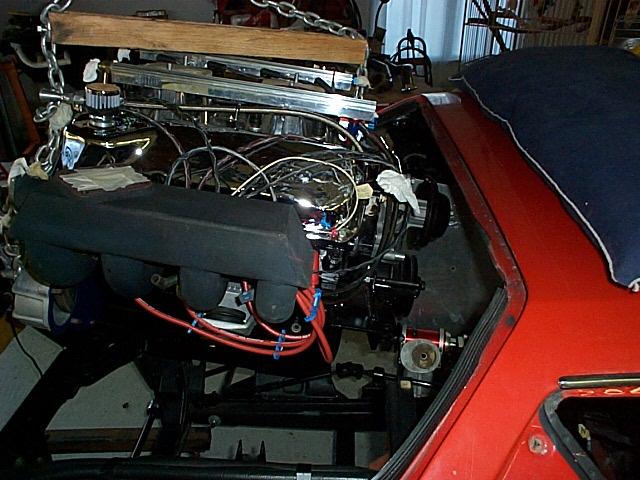
The lower end of the awesome twin turbo Cleveland
September 28, 2001
After making one trial engine installation to see how everything fit today was the final installation.


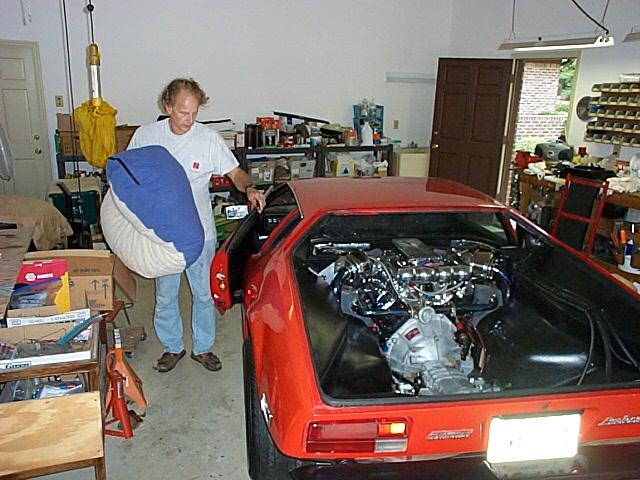
Getting ready to install the engine. Note the cardboard that is used to protect the front part of the wheel houses.
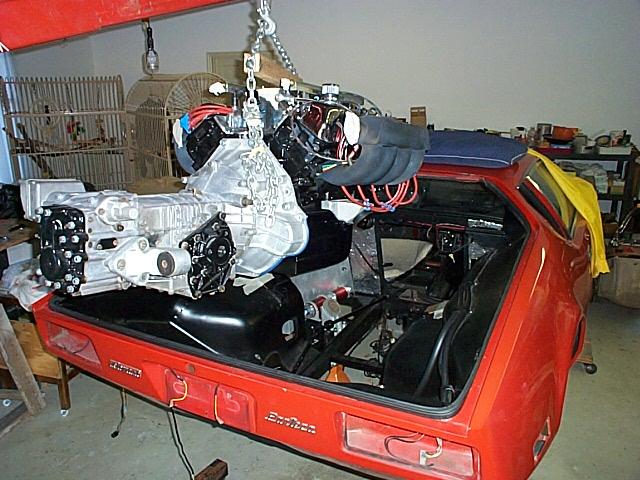

The engine is lifted over the back of the car and the moved to the front of the hatch area. Then the engine is slowly lowered while moving it forward. Be careful of the back window!
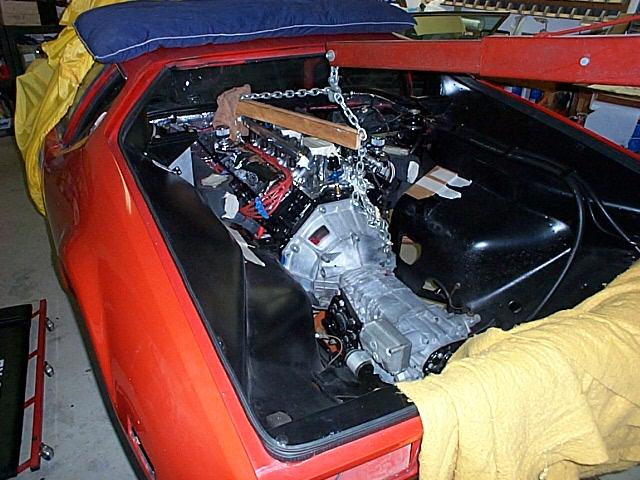
The engine is lowered and pushed forward until the back ZF mounts can be lowered down into the mounting tabs. The ZF mounting bolts and washers are installed and then the motor mount bolts.


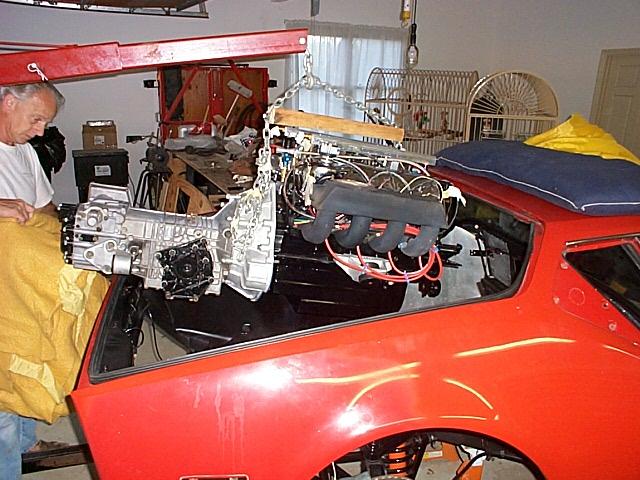
To get the motor mount bolts to line up the front engine is lifted slightly and repositioned so they line up.
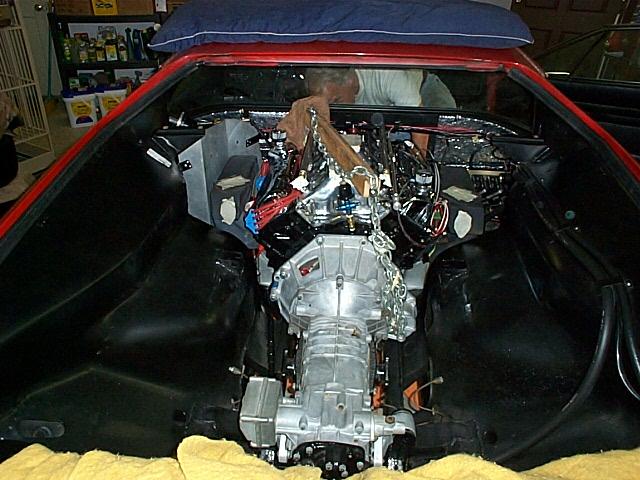

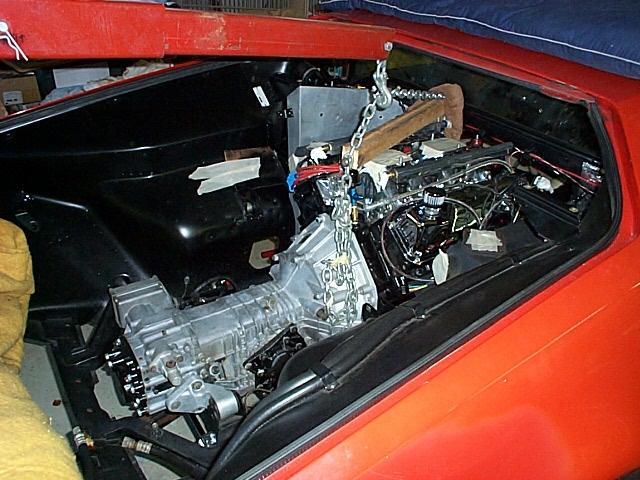
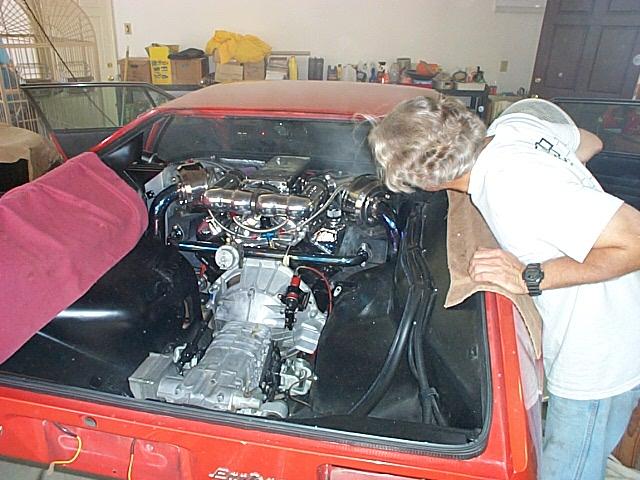
View of the completed engine installation.
The back View
November 2, 2001
This is the big, start and run the engine day!!!


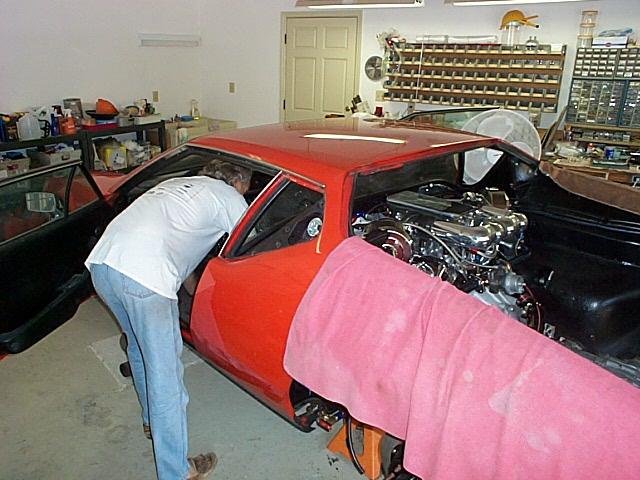
Checking out that everything is ready for the engine start up.

The computer is attached, Dick turns the key to start, the engine starts and the computer shows all of the engine information.
Dick checks out a little smoke coming off the outside of the headers as the engine warms up. What a happy day and the engine runs and sounds awesome!
April 13, 2002
After solving some oil seal leak and drain problems with the Turbos they were reinstalled.

The first project for today was to install the brake fluid for the refurbished clutch master and slave and bleed the clutch system.
Next was filling the brake system and bleeding the system. It was a little complex because each caliper has a bleed valve on the inside and the outside caliper half.
April 27, 2002
The goal for today was starting the engine and testing the to see if the new type of Turbo seals and larger oil drains corrected the Turbo oil leak problems.
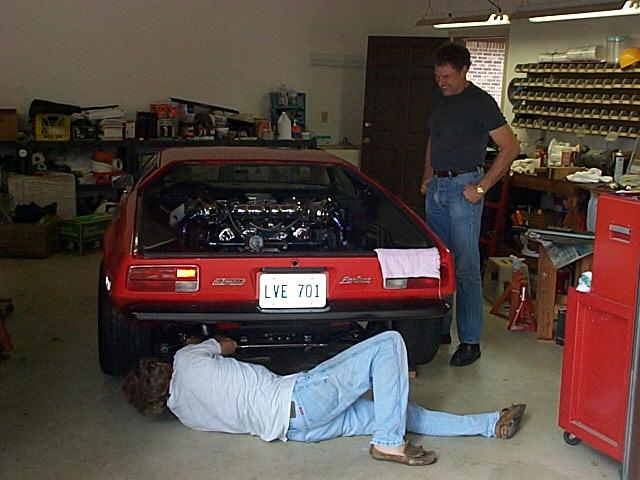
Dick and Jerry discuss the start up plan
Jerry Pentaleri from Greenville, South Carolina was on site for the engine startup.

The engine is started while Jerry helps with the idle speed. The engine ran fine with no Turbo oiling problems. Sounds awsome!
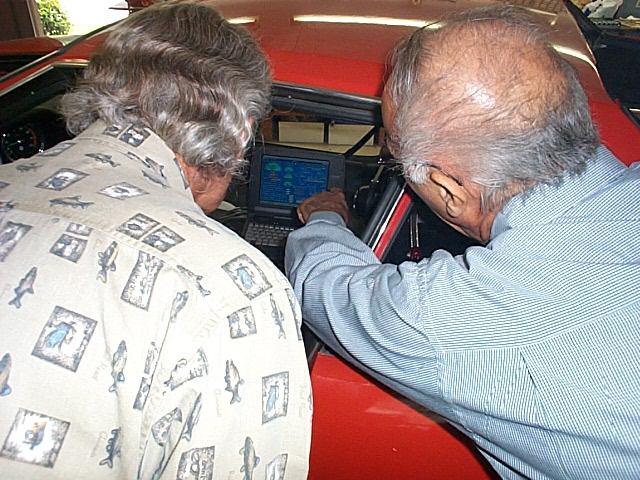
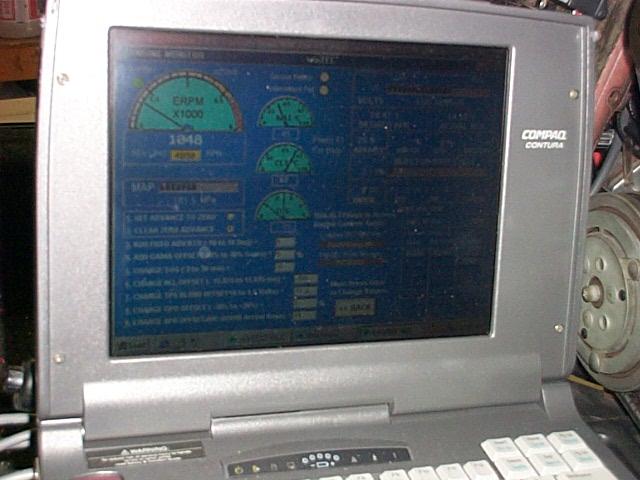
Dick and Jerry review the real time information displayed by the engine management system.
Next, finish a few small under car details, install the wheels and hit the road!
May 11, 2002
We are still working on the last few details to get the car on the road. Today the plan was to figure out why the head lights would only move to the up position.
When we finally found the problem, it was cause for a little humor!
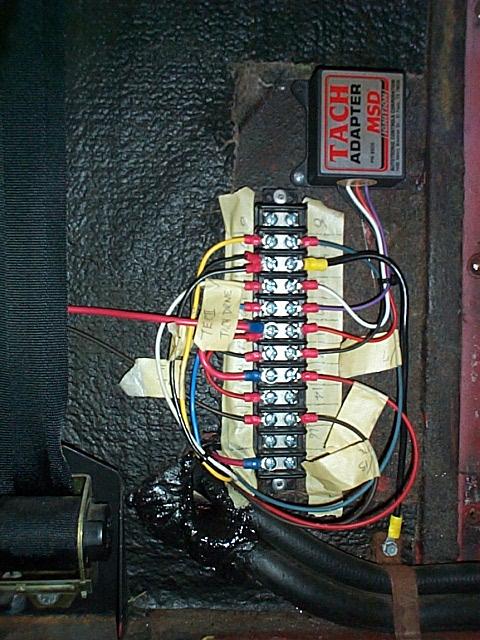
We used Bill Taylor's outstanding electrical diagrams and determined that sometime in the last few years the yellow and brown wires were reversed on the headlight relay. To complicate things more someone had connected the ground terminal on the headlamp relay to a power source. After some head scratching we reversed the yellow and brown wire on the relay and created a ground for the relay coil and it worked!
September 28, 2002
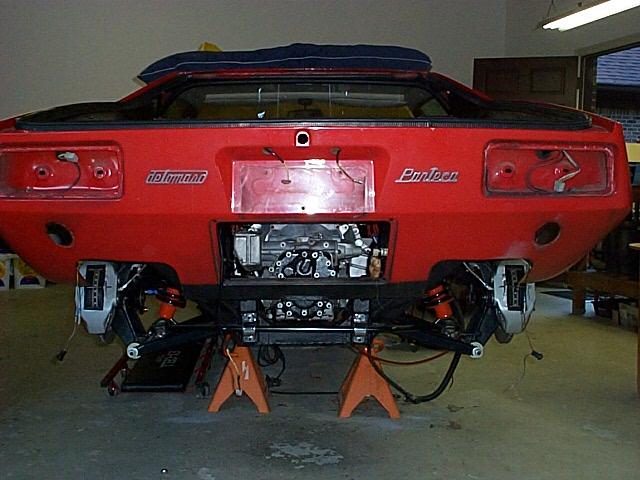
This is it! The day that the Koch Pantera is on the ground for the first time in 7 years and it hits the road!
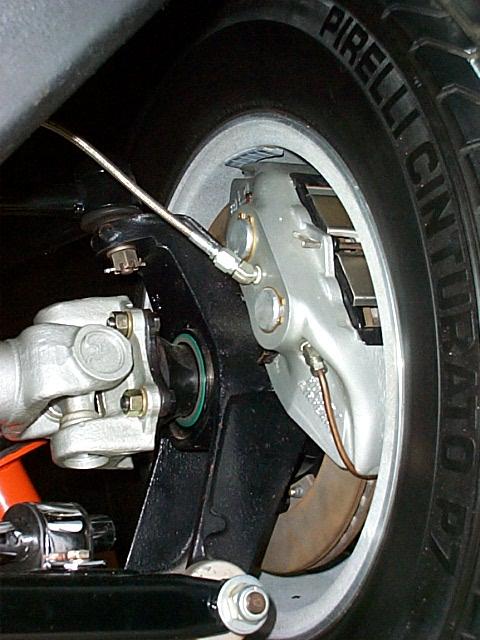
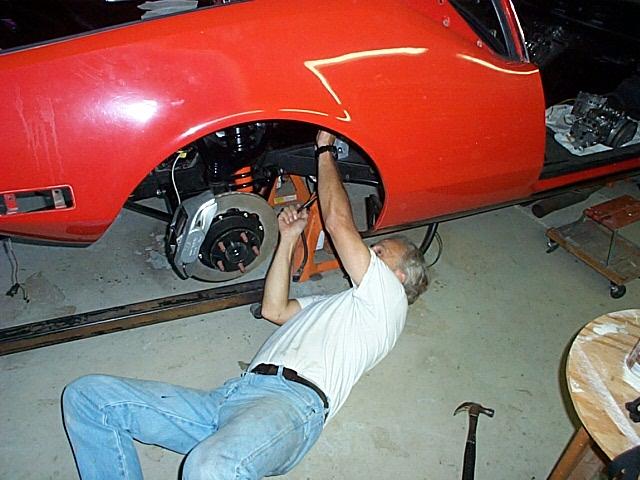
View of the completed brake installation. Pantera Performance provided the custom anti-rattle brake clips.

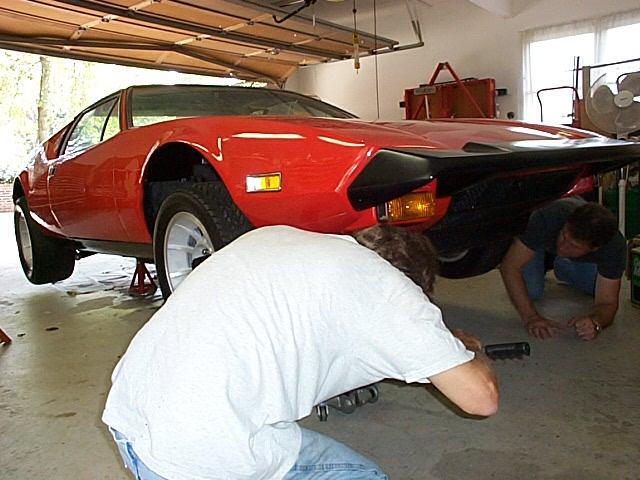
Dick lowers the Pantera while Howard Suddeth helps with the jack stands.
Dick tightens down the anti-sway bar while Howard gives encouraging words.
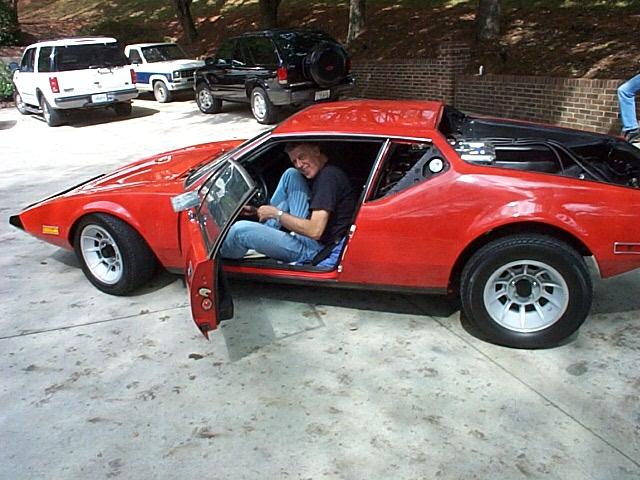
Dick, organizing the seating arrangements. We had a little problem getting it to start until we realized that that gas tank was empty!
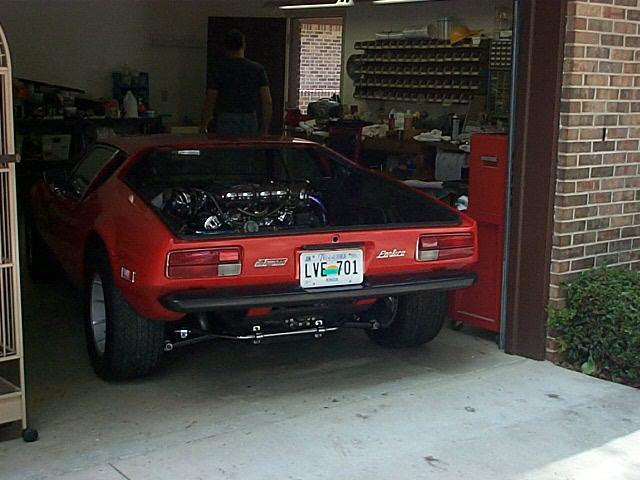
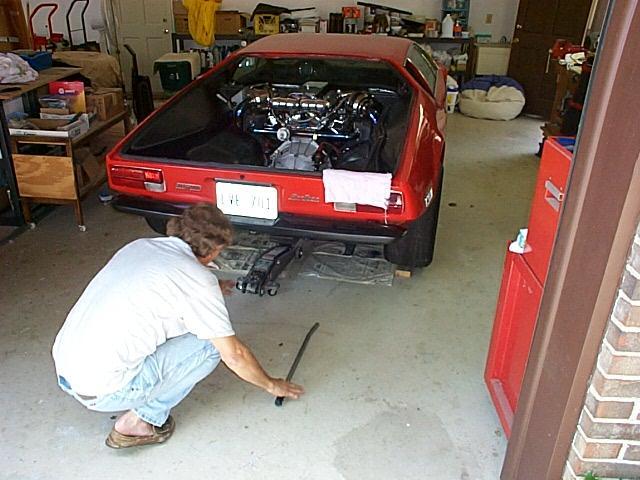
It's on the ground, It's running, and it's backing out of the garage. Holly cow Dick!
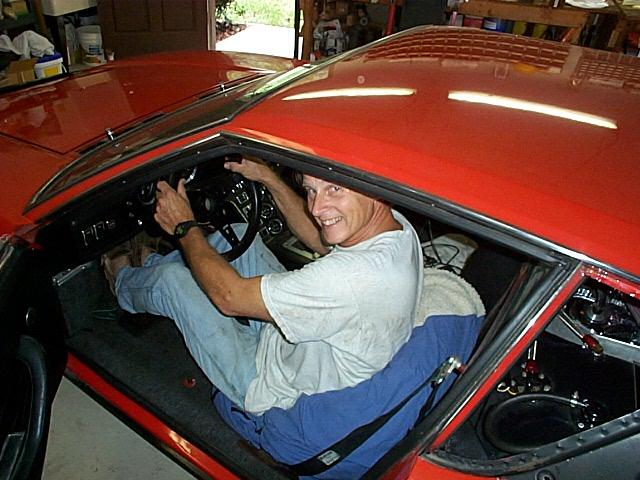
After some adjustment work on the ZF shift linkage, Dick maneuvers the Pantera for the first test drive.
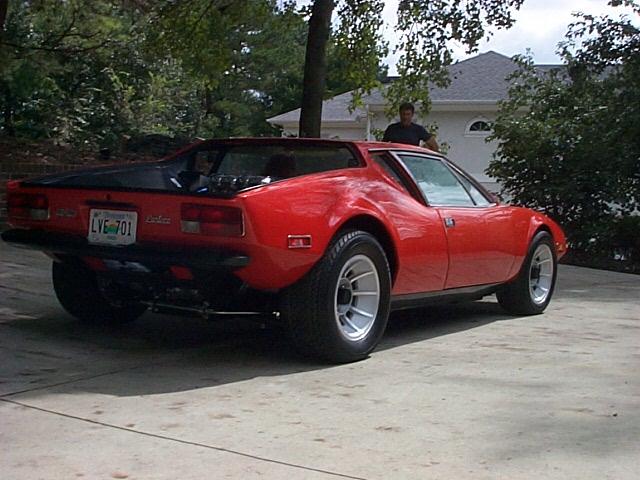
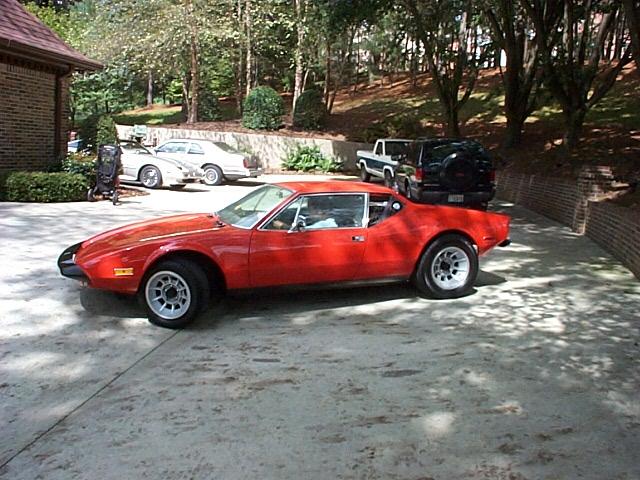
Dick heads down the driveway in the Pantera for the first drive in 11 years!
When Dick got back from the first drive he was grinning from ear-to-ear and insisted that Howard and I each take the Pantera for a test drive. The 700HP 351C makes the car very, very impressive to drive!
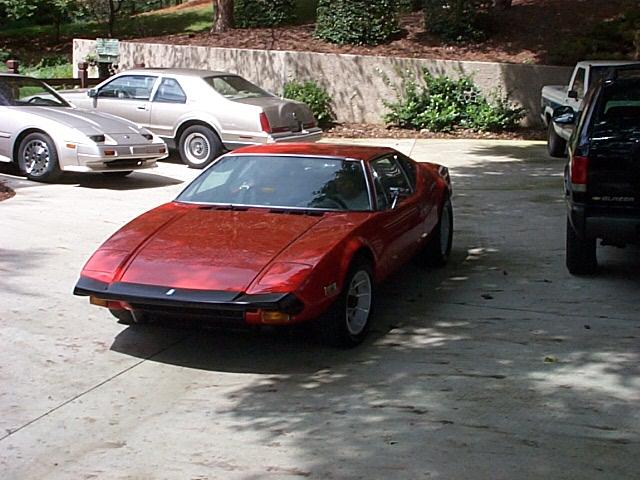
It's me returning from a test drive. You can tell that It's fast, just by driving it around the block.
Next, Pantera East 17X11 and 16X8 Campy wheels and and new fat tires and follow-up on a few details! It's running just in time to make the Atlanta Italian Car Day next weekend.

Dick Koch, out cruising the neighborhood.
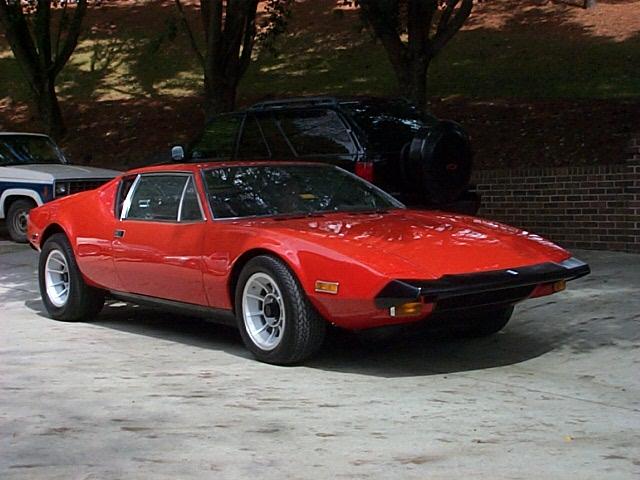
February 2006
After much reengineering of the induction and turbo control system, new wheels and a beautiful applied new red paint job, Dick's Pantera wins best pre 1980 modified sports car and best engine of the show at the Atlanta World of Wheels Autorama.
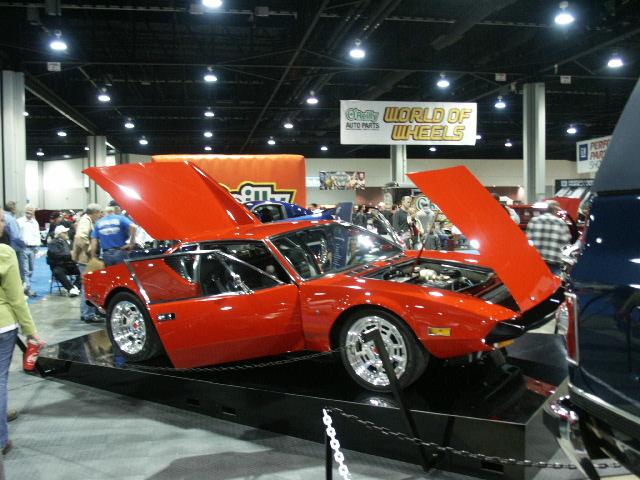
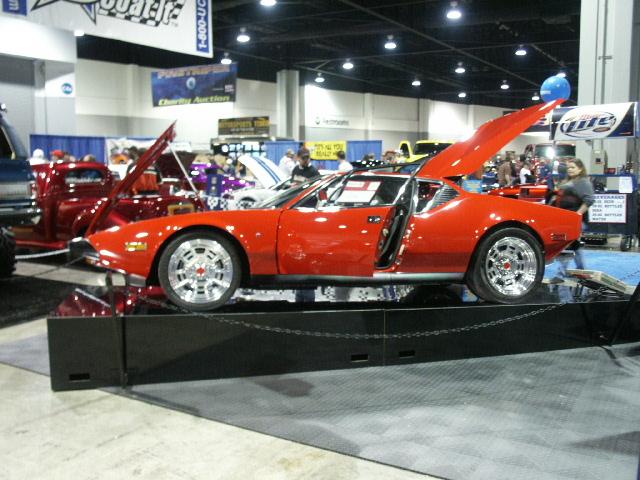
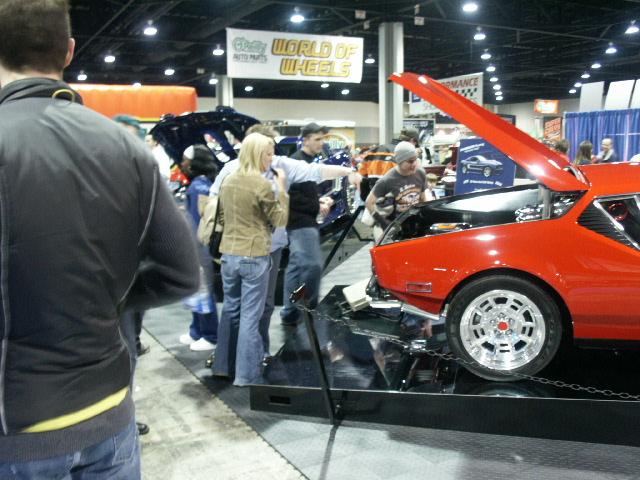
The End!