The Pantera Place
"Your de Tomaso Connection"

Replacing Valve Covers 

By Mike Dailey

All of the technical information and product information posted on this website is offered as general information and is not recommended, endorsed, guaranteed or presented as professional technical information.  It is recommended that you seek professional help for the repair or maintenance of your car.  Improper self-maintenance or repair of your car can result in serious injury and or death.  Use of this information is done at your own risk.   


Valve cover 1.JPG (140725 bytes)

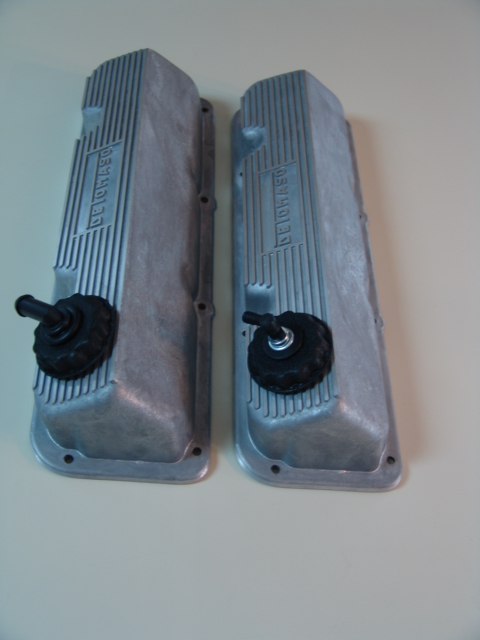
A few years ago I bought some de Tomaso logo valve covers to replace the covers on the Pantera that were repaired by a previous owner.  They had cracks that had been aluminum welded.  I finally got around to replacing the covers and the following steps detail the process.  

Valve cover 2.JPG (145869 bytes) Valve cover 3.JPG (128284 bytes) Valve cover 4.JPG (117253 bytes) Valve cover 5.JPG (111923 bytes)

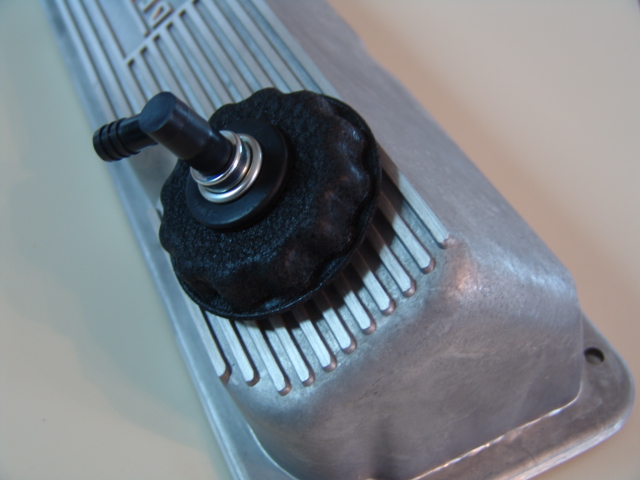
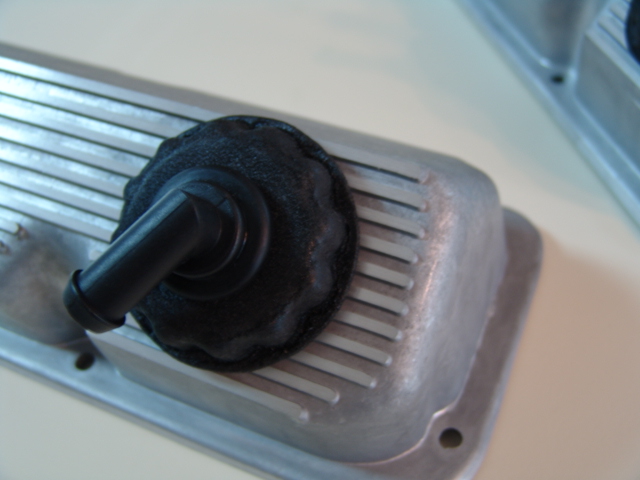
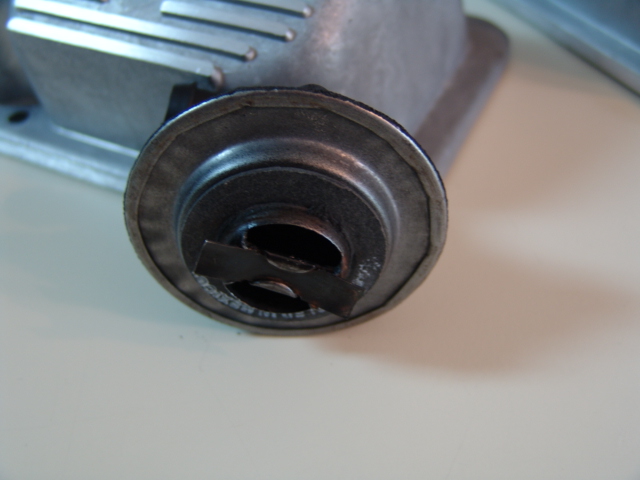
As part of the cover replacement a friend gave me some used breather caps that I cleaned and painted with wrinkle finish black paint.  It is important that the breather gasket fits flat against the cap.    

Valve cover 7.JPG (144179 bytes)

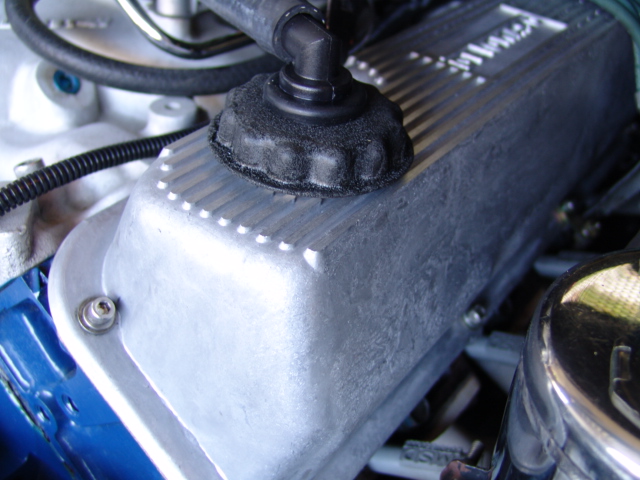
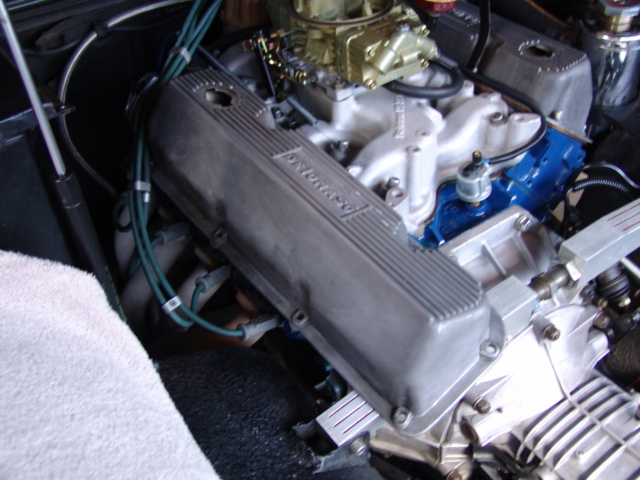
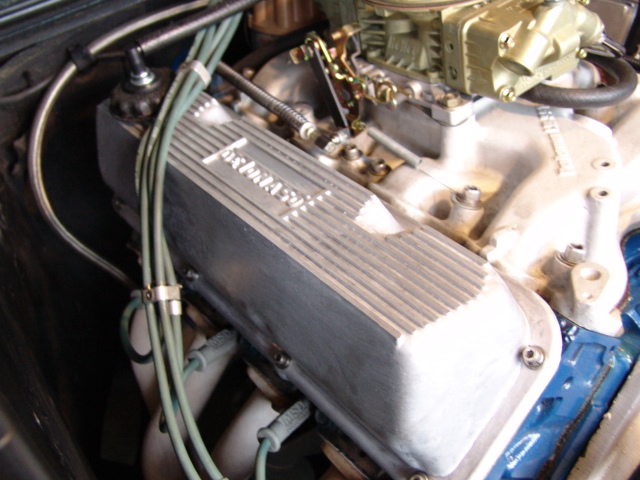
View of the cover before removal.  The first step was removing the breather cap/PCV valve and setting it aside.  My car uses 1/4 20 socket head bolts and I removed them being carful not to drop the parts.  

  Valve cover 8.JPG (147266 bytes)

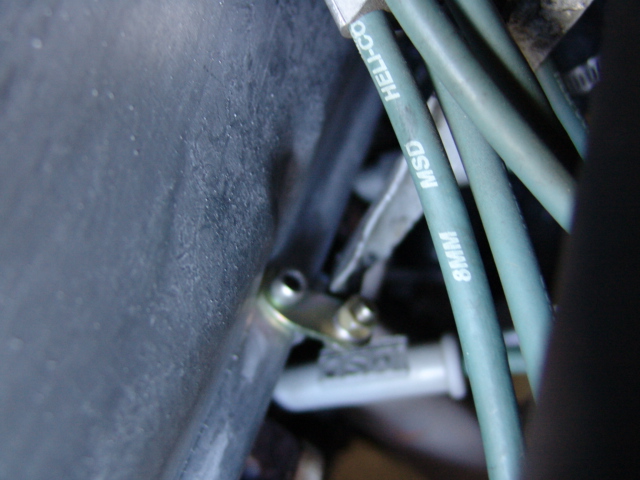
When I did my sparkplug wire project I allowed a little extra slack so the cover can be removed without disconnecting the wires.  

Valve cover 9.JPG (150021 bytes)

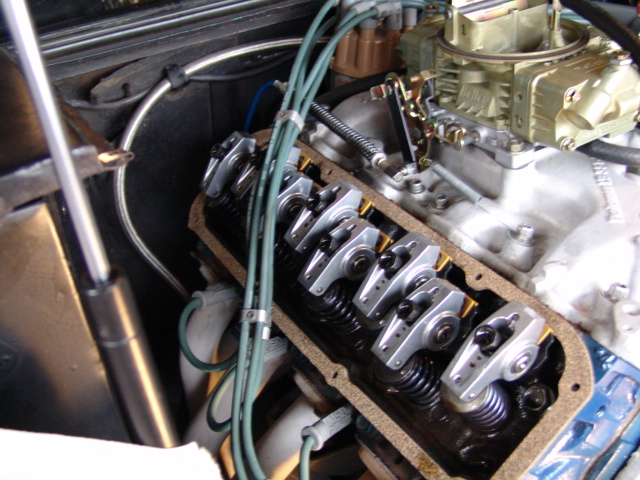
View with the cover removed.

Valve cover 6.JPG (148028 bytes) 

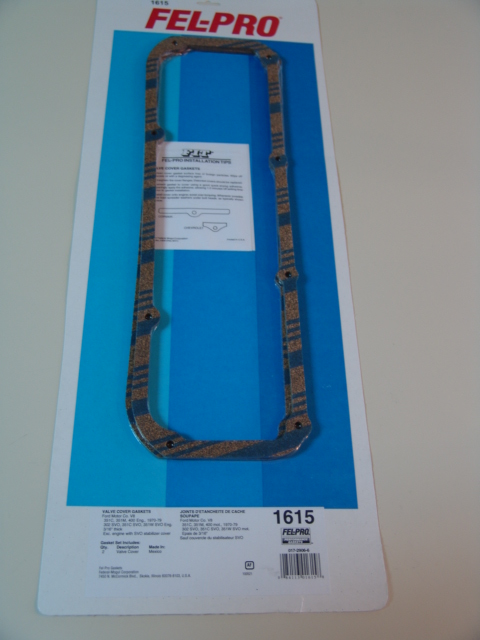
I'm using Fel-Pro 1615 rubberized cork gaskets.

Valve cover 10.JPG (153797 bytes)

The gasket only fits one direction, so make sure the gasket holes lineup with the bolt holes in the head befor you put the cover on .

Valve cover 11.JPG (153056 bytes)

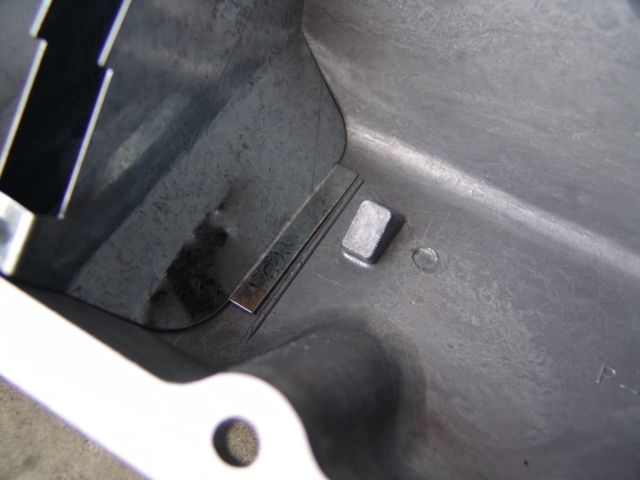
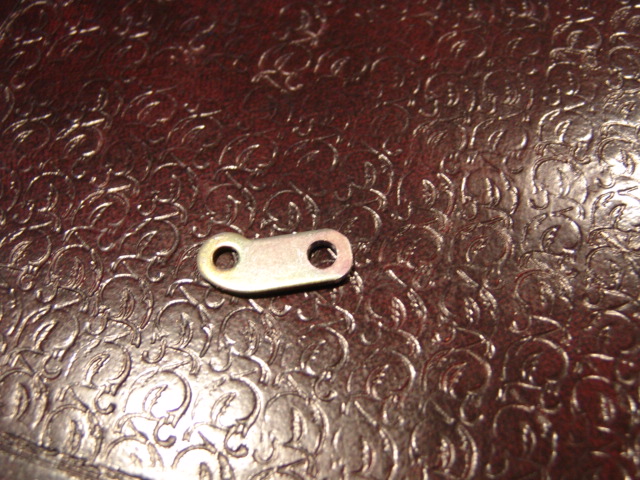
My original covers had some adjustment work done to move the top part of the baffle over for rocker arm clearance so I did the same on the new covers.   

Valve cover 12.JPG (146024 bytes)

New cover in place.  Be carful not to over torque the bolts.  I just hand tighten them with the Allen wrench.  

Valve cover 13.JPG (150429 bytes)    

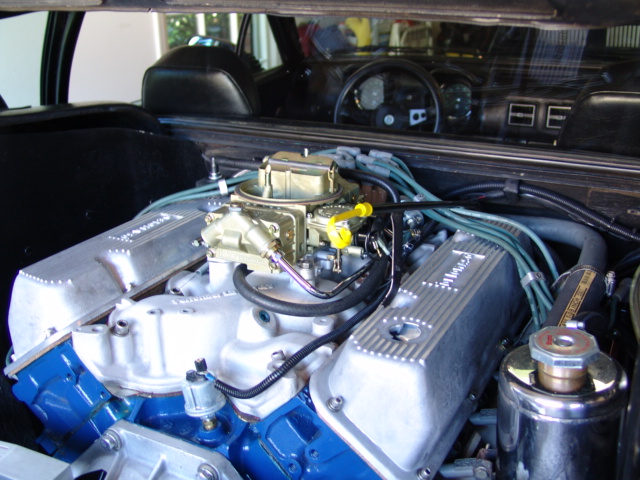
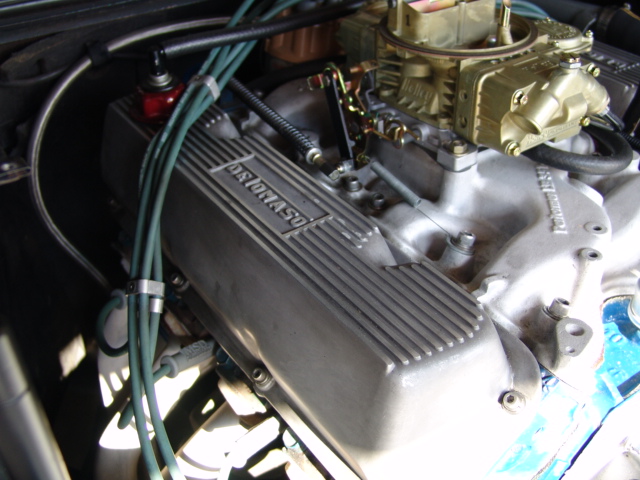
Both covers installed.  After the covers were installed I ran the engine to check for leaks and then re-torqued the bolts.  I'll check them again after a few miles.       

Valve cover 14.JPG (151893 bytes) Valve cover 15.JPG (141137 bytes)

If this is the first time your valve covers have been removed you will most likely notice that the brace on the coolant tube running to the swirl tank is retained by one one of the valve cover bolts. This makes removing and replacing the valve cover very, very difficult.  A fellow Pantera owner, Dan Jones, came up with a neat idea to stand the brace off to the side with a short link.  My link was made from a old carb bracket.  It doesn't need to be curved, but the I used was and it worked fine. The coolant tube bracket must be adjusted so it is beside the valve cover not over it.               

Valve cover 16.JPG (161464 bytes)

A close up of the new valve cover showing how much thicker the cover is at the base that should reduce the cracking problems my old covers had.