By Ralph Granchelli
rgranchelli at esedona.net
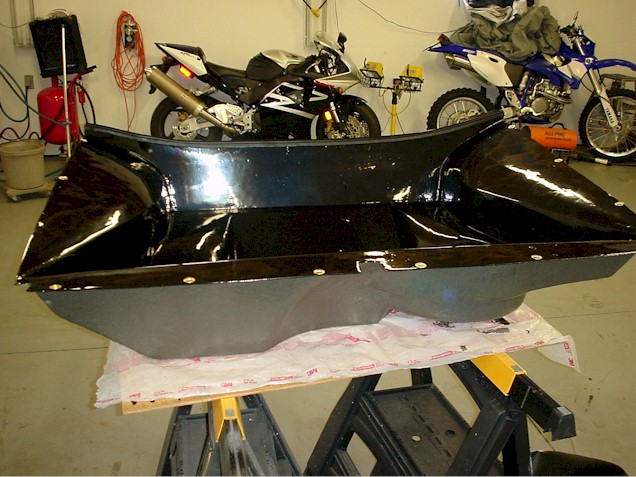
The trunk insert for my Pantera was badly in need of restoration. The carpet was worn, there were cracks in the fiberglass, and holes for the Dzus were torn.
The first step in the restoration process is to remove the rear rubber trim strip then carefully, with a pair of sharp wire cutters cut out all the grommets.
Next remove the old carpeting. A solution consisting of 50% water and 50% alcohol will remove the carpet. Soak it and let it sit and it will peel out.

If this process is too slow, PPG 870 will take it out fast. If the insert needs no repair you can just install new carpet. Residual pieces of carpet can be removed with an abrasive wheel.
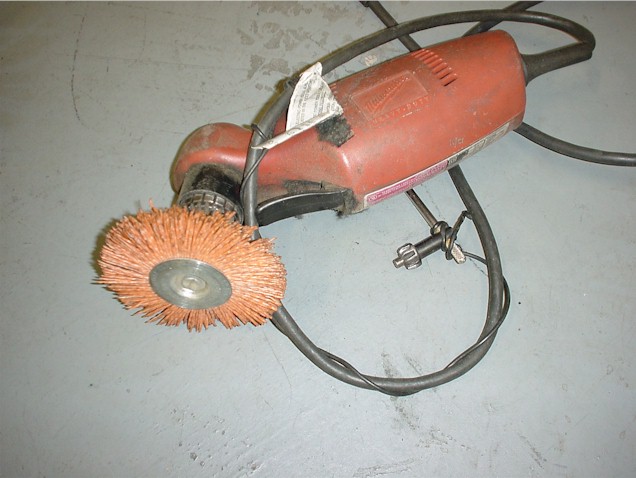
Do not use a wire wheel as it will load up and can cut through the fiberglass quickly. If you need the full repair, proceed as follows.
Clean the exterior with windex or equivalent, and a scotch-brite pad. Clean it a few times and dry it off.
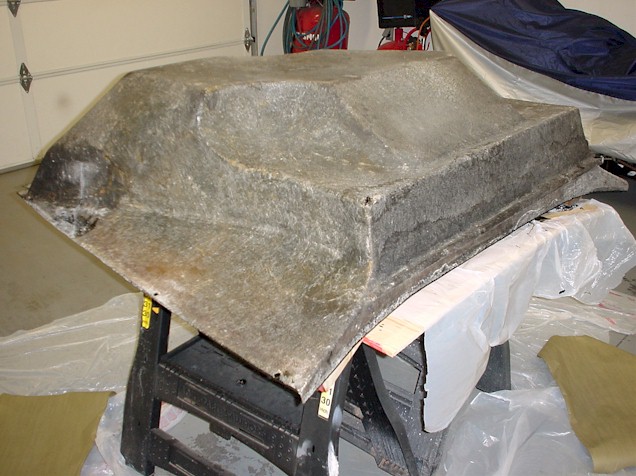
There will be a residual layer of adhesive and carpeting in the interior. PPG Ditzler 870 hot Enamel reducer will strip it down to the bone quickly.
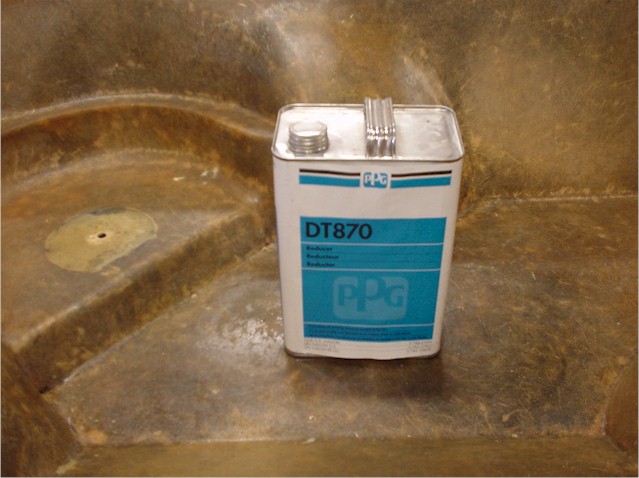
Make sure to use Nitrile gloves, a respirator, and goggles when using 870. Only do this with plenty of airflow. Wet a section and work it with a razor or a sharp spatula. Make sure you do not dig into the glass you just want to scrape the surface clean.
Let the interior dry and power sand the surface with 36 then 100 grit sandpaper. Wash the interior with PPG 870 reducer, prep sol, PPG 330 acryli-clean, cleaner or equivalent and dry it with compressed air. Tack cloth the interior to remove residual contamination.
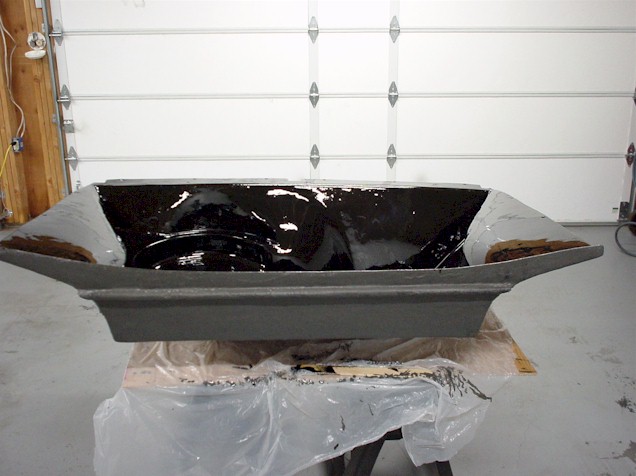
First we will re-resin the interior. Mix approximately 20 oz. of material for the first coat. I got general purpose epoxy - resin from Tap Plastics in San Joser, CA., www.tapplastics.com

Make sure you use epoxy resin and not polyester resin which is less expensive, not as strong and may have bonding issues. Use a 1:1 mix of epoxy & resin or whatever your directions say. It is very strong and flexible when hard. Add in approximately. 1 tbsp of black die, you will end up with a hard black glossy finish. The black color also helps identify where you have coated as well as where sags are so you can roll them out during the initial set up. Use a small foam roller to smooth it. Use a 2" brush to spread the material, work corners and patches. Make patches from heavy weaved glass mat or glass strands depending upon the size of the repair. Saturate the patch before application and work it smooth. Make sure patches are covered with resin. You need to work fast as the pot life is about 15 minutes depending upon temperature. If the temp is above 70F, you may want to mix in a cup and then transfer to a paint tray to minimize self heating effect of the material. Let it harden for two days and power sand the interior smooth to prep for the second coat.
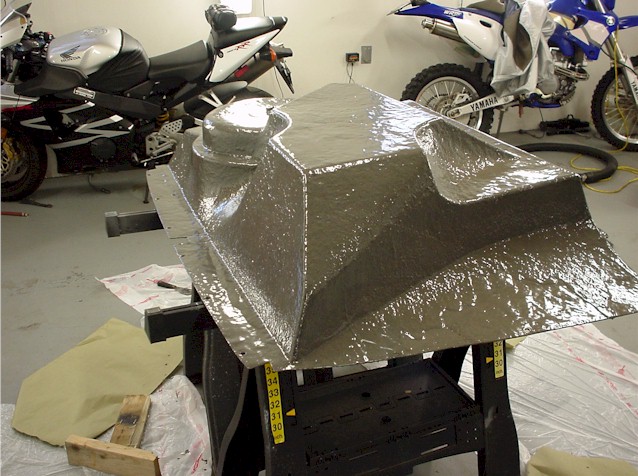
Now we will re-resin the exterior. For this application I used graphite colored Kevlar re-inforced epoxy-resin. It hardens strong & flexible and it is waterproof. You can also clear coat it per the instructions on the can, but I did not. Mix in a ratio of 7:1 or whatever your instructions say. Roll the exterior with a foam roller and let it harden a few days. I only did one exterior coat, but you may want to do two.
No we are back to the final interior coat. Add a final coat similar to the way we did the first interior coat. Let the finished insert set up for at least two days.
You can now add carpeting, or use it as is. I plan to use as is and make an insert pad from carbon fiber textured heavy vinyl to protect from scratches.
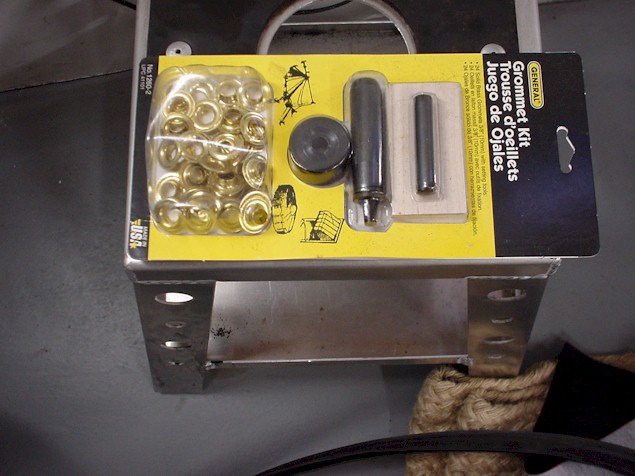
Install a new set of brass grometts for the dzus holes. Use a reamer to expand the holes to fit the grommets. I got mine at Ace Hardware.
The completed trunk with grommets and seal looks like new.