The Pantera Place
"Your de Tomaso
Connection"
Replacing Window Cat Whiskers
By Mike Dailey
Inside Cat Whiskers
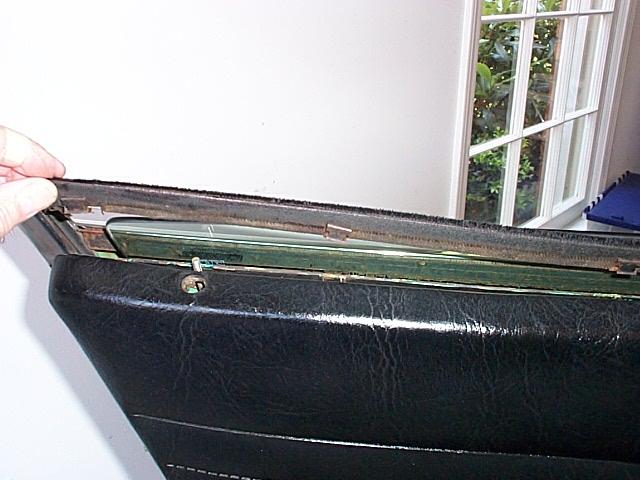
The inside window cat whiskers on the Pantera are held in place with spring clips and the outside whiskers are held by small screws. The screws that hold the outside whiskers can only be accessed by removing the window glass so I decided my first item would be to replace the inside whiskers. The first step was removing the top door panel screws and pulling the panel back to access the cat whisker retaining clips. My cat whiskers were ordered from Pantera Performance.
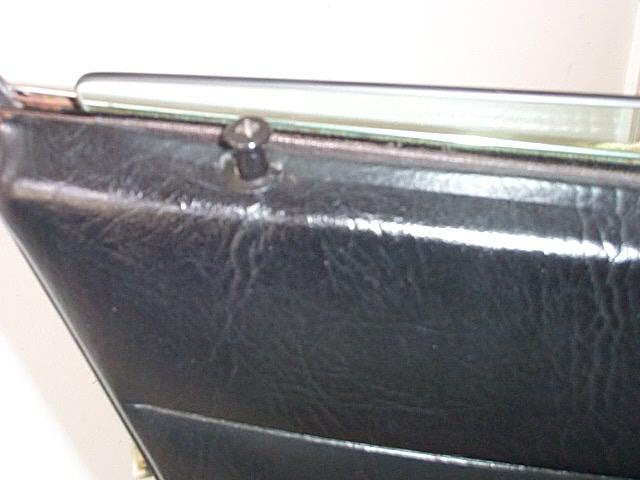
View of the door panel before removing the screws
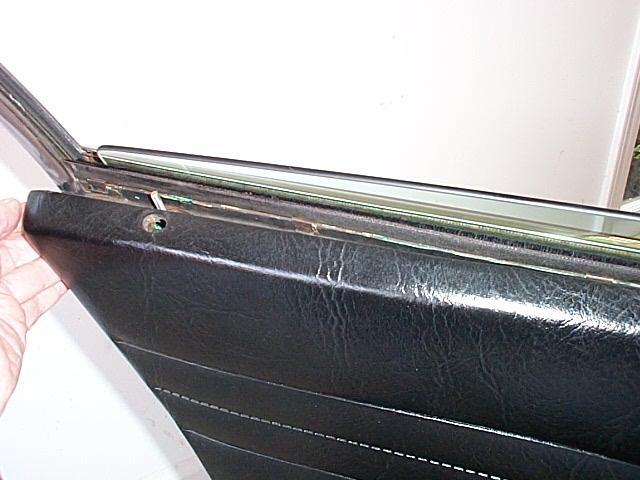
View of the door panel pulled back. The retaining clips can be seen at the bottom edge of the old cat whisker strip.
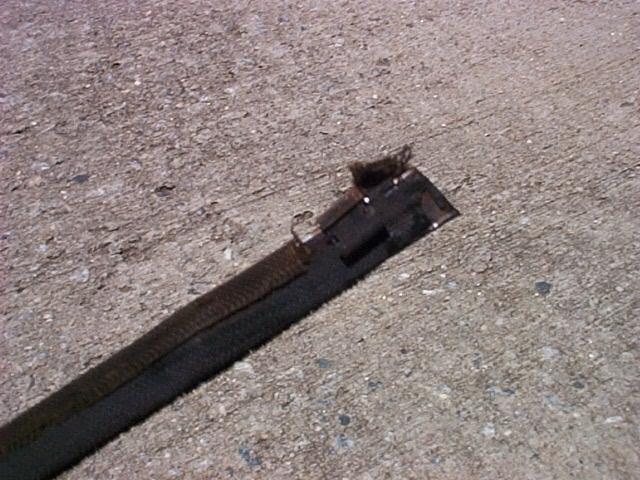
A screwdriver is used to slide the clips off the door frame so that the whisker strip can be removed.
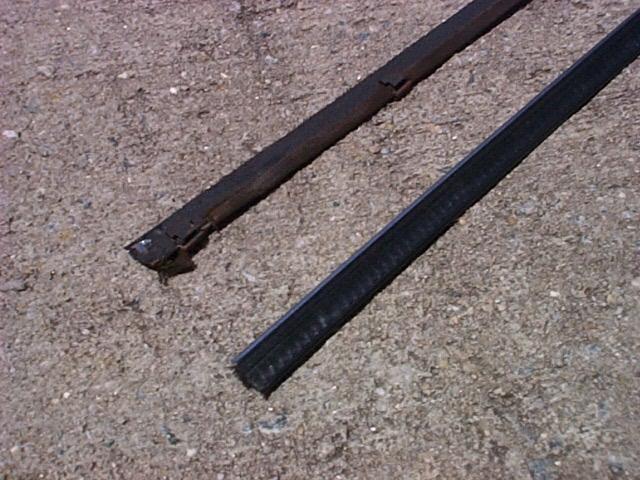
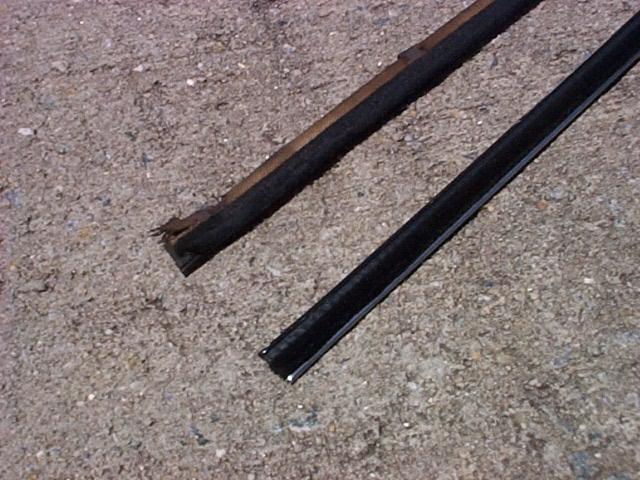
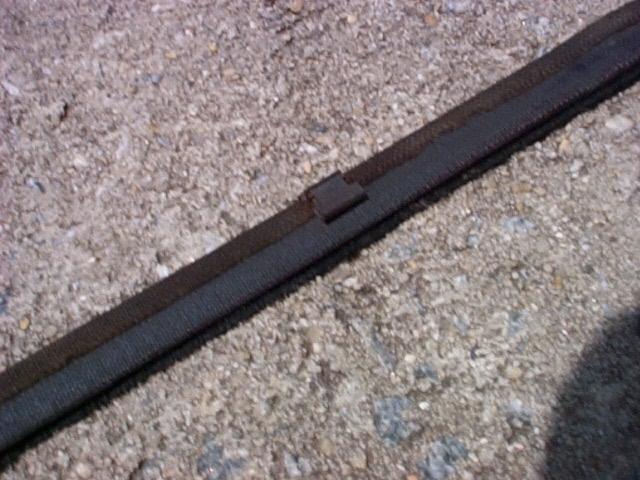
View of the old and new whisker strip showing both sides.
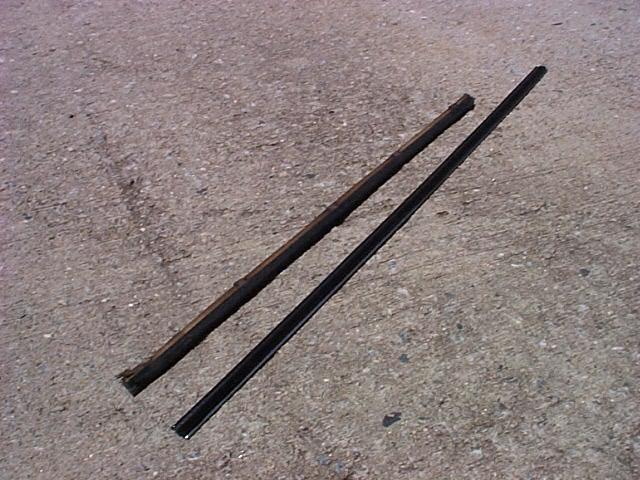
View of the new uncut whisker strip before cutting to length.
View of the front and back side of the spring clip. The spring clips have small bent over edges that grip the strip.
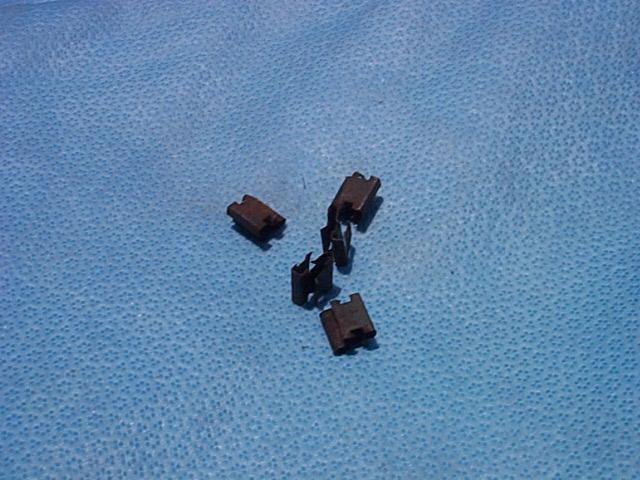
View of the spring clips after carefully releasing them from the strip.
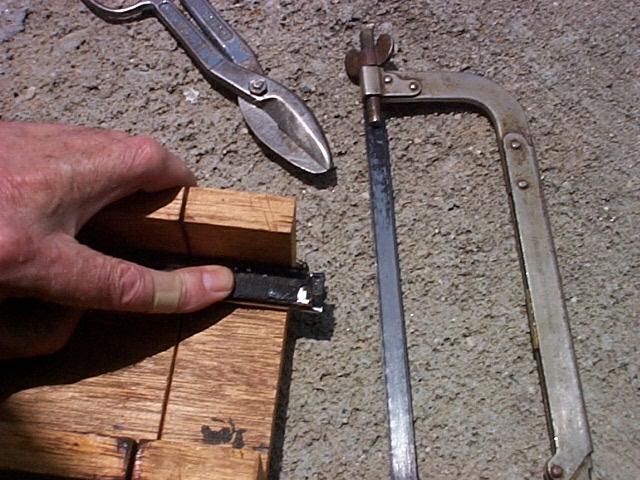
I used a miter to hold the old whisker strip over the top of the new strip to carefully cut the strip at the same angle as the old strip.
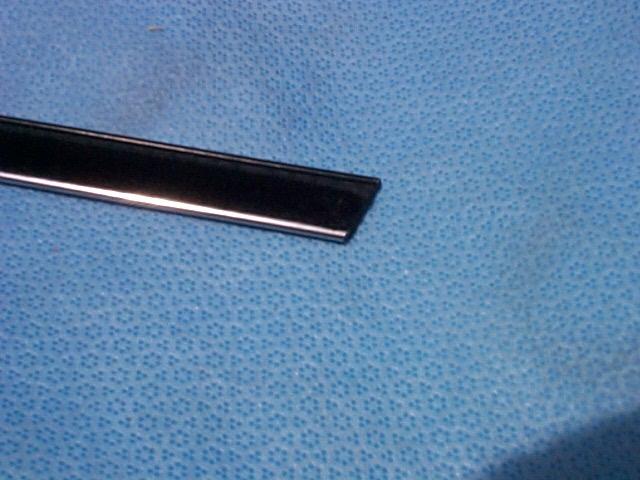
View of the strip before cutting the angle on the end to match the window frame.
Tin snips were used to trim the fabric after cutting the end and some filing was done on the cut end to make it smooth. The new strip was cut to the same length as the old strip. Note that the new whisker has a stainless steel finish rather than the original black color.

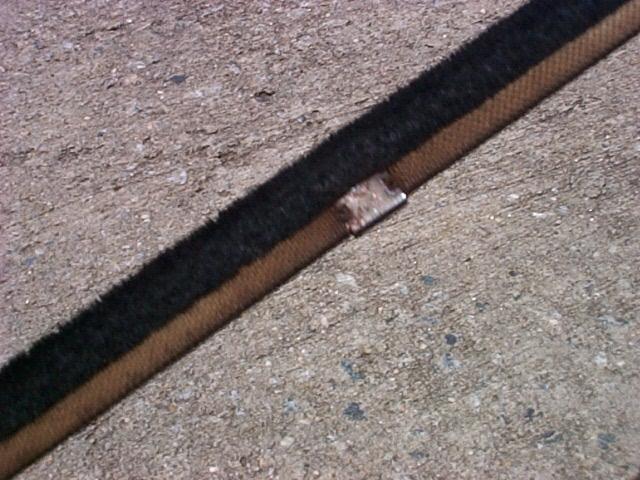
View of one of the five retaining clips in place on the new strip. Be careful when sliding the clips in place on the new strip because the strip can be easily bent. I started the clip on the strip and then placed the bottom of the clip on a block of wood and pushed the strip down into the clip by hand. After the clip was almost in place pushing on the strip directly over the clip I taped the clip fully in place with a piece of wood. Make sure the clips are fully in place and are flat against the strip surface so they cannot contact the window glass.

View of whisker in place ready for the door panel screws
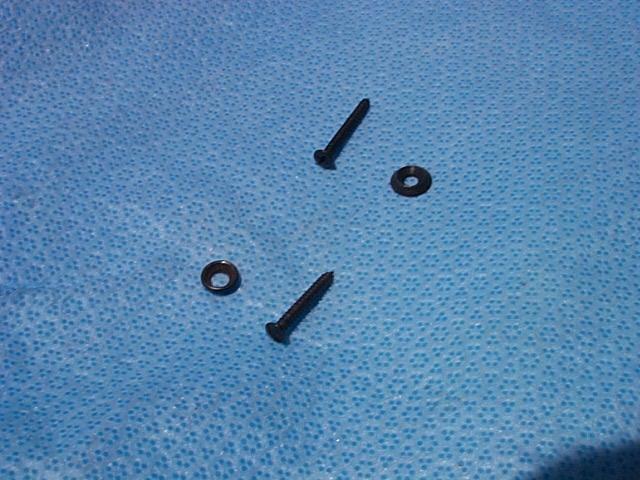
View of the old and new screws and bezels.
I decided to buy new door panel screws and the bezels that go with them. The Pantera Performance is the set at the top of the image. The screw is a Philips head rather than my original straight slot screws and the bezel is a solid machined part rather than the stamped thin original part.

View of the completed job.
Outside Cat Whiskers
While I was upgrading to the Ford Aerostar power window motors and gearbox I decided it would be a good time to replace the outside window cat whiskers.
I liked Fred Terry's idea of using double face tape to sick the outside whisker to the door but on my 1971 car I ran into a problem with that idea. My car has four brass screws that hold the whisker in place and also hold the stainless door trim to the door along with a fifth screw that was behind the whisker.
I didn’t like the idea of drilling the new whisker and using the brass screws but that’s what I did. To get the outside whisker off you must lower the window down to the bottom of the door to get the top of the window out of the way of the whisker screws. Because I had the regulator and window center track out this was not a problem. I’ve read about how hard it is to get the regulator and motor out of the door but with the center window track out of the way it was easy process. The inside whisker must be removed to get a direct screw driver angle to the outside whisker screws. The screws are small brass wood screws with straight slot counter sunk flat heads. I used a good-sized screw driver that had a narrow blade that fit the screw slot perfectly. The screws are very, very tight and you only get one chance to get them loose without damaging the screw slot. The screws are not very visible so you must poke around on the old whisker to find them.
After I took the old whisker out I used it as a template to cut the length and angled ends of the new whisker. I also used the old whisker as a template to drill the screw holes in the new whisker. I put the old and new whisker side-by-side and held them lightly in a vice to drill the screw holes, using the old whisker screw holes as the drill guide. I’m using Pantera Performance whiskers and they have a black rubber like layer under the fuzzy part of the whisker. The screws pull down into the rubber and the flat head of the screw is well below the fuzzy part of the whisker. Hopefully they will stay put and not back out. I’ve dreaded doing the outside whisker change-out for a number of years, but in the end it wasn’t that bad as Pantera projects go. Doing the window motors at the same time worked out very well and Dick Koch’s widow motor instructions are very well done.