This page started out to be an article on how to change out a 65 amp alternator to an upgraded 100 amp unit with an external regulator. I didn't want to upgrade to the 100 amp one wire alternator with the internal regulator because then the the Pantera GEN light does not work.
I had noticed last year after I got my cooling fans upgraded and my A/C fixed that my battery would slowly discharge over a few weeks time of driving. The 65 amp alternator I had installed in 2000 just didn't seem like it could keep up with the load. It had been working fine up until this time and would keep the battery fully charged. I thought it was related to the larger loads on the system but discovered by having my 65 amp alternator tested at the shop that does alternator amp upgrades, that it was only putting out 20 amps! Problem solved! I had noticed that the amp gauge was not showing the higher charge rate like it did when I first installed it but I was more focused on the new loads that I had added not the fact the the alternator was failing. I was lucky that I had bought the most expensive refurbished (and that wasn't very much money) alternator that Advance Auto sold in 2000 and it came with a lifetime warranty.
The first step in the project was to disconnect the battery and then remove the firewall. Instructions on how to remove the firewall can be found on my A/C system upgrade page. The info is about half way down on the page.
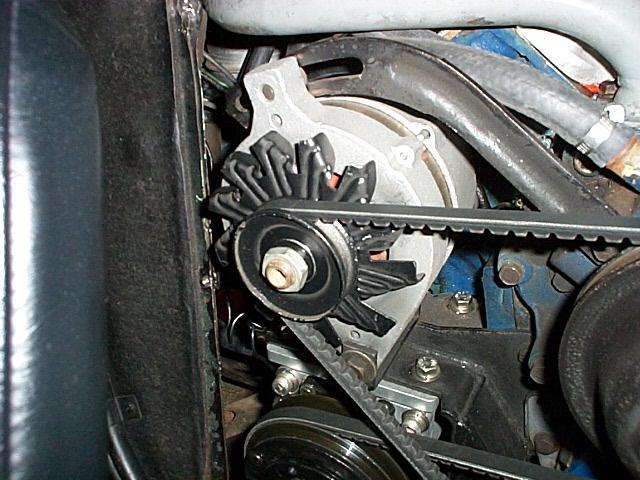
I removed the top bolt on the alternator bracket and then moved the alternator to the right to move the drive belt out of the way.
With the drive belt out of the way the alternator can be moved all the way to the left and the lower bolt and nut can be removed. Moving the alternator to the left provides access to the nut behind the alternator.
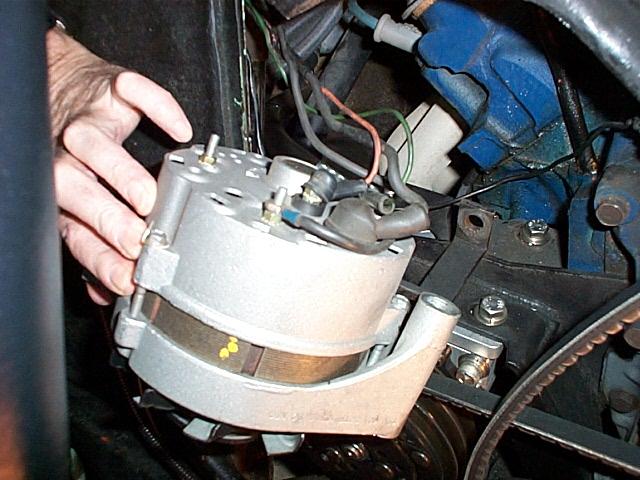
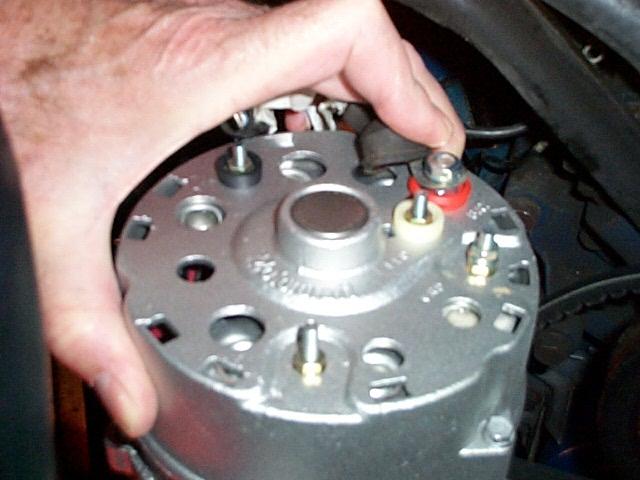
I leave the wire connections on the alternator until I can pull it out for easy access. Label each wire before removing them. The back of the alternator is marked for each wire, BAT, FLD, SAT and GROUND. It is a bit of a balancing act to hold the alternator with one hand while you work with the other.

View of my new replacement Advance Auto alternator with its lifetime warranty ready for installation! It's great when the warranty offered by a company really works!

The alternator is positioned close to the wires and the wires connected and tightened.

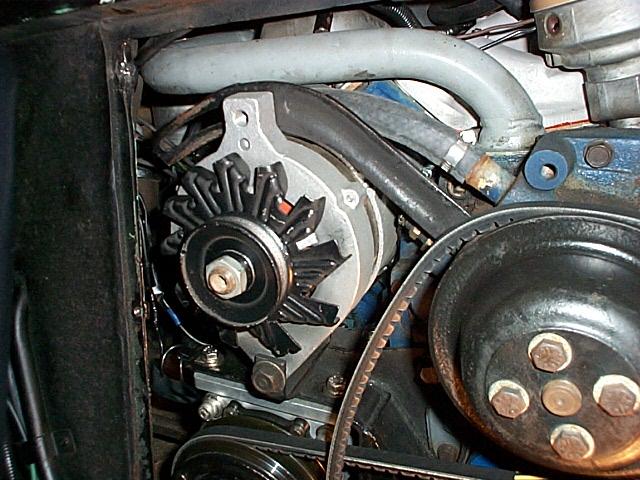
View of the alternator with the lower mount bolt and nut installed.
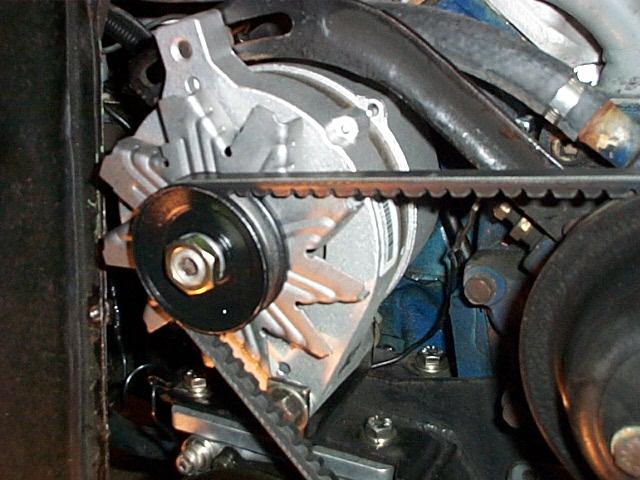
View of the completed installation
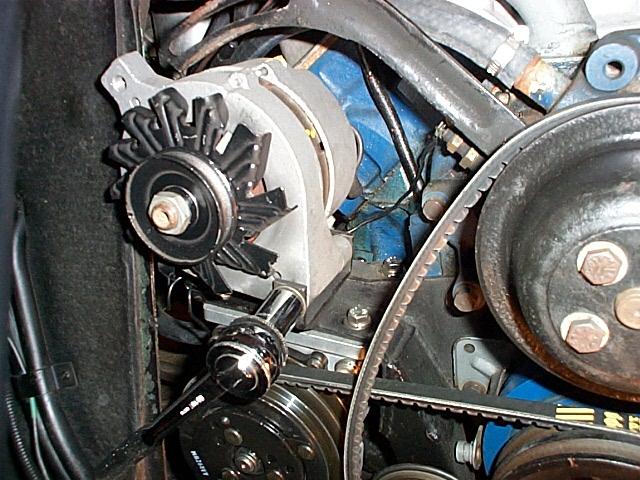
I tighten the lower alternator mount so it is tight but that with some force the top of the alternator can still be moved to tension the drive belt. Note the position of the upper alternator mount lug and the position it's in on the alternator mounting arm slot. If the drive belt is too long the alternator will move too far to the left as tension is added to the belt and the alternator cooling fan will hit the inside of the firewall hatch. It is possible to see the clearance of the alternator cooling fan and the inside of the firewall hatch by looking at this area from the engine compartment along the passenger side of the engine. My car seems to be OK with about 1/4" to 1/2" clearance. The belt should be tensioned by moving the top of the alternator to the left so that center of the belt between the alternator and the engine crank pulley can be defected only about 3/8" to 1/2".
Next I reconnected the battery, started the car and presto, lots of changing amps were showing when it was first started. Use extreme caution if you run the engine with the firewall removed. Stay away from the rotating parts and belts. If your battery as been discharged a lot, the instructions that came with my new alternator said that the battery should be fully charged before starting the car to prevent overloading the charging system (see links below).
With the new alternator and the currently not fully charged state of my battery the amp gauge shows a charge rate of about 30 amps when the engine first starts (to recover from the starter load on the battery) and within a few seconds drops back to about 15 amps.
The following two pages are in JPG format and came with my 65 amp Advance Auto alternator:
Page one, includes alternator performance chart (computer printout) and warnings. (255kb)
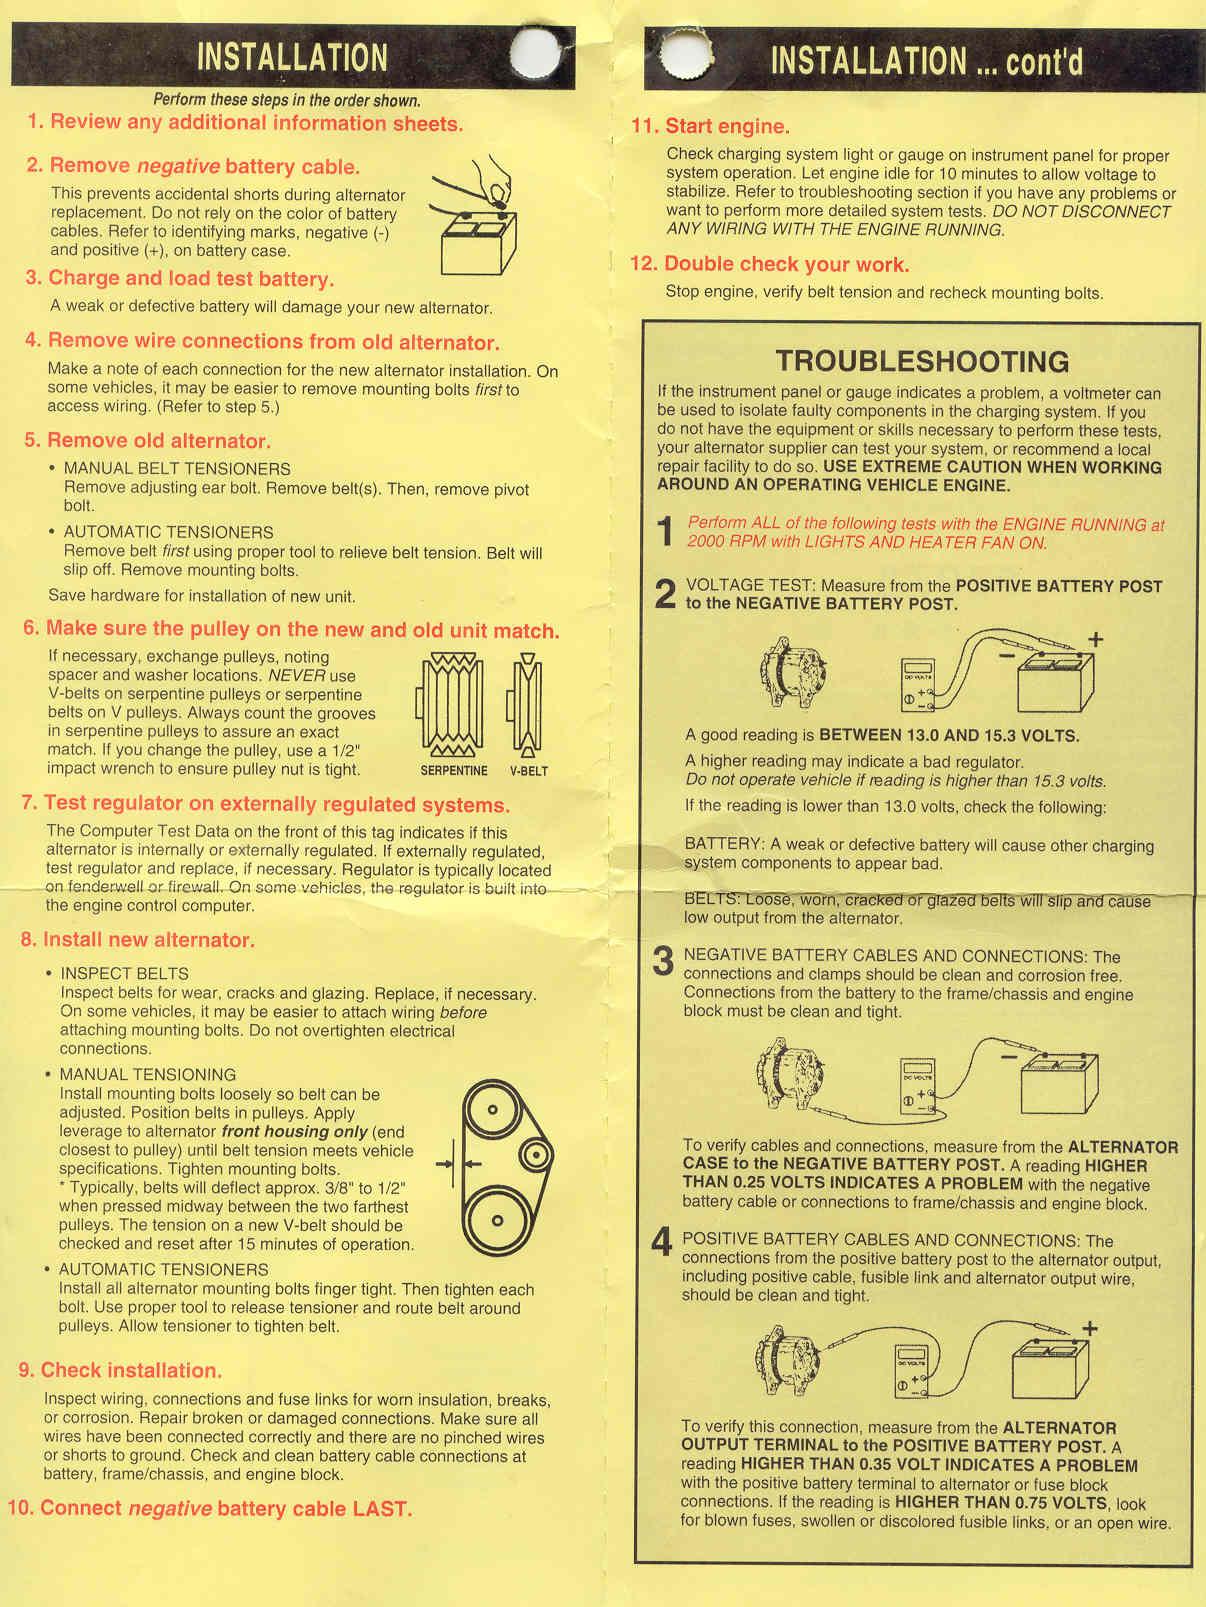
Page two, includes alternator installation details. (319kb)
Note that the performance chart shows 73 tested amps.