September 26, 2001
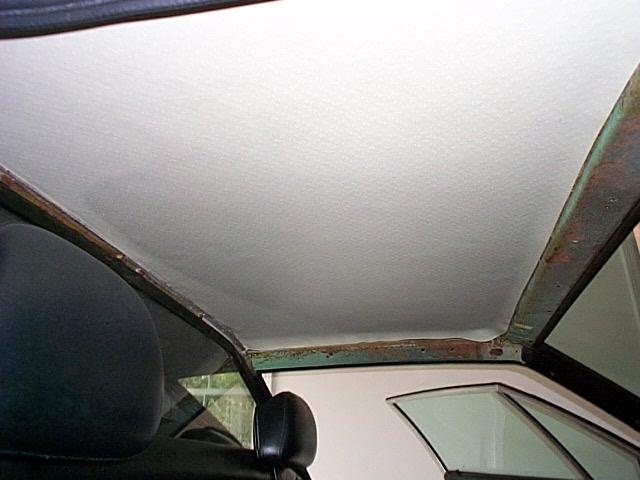
One item that most all Panteras need is a new headliner and my car is no exception. The headliner is glued to the roof of the car and over time the foam backing deteriorates and the headliner can come loose at speed and blow fine foam particles all over the inside of the car. This can be a very dangerous experience.
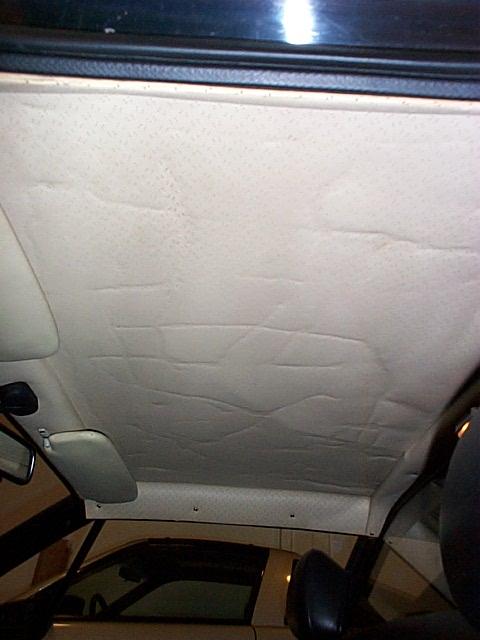
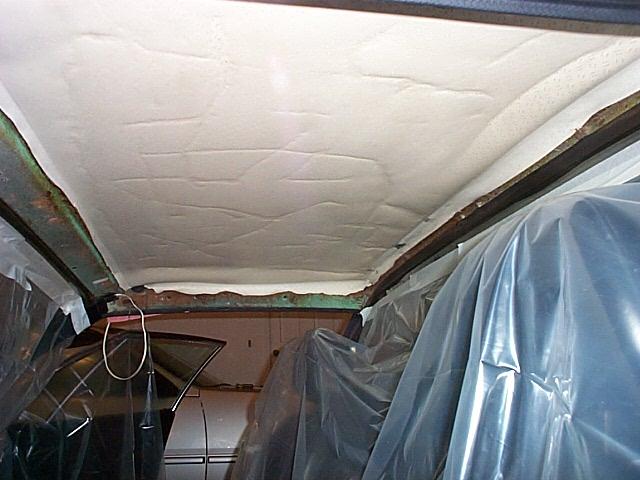
I've had the replacement of my headliner on my to do list for a long time but because it is not a very pleasant job it kept slipping to the bottom. Now that it is the last item on my list I have no excuses! My headliner has some odd winkles and is a little loose at two spots along the backside.
I did some research to find out what options I had for replacements and decided to go with the Pantera East reproduction of the original headliner. I liked the idea of keeping the headliner a light color that helps make the inside feel larger and brighter.
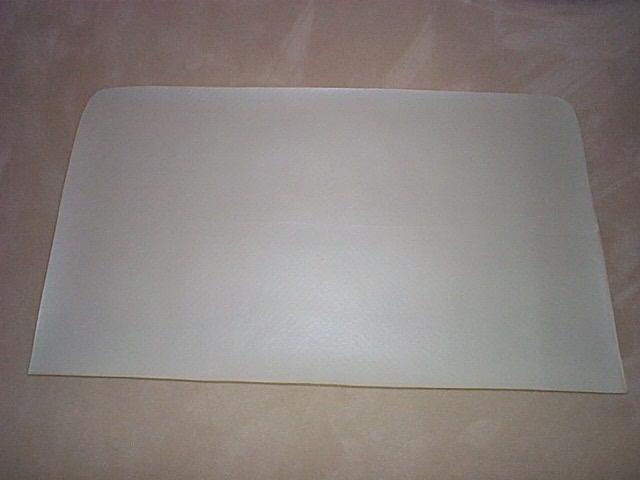
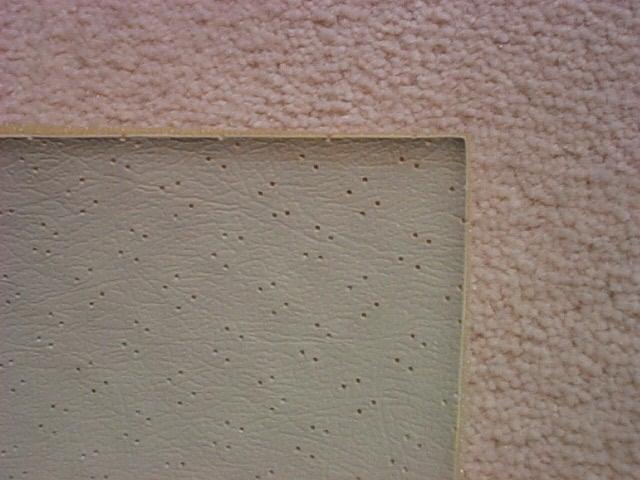

The Pantera East headliner is the original color and has a pattern that is very close to the original stock headliner. The holes in the Pantera East headliner were slightly smaller than the ones in my original 1971 headliner but the material look great. Pantera East was able to locate the original company in Italy that made the original headliner and they make the reproduction headliner exclusively for Pantera East. The headliner cost is $165. Pantera East also has the matching material available to cover the trim pieces.
October 4, 2001
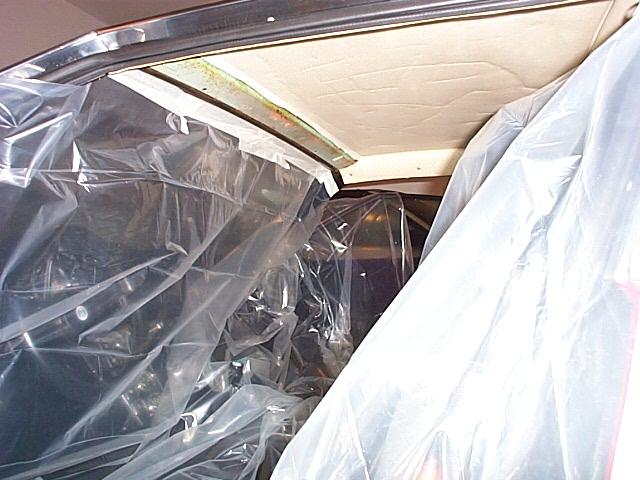
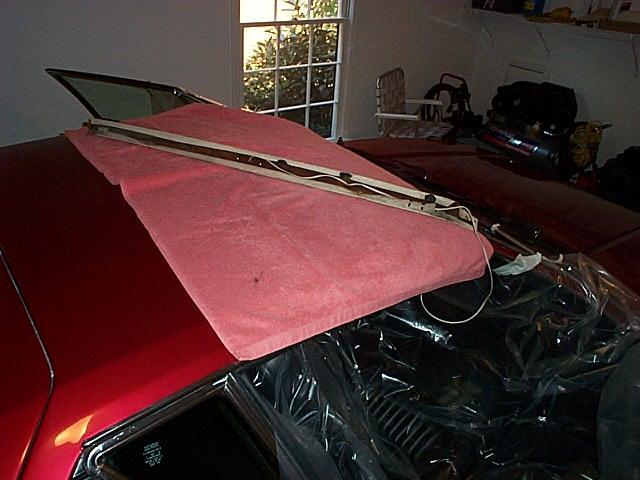
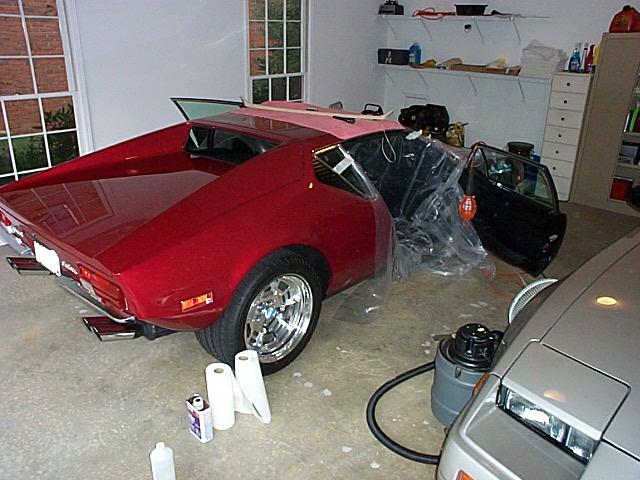
First, I disconnected the battery because the doors were going to be open overnight. I removed the sun visors, the mirror mount (the mirror pops off the mount), the front trim, the back trim and the side trim. Take special note of the screws in the back trim piece some are longer than others. I taped a heavy 16'X9' plastic drop cloth inside the car and on the doors using wide masking tape. I laid the back trim piece on the roof of the car so I didn't need to disconnect the light.
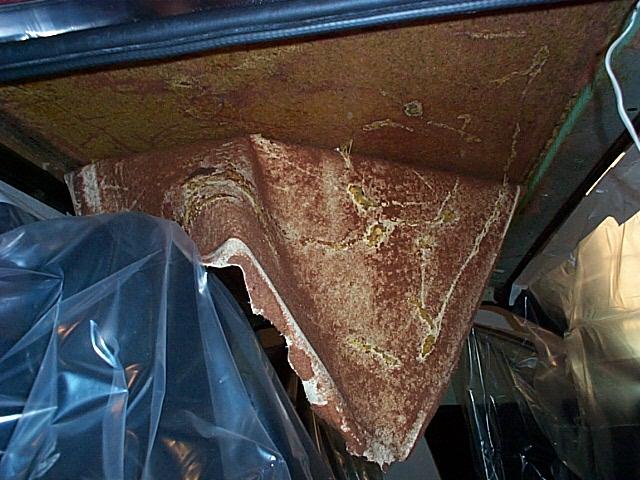
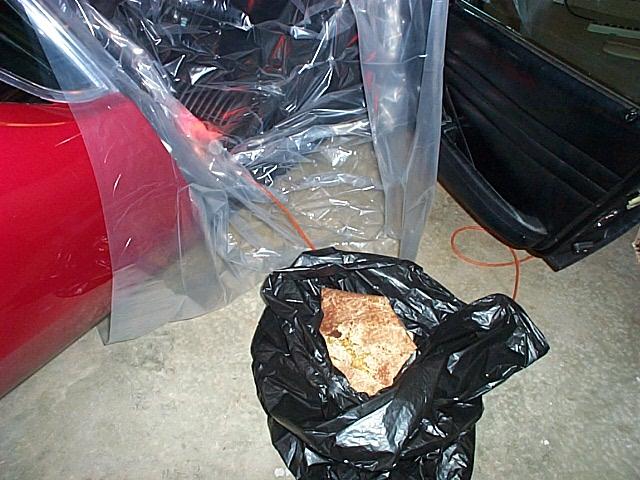
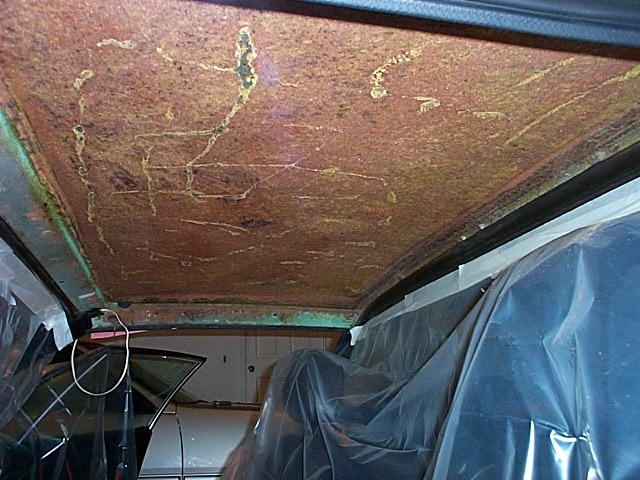
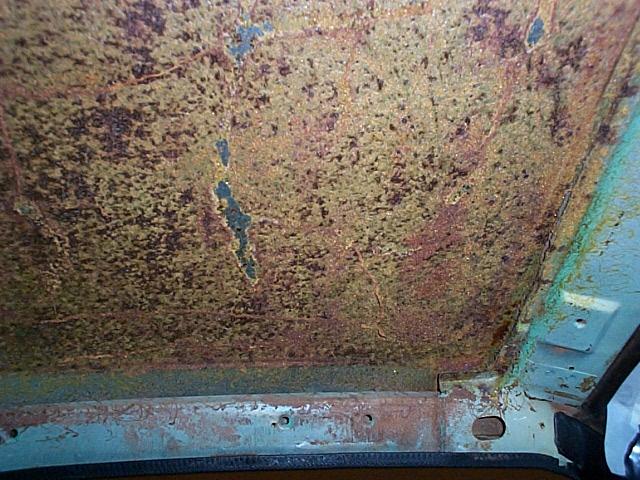

Then the fun starts! It's a good idea to wear a protective mask and eye protection and then slowly remove the old headliner. It makes a real mess! The odd wrinkled spots turned out to be glue from a not very good repair to reattach the headliner. You will need to put the headliner in a plastic bag before you move it very far. The close up image shows what it looks like when the headliner is removed. The dark spots look like rust but are just discoloration in the old glue.
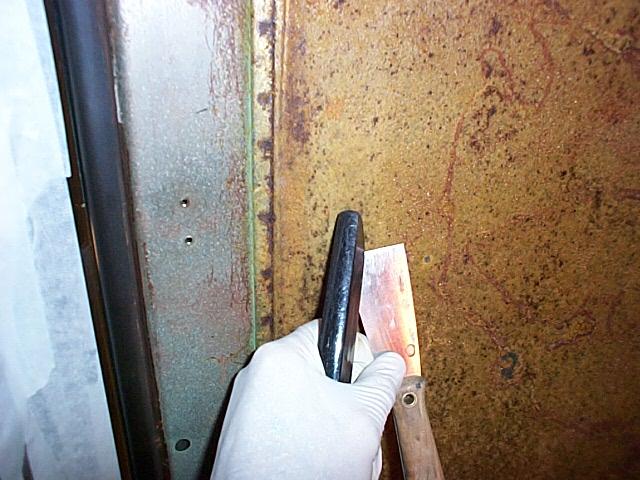

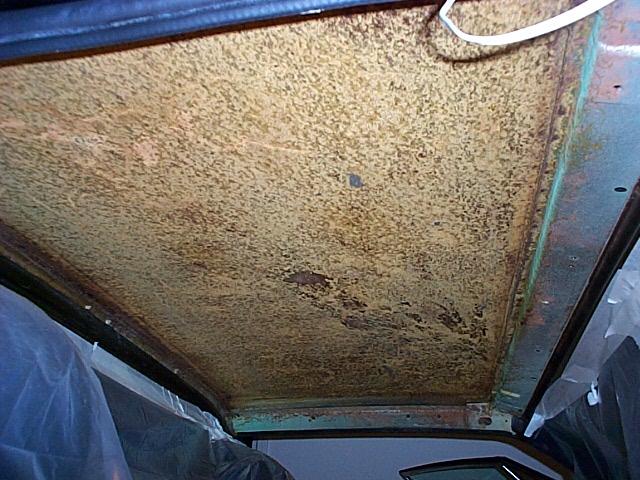
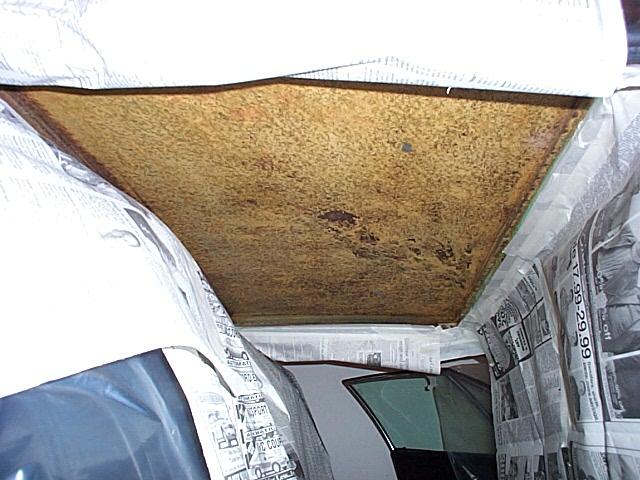
The next job is cleaning the old foam and loose glue off of the roof. I used a putty knife and held the shop vacuum next to the blade. Use EXTREME CAUTION while using the knife, you do not want dents in the roof. I found that by putting a towel in the car I could lay on my back to do the cleaning. Next, I used a sanding block and 60 grit sandpaper to sand the old glue down to a fairly smooth surface. I used the shop vacuum with the sanding block to reduce the mess. Some people remove the old glue completely by using solvents, it's up to how much work you want to do. I had a few areas that had some light rust but it was mostly rust free. I used some alcohol on a clean rag to clean the roof surface and called it a day.
October 5, 2001


Pantera East recommends 3M Super 77 Spray Adhesive (the black can that lists foam) that you can buy at most hardware stores. Caution: There is some question about 3M Super 77 Spray Adhesive when used in hot climates. The concern is that excessive heat build up on the roof of the car in the 130 to 140 degree range could melt the glue. If I did it over again, I would use one of the other 3M products designed for high temp upholstery environments. 3M Super Trim Adhesive #051135-08090 might be the solution but make sure it is compatible with the foam backed vinyl headliner
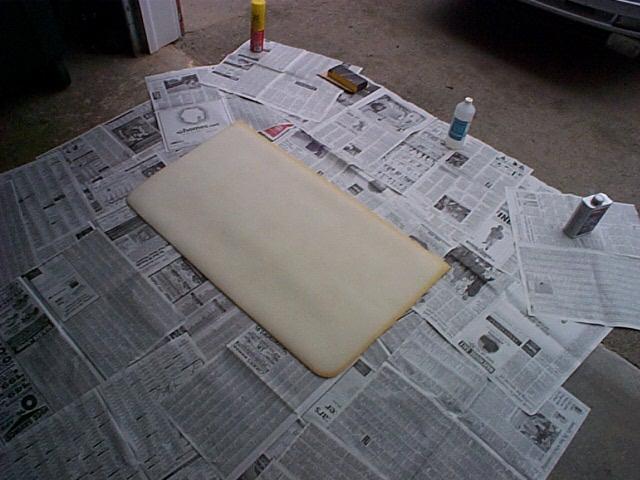
It's a good idea to wear a protective mask and eye protection when using the 3M Super 77 Spray Adhesive spray. I also used a can of Tuff Stuff to clean the trim pieces. I covered up the car on the outside and taped off the inside of the car using newspaper and masking tape. The 3M Super 77 comes with a white (wide pattern) and red nozzle (narrow pattern). I used the white one to spray the backside of the new headliner and the red one for the roof. I sprayed three coats of adhesive on each surface and let the last coat dry for about 5 minutes before installing the headliner.
When applying the adhesive care must be taken not to saturate the foam backing on the headliner. The adhesive should remain on the surface and not allowed to wick into the foam. If the adhesive penetrates the foam it will cause the foam to compress and stick to itself when pressure is applied to the headliner while trying to insure contact to the roof. This results in visible dents or craters in the headliner surface where the foam was compressed. The foam won't rebound because it is glued together and there is no way to remove the dents. By using three coats of the 3M Super 77 Spray Adhesive rather than one heavy one this problem is mostly eliminated.
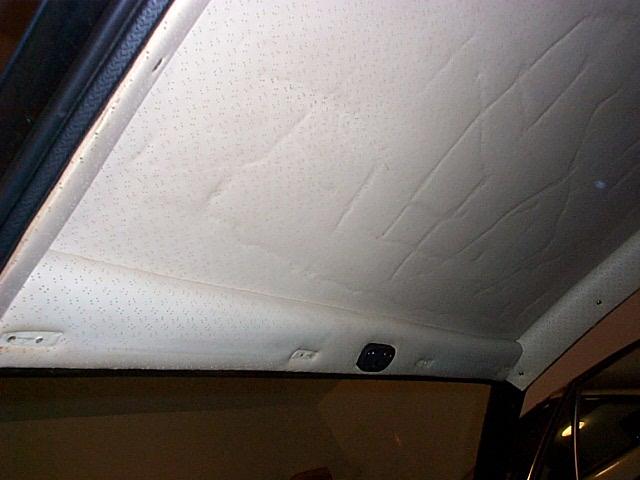
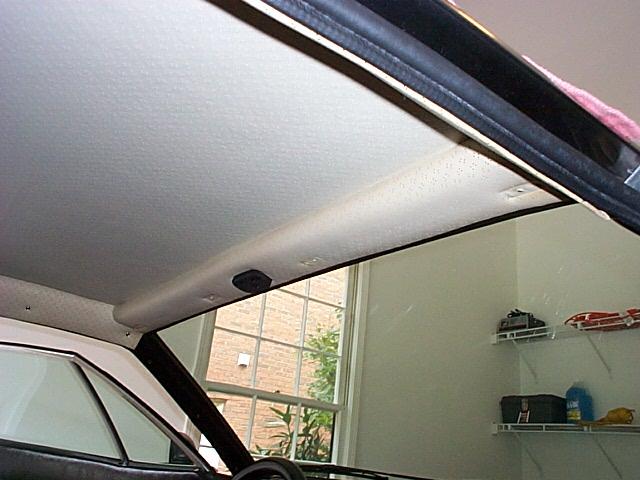
View of the installed headliner. I positioned the headliner's back edge first. When I had it centered I stuck the back center part first by pushing on it with my hand. I then from the center I worked out to the front part and then smoothed it out to each side. I then worked it to make sure it was bonded by smoothing and pushing on it all over with the flat part of my hands.
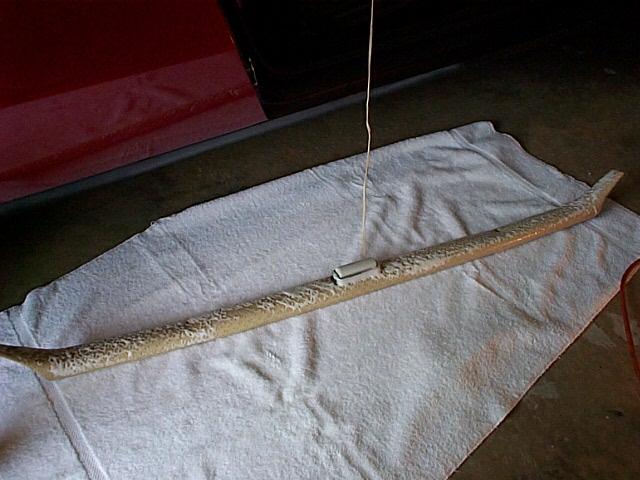
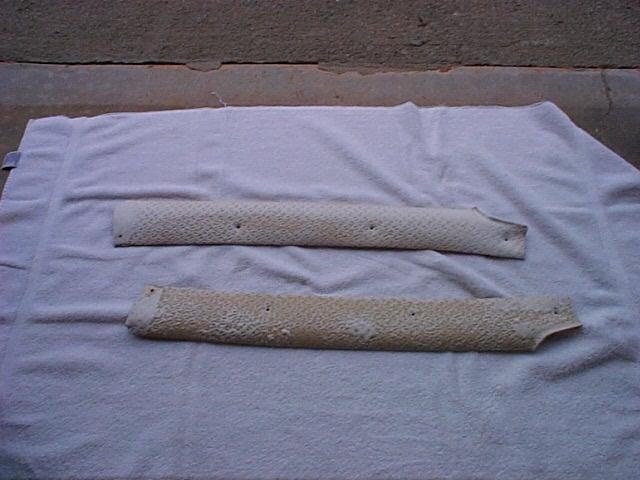

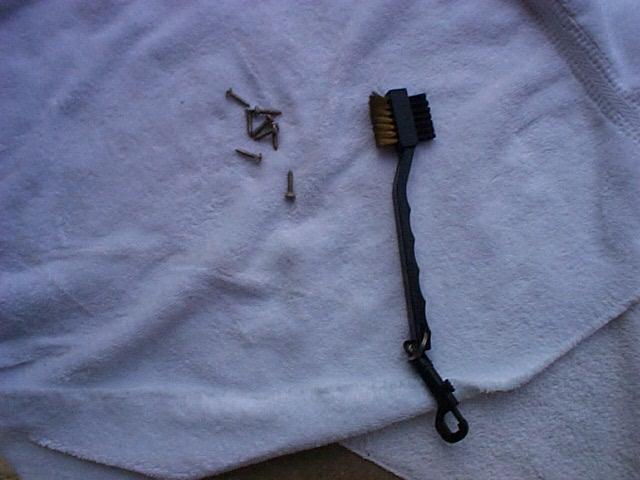
Next, I used the Tuff Stuff to clean all of the trim parts. They brightened up a lot. but did not enough to match the color of the new headliner exactly. I put all of the trim screws in 409 cleaner to clean them and used a brass brush to clean the slots in the screws.

All of the trim parts fit back in without much trouble. Notice that the front trim piece fits over the ends of the side pieces. The side pieces have a flap of vinyl on the front edge the fits under the side piece. It takes some force to get the mirror to snap back on. Try inserting to two back prongs first then snap in the front one.
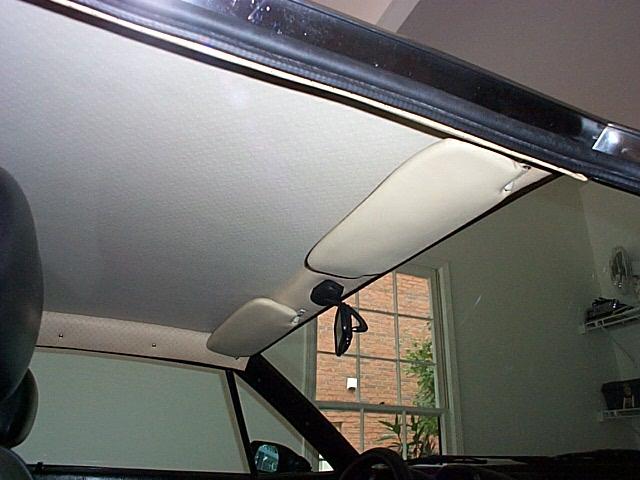
View of the completed installation and it looks great! Very few people that ride in your Pantera ever notice your headliner unless they are a Pantera person, but it is an excellent safety repair. It would be a major disaster to have an old headliner come loose at speed. The mess was bad enough when I had a mask and eye protection on in the controlled environment and the old foam is super itchy. It's also one of those things about your Pantera that bugs you if it doesn't look new.